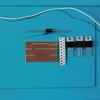
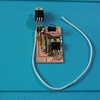
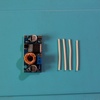
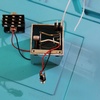
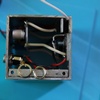
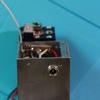
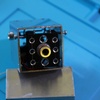
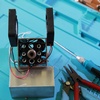
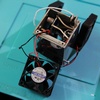
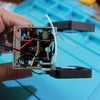
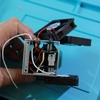
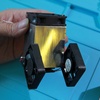
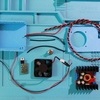
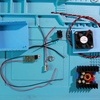
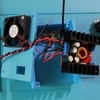
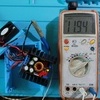
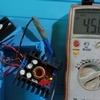
Make your own diode laser module. Detailed guidance how to build your own laser – all you need to know.
If you like diode lasers and want to build your own laser – You are welcome to do that following our detailed guides.
FREE GUIDE FROM ENDURANCE LASERS LLC!
On this page, we describe how you may create your own laser module for laser cutting / laser engraving.
All components could be purchased from Endurance lasers LLC or you can buy them yourself on eBay, Amazon, and other online marketplaces.
One of the most important things is that to build the laser you have to have a good knowledge of electronics and be skilled in soldering and have additional equipment like multimeter, laser power meter, etc.
We also suggest using a calorimeter, oscillograph too.
Another important thing is that you need to test all components yourself. Testing all components is a key part. For example, some DC/DC do not stabilize current or they do not work in pulse mode or they have unexpected voltage and current jumps. All quality control process is very important while you make your own laser.
So if you need a ready-to-go solution you are welcome to visit our online store and place an order there. All Endurance lasers are tested and ready to go. If you still want to make your own diode laser – you are welcome to scroll this page down and learn more about diode lasers!
Endurance lasers ready-to-go laser heads
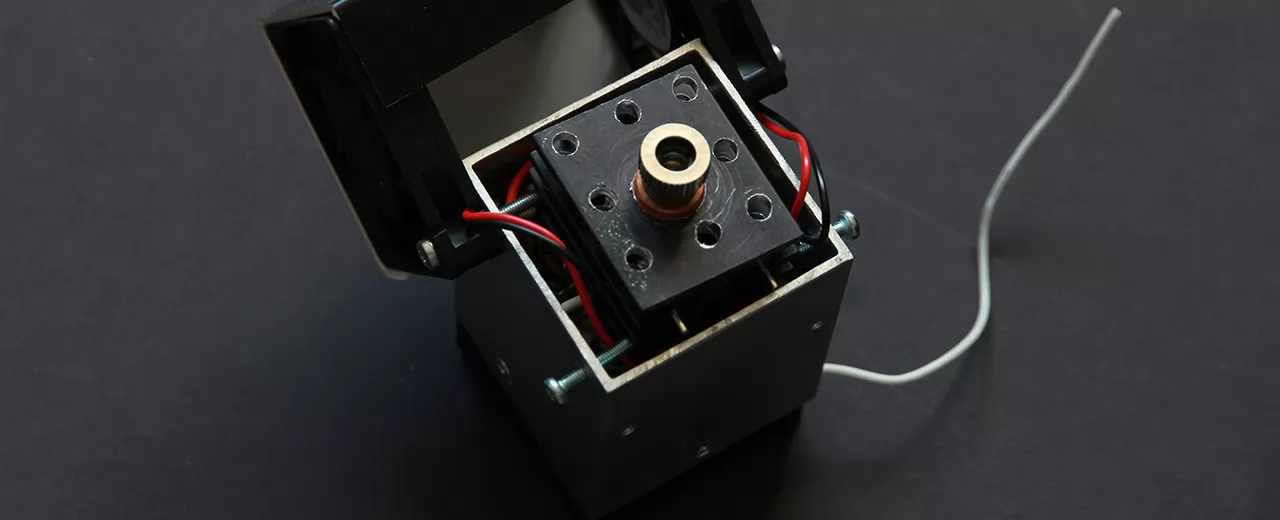
The Endurance LASERBOT. Make your own laser-based on Endurance guidance. Fully open-source.
The easiest way to make your own diode laser following Endurance guidance
Why make your own laser?
Do you like a DIY stuff?
Do you have a 3D printer or CNC router?
Do you want to build you own laser module?
Get an Endurance laser kit and assemble your own (custom) laser module – a 3D printer and CNC add-on.
Endurance provides customers with an ultimate tech support,
full guidance and tutorials telling how to make and tune your own laser module.
Assemble. Install. Enjoy & Have Fun.
What laser do you want to build?


Make your own laser and save more.
Advantages and what you need to build your laser
- Compatible with most 3D printers and CNC mills.
- Can be assembled within 2-8 hours.
- Has a TTL to control the laser power output.
- Additional useful accessories available Endurance.
- All Endurance lasers cut wood, plywood, plastic, felt, fabric, acrylic, leather.
- High-quality and reliable components.
- All Endurance lasers can engrave on leather, acrylic, plastic, plywood, wood.
- Lasers with an output of 5.6 watt, 8 watt can engrave on anodized and painted aluminum, glass, and stone.
- Lasers with an output of 8.5 watt+ and 10 watt can engrave on stainless steel, copper, brass.
Laser power supply
Endurance lasers work from 9 – 16 volts range. To operate 24 volts requires a step-down “buck” converter (available when you place an order).
To make your own diode laser you have to be good at:
- Electronics and soldering.
- Metalwork.
To make your own laser you will need:
- A soldering iron.
- A screwdriver and pliers.
- A multimeter: a voltmeter + an ammeter.
| What do you need? | 2.1 / 3.5 / 5.6 / 8 / 8.5 watt | 10 watt |
| Required soldering skills | Advanced | Intermediate |
| Required electronics skills | Intermediate | Beginner |
| Necessary equipment | Soldering iron, voltmeter, ammeter, screwdriver & pliers | |
| 3D printer | not needed | 3D print a laser control board |
Endurance provides full tech guidance on how to make a laser yourself.
Additional video guidance, text, and photo tutorials are available upon request.
It will take you no more than 8 hours to assemble your own laser.
(Some of our ultra–experienced customers managed to do it having spent just 60 minutes only.)
We’ll send you everything you need in one parcel.

















Learn more about compatible 3D printers / XY plotters and CNC machine
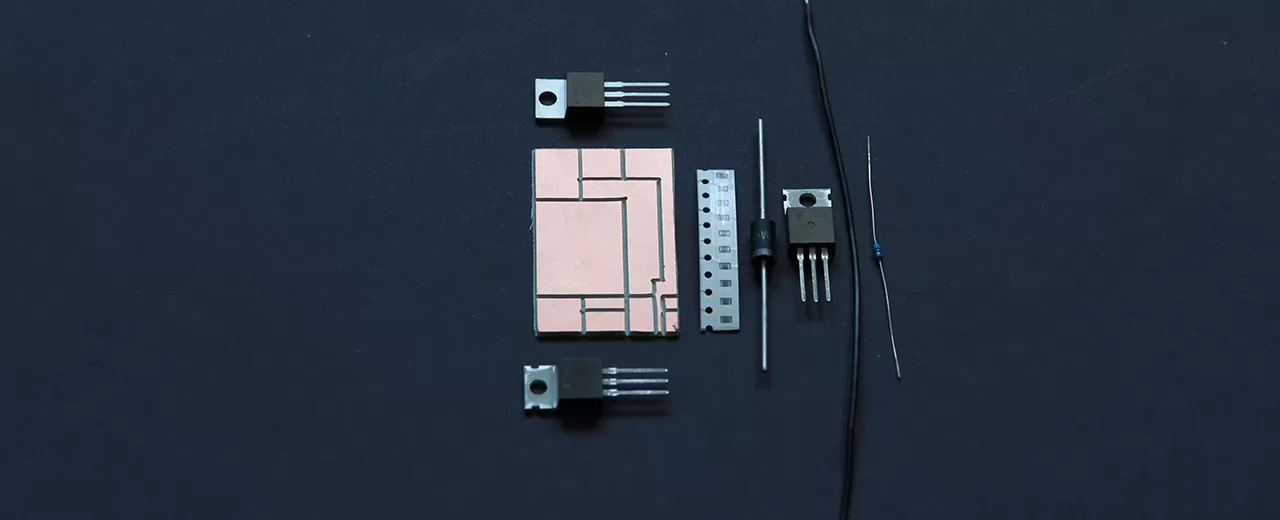
What do you need to make your own 2 – 2.1 (2000-2100 mw) watt / 3 – 3.5 (3000-3500 mw) watt / 5 – 5.5 (5000-5500 mw) watt / 7 – 8.5 (7000 – 8500 mw) watt laser kits (BOM list):
| # | Part name | Quantity |
|---|---|---|
| 1 | Copper plated PCB | 1 |
| 2 | Laser module housing | 1 |
| 3 | Resistors 2.7 Ohm | 10 |
| 4 | LM338 | 1 |
| 5 | 13N10 | 1 |
| 6 | R100K | 1 |
| 7 | D540 | 1 |
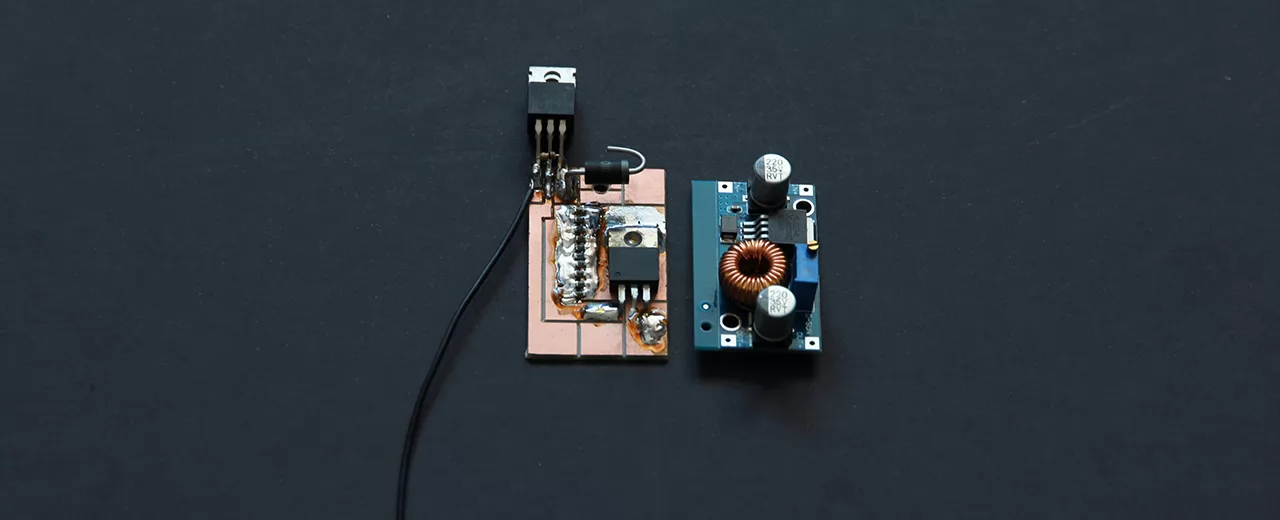
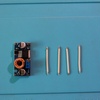
| 8 | DC/DC | 1 |
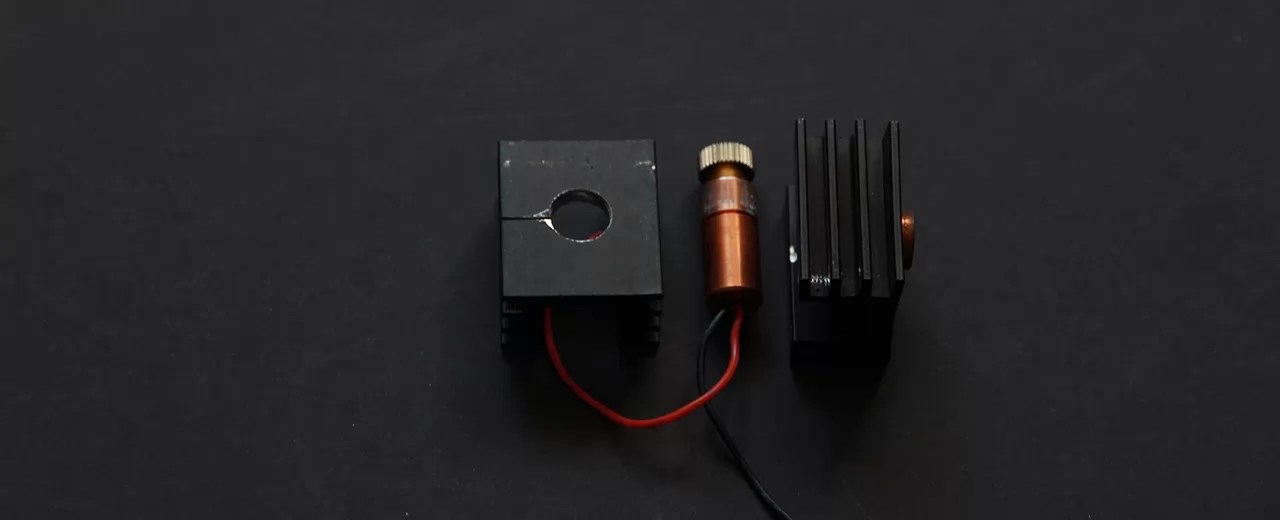
| 9 | The laser diode in a copper module https://endurancelasers.com/a-list-of-powerful-laser-diodes-with-1-watt-1000-mw-optical-power/ | 1 |
| 10 | Heatsink | 1 |
| 11 | Jack input | 1 |
| 12 | Laser wires | 2 |
| 13 | Construction wires | 4 |
| 14 | M3 – 25 screws | 2 |
| 15 | M3 – 16 screws | 4 |
| 16 | M3 – 10 screws | 1 |
| 17 | M3 screws | 1 |
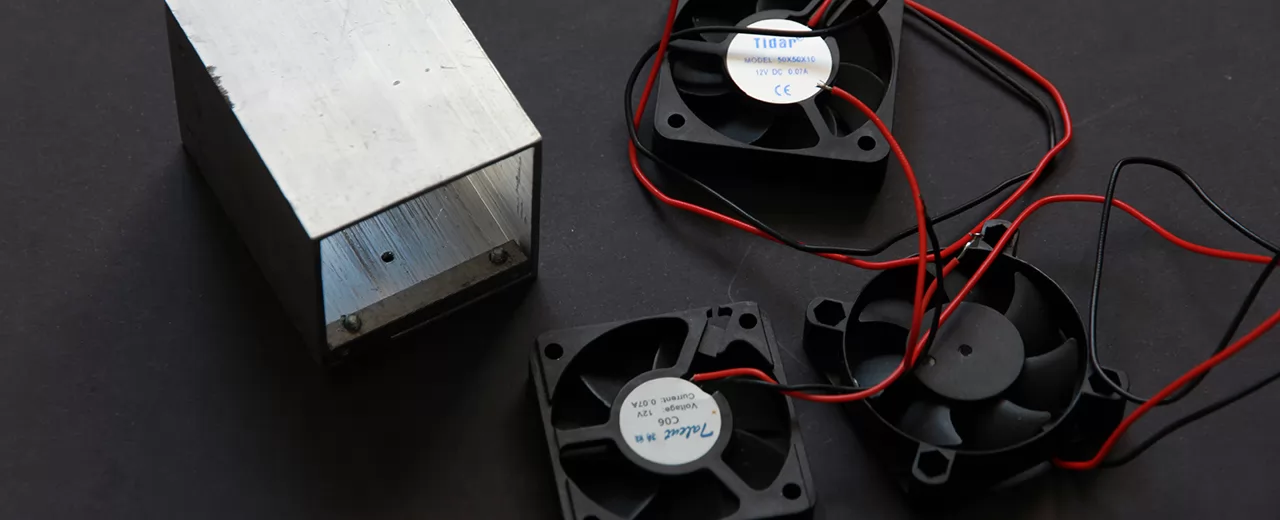
| 18 | 50x50x10 mm 12VDC Fans | 1-3 |
| 19 | Blow-off casing (optional) | 1 |
| 20 | TTL wire (AVG24) | 1 |
What you need to get started
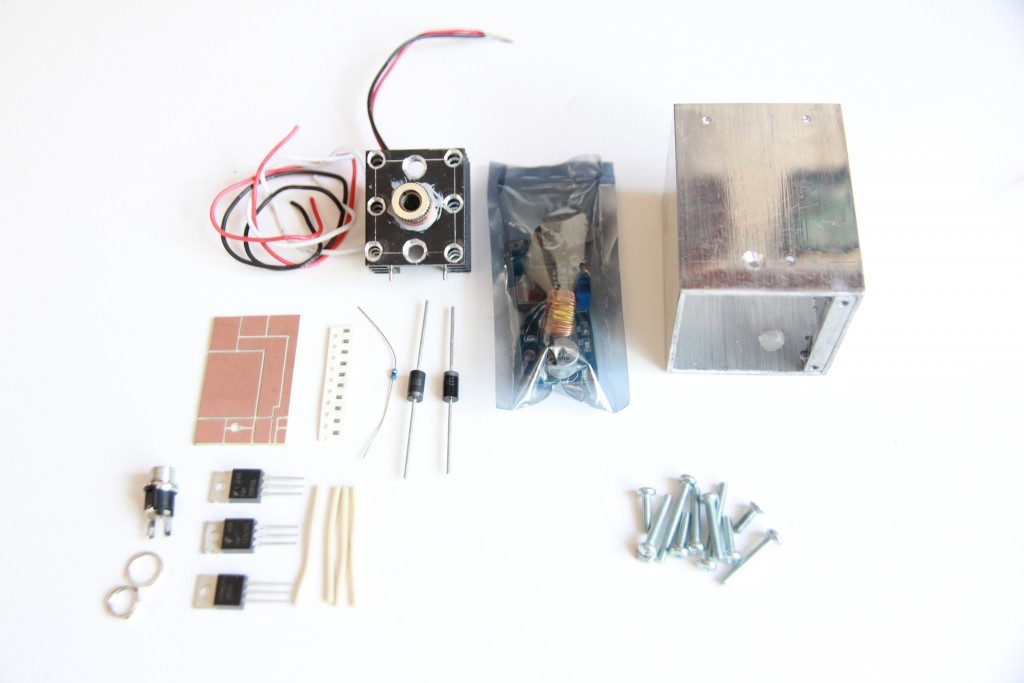
Necessary skills
Keep in mind that to assemble a 2.1 watt, 3.5 watt, 5.6 watt, 8 & 8.5 watt laser module you need to be an advanced user in wiring, soldering.
What goes in the package for a 10 watt laser kit (a full BOM list):
| # | Part name | Quantity |
|---|---|---|
| 1 | Special DC/DC converter (step-down) | 1 |
| 2 | Laser module housing | 1 |
| 3 | Endurance MO1 PCB components (Power Transistor IRFZ44N, Set of 4 resistors for Endurance MO1 PCB, PC817 Optocoupler | 1 |
| 4 | The laser diode in a copper module | 1 |
| 5 | Heatsink | 1 |
| 6 | Jack input | 2 |
| 7 | Laser wires | 2 pair |
| 8 | Fans (50 x 50 mm) | 5 |
| 9 | TTL wires | 2 |
| 10 | Button (2 postion switch) | 1 |
| 44 | Zener diode | 1 |
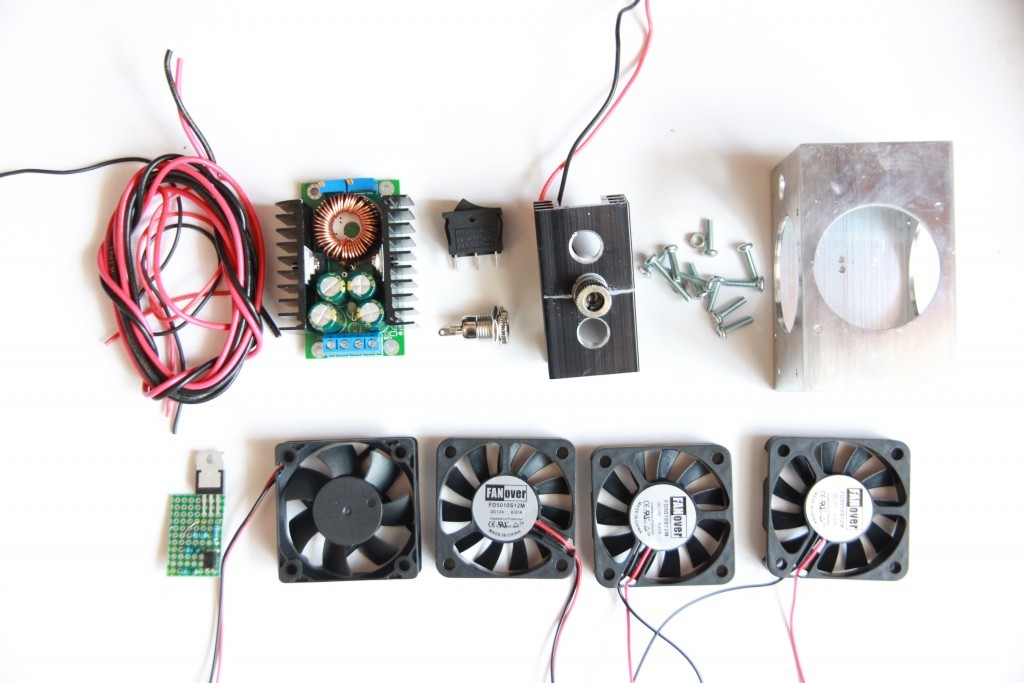
Necessary skills
To assemble a 10 watt laser module you need to be an intermediate user of soldering iron and electronics. However, building your own 10 watt laser it is much easier than building other lasers.
In addition, you may get additional accessories while placing an order, including:
Those accessories are very useful.
- Laser protective goggles
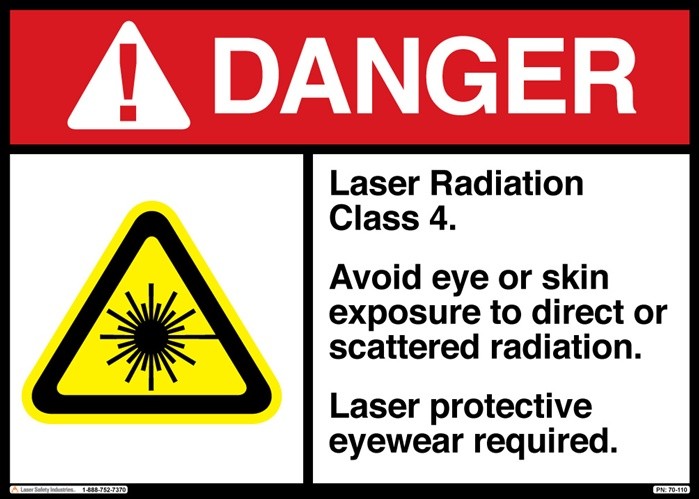
- always wear red or green goggles when you operate the laser. Remember Endurance lasers are class 4 items and you must never aim them at any living being. Keep in mind that we always send OD5+ laser goggles.

- A G2 lens
- a short focal lens with a focal range of 5-30mm (1/4 – 6/4’’) is a necessary accessory for metal laser cutting and engraving.

- An Endurance MO1 PCB
- an electronic board to feed the laser from an external power supply (needed when your mainboard power output is not enough.)

- Laser connectors
- a variety of different wires and connectors to connect the laser to your board.

- Laser mounts
- aluminum mounts to hook the laser to you machine. 4 types with M3 screws: L, П, I, T

- A laser actuator
- a Z axis actuator to change the laser position on the Z axis. A good option for XY plotters with no Z-axis mechanism.

- AC/DC 12V 5A
- an additional power supply for Endurance lasers.

- AC/DC 12V 1A
- an additional power supply for 10 watt laser fans.

- A step-down DC/DC converter DC/DC converter to decrease the voltage down to the required 12V for Endurance lasers.

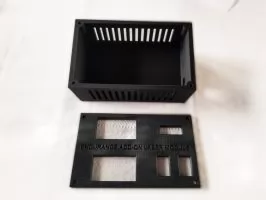
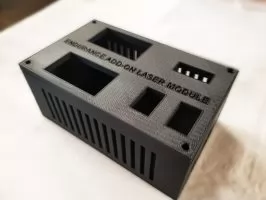
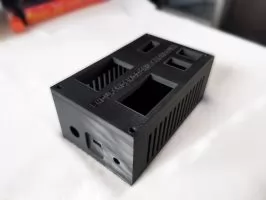
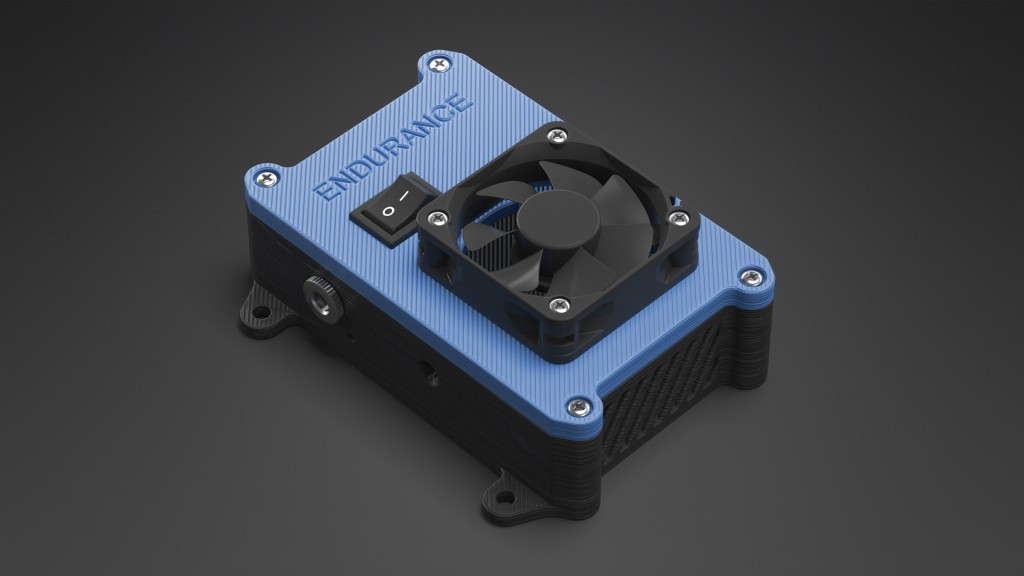
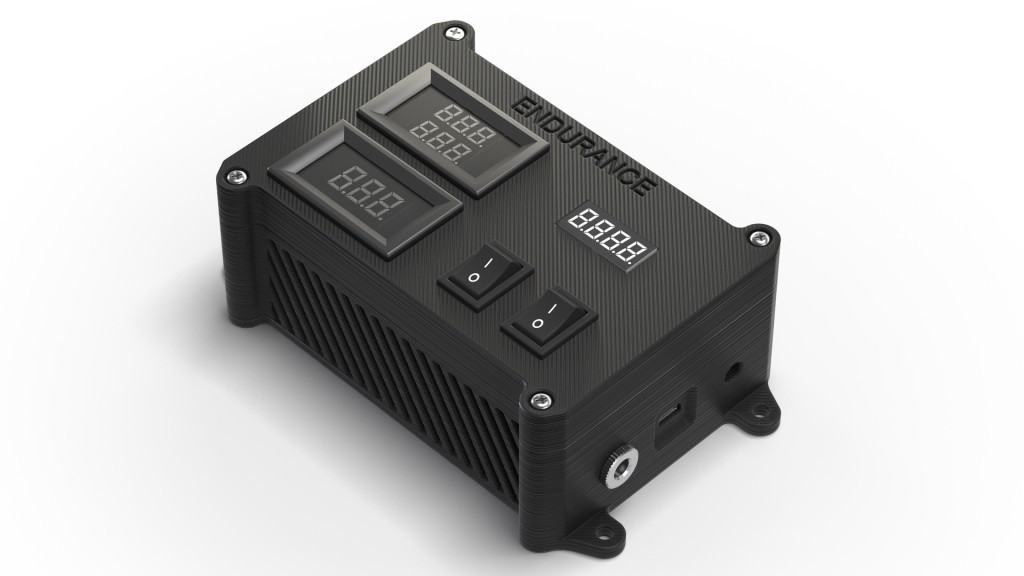
- An endurance laser box
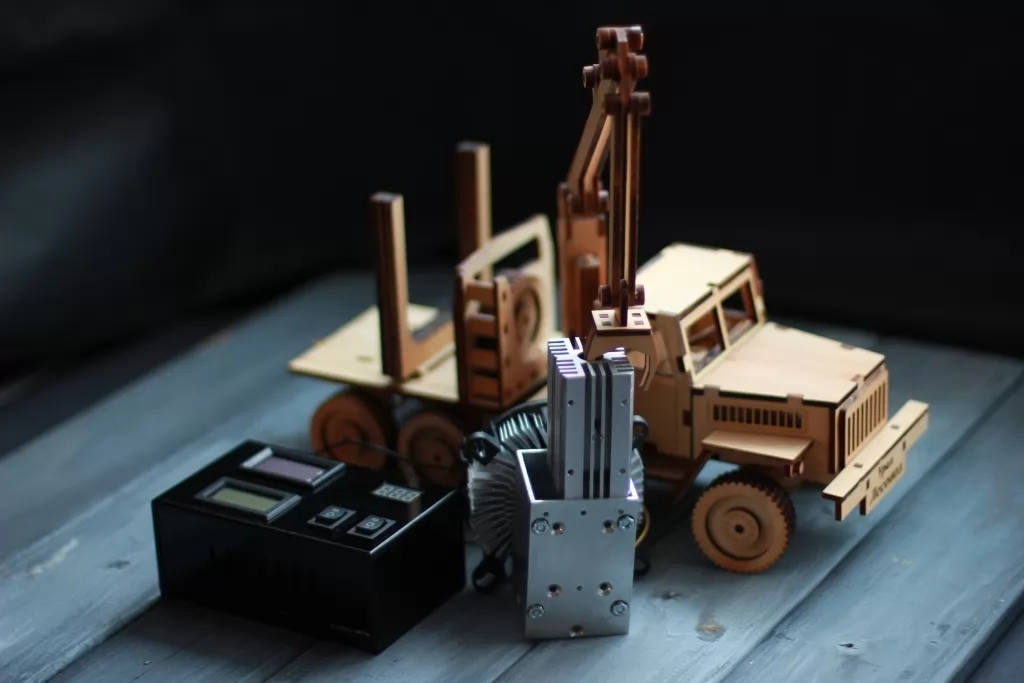
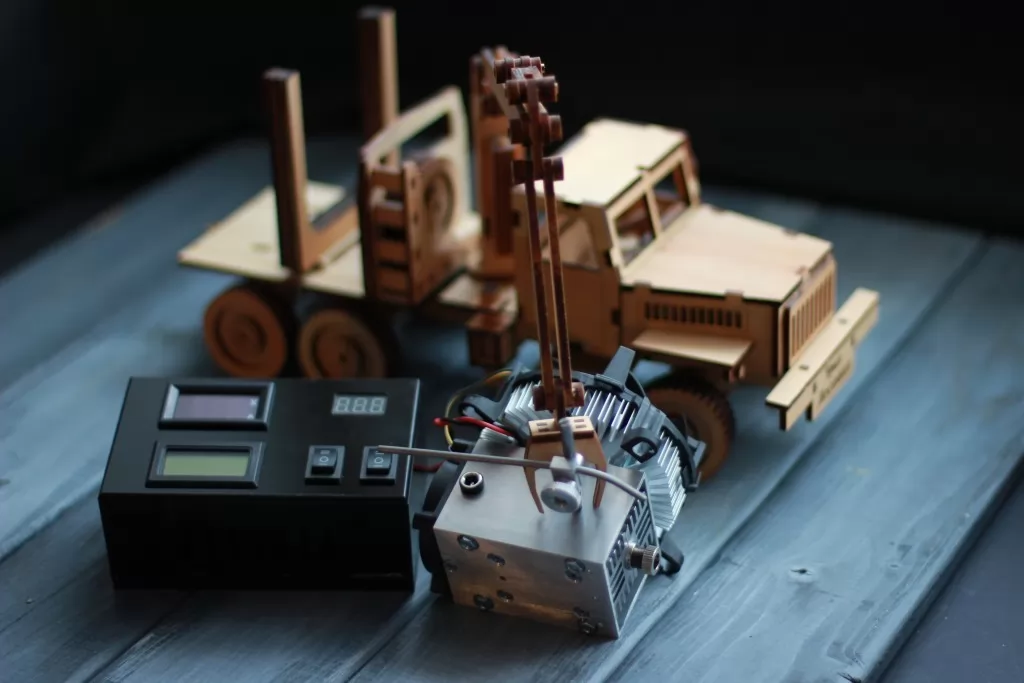
- a nice gadget (add-on) for your laser module to measure the incoming voltage, outgoing coming voltage and current on the laser diode, laser driver module, Endurance MO1 PCB, temperature sensor and Arduino board for changing the laser power.

- An Arduino board with an Endurance sketch
- to change the laser power (duty ratio) and the frequency of the laser. Can put the laser into the impulsive mode.

- A temperature sensor
- an additional temperature sensor to monitor the laser temperature.

- Voltmeter
- additional voltmeter for measuring incoming voltage.

- A voltmeter & an ammeter
- an additional voltmeter & ammeter to measure the outgoing voltage and current that goes to the laser diode.

- An air pump
- a laser addition to blow on the work piece of laser cutting / laser engraving. Increases the laser cutting speed up to 50% and reduces charring.

- A TEC module
- A Peltier cooling system for better laser cooling (increases the power up to 10%).


Making your own semiconductor laser is easier that you think!
Laser assembling process. All you need to know
Schematic (wiring diagram)
For 2-2.1 watt (2000-2100 mW) / 3-3.5 watt (3000-3500 mW) / 5-5.5 watt (5000-5500 mW ) / 7-8.5 watt (7000-8500 mW) lasers
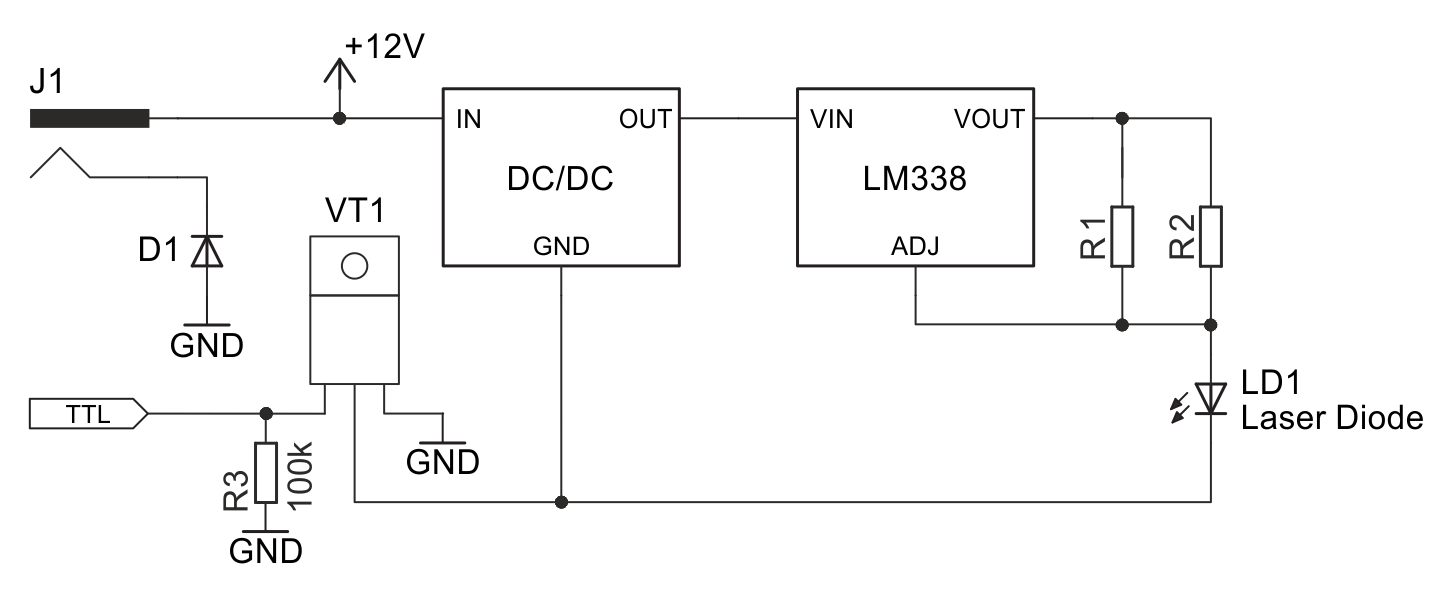
A guide to assembling a 5.6 watt diode laser (pdf). (Good for 2.1 w, 3.5 w, 8 w, 8.5w lasers too)
PWM.
Schematic for a 10 watt (10000 mW) diode blue 445 nm laser
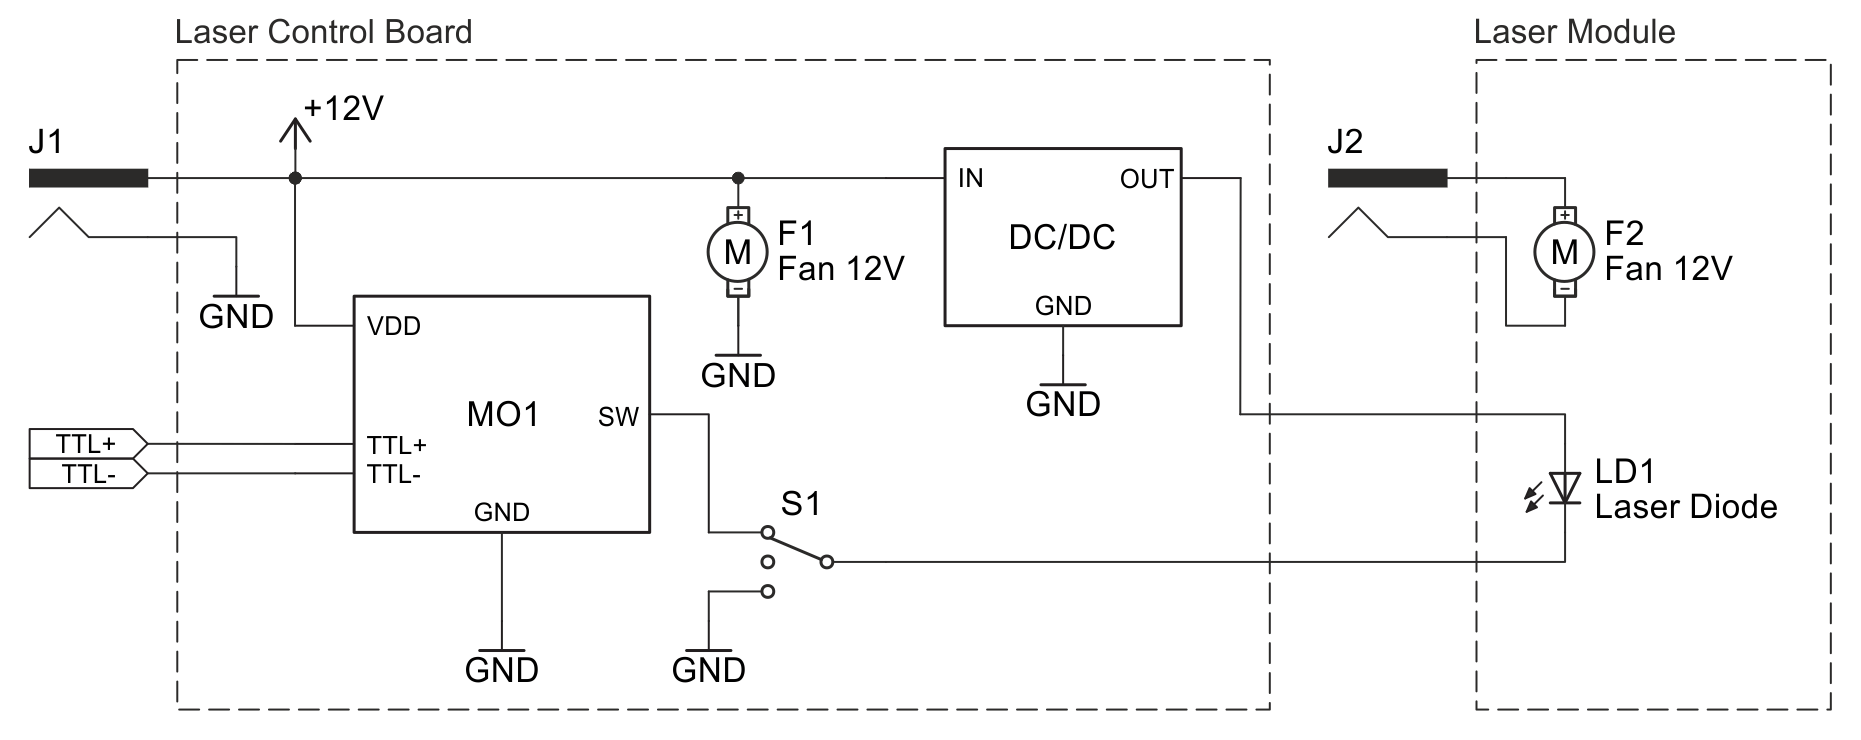
A guide book of a laser assembling process 10 watt (10000 mw) diode laser (pdf).
An Endurance 10 watt laser kit review by Karl Brandtman ([email protected])
Assembling An Endurance 10w Laser Kit For The Average Person, Step By Step by Matt McIntosh
Laser power improvement (10 watt laser assembling)
Check on Instructables | Assembling-an-Endurance-10w-Laser-Kit
Demo video – diode blue 445 nm laser
A full photo and video guide to assembling of an 8.5 watt+ Endurance laser
Good for 2.1 watt, 3.5 watt, 5.6 watt, 8 watt lasers.
A video guide about diode blue laser 445 nm wavelength
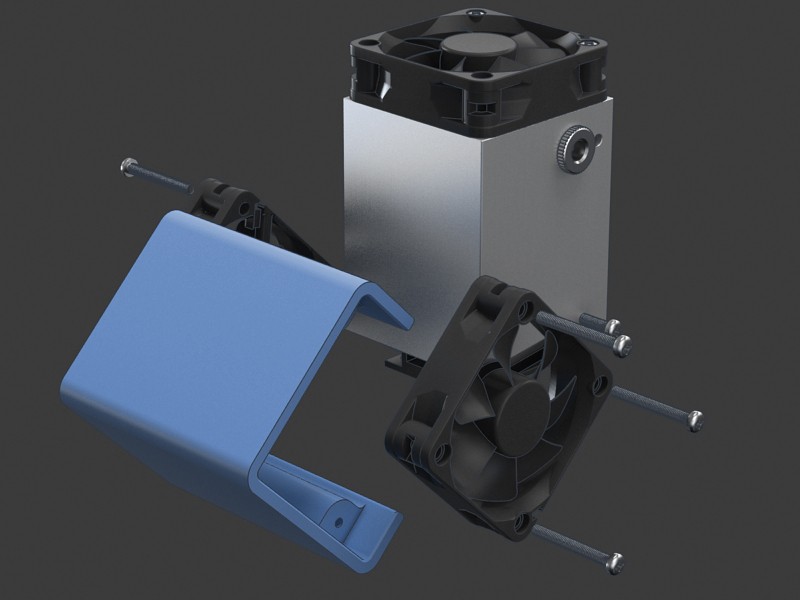
Print out a fan casing for 8 watt & 8.5 watt lasers. Download an STL file from our download page.
8.5 watt laser power consumption measurement
A full photo and video guide to assembling of a 10 watt Endurance laser
After you placed an order you may print out your laser control board. Download an STL file from our download page.
Setting up of the voltage and current consumption for a 10 watt laser (BE VERY CAREFUL)
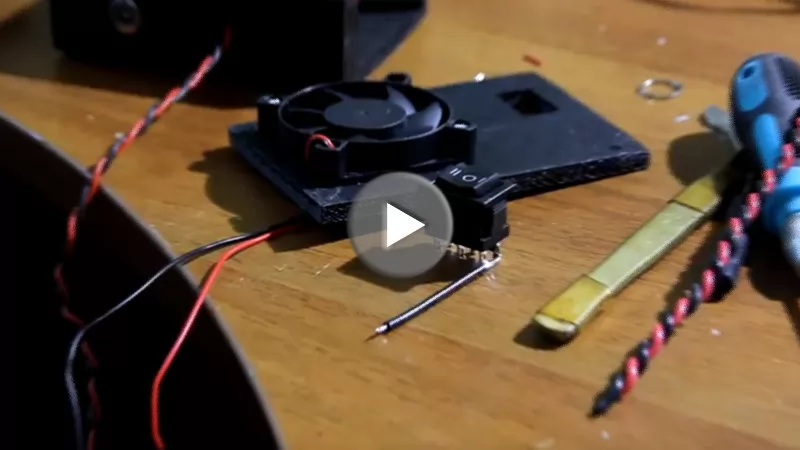
Laser control board assembling process. Watch it!
Replacing of a laser diode in 10 watt laser (made by Endurance customer)
A 10 watt aluminum housing assembling process – detailed “how-to” video
10 watt+ aluminum housing assembling process (adding TEC cooler)
20 watt aluminum housing assembling process – combine 2 beam together for a diode bleu laser and get more power output.
Recommended voltage and current for 10 watt / 10 watt+ laser modules

Very risky and advanced voltage and current for 10 watt / 10 watt+ laser modules (no guarantees)

Setting up current and voltage for your diode laser. Second edition video footage.
Our customers make diode lasers and share a detailed video guide.
Built by our customer: a laser + a laser box
Be careful when you set up the voltage and current consumption for your laser diode.
Do not use unauthorized power supplies for that. If you want to test a laser diode follow this video guidance.
Recommended parameters Voltage: 4.5-4.7V | Current: 3.8-4.2A
Overvoltage will damage your laser diode. Never set up the voltage over 5.5V
10 watt laser is the easiest unit to build.
Always wear protective goggles when you work with a laser
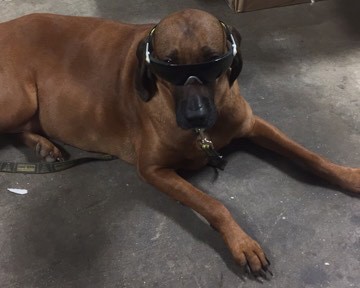
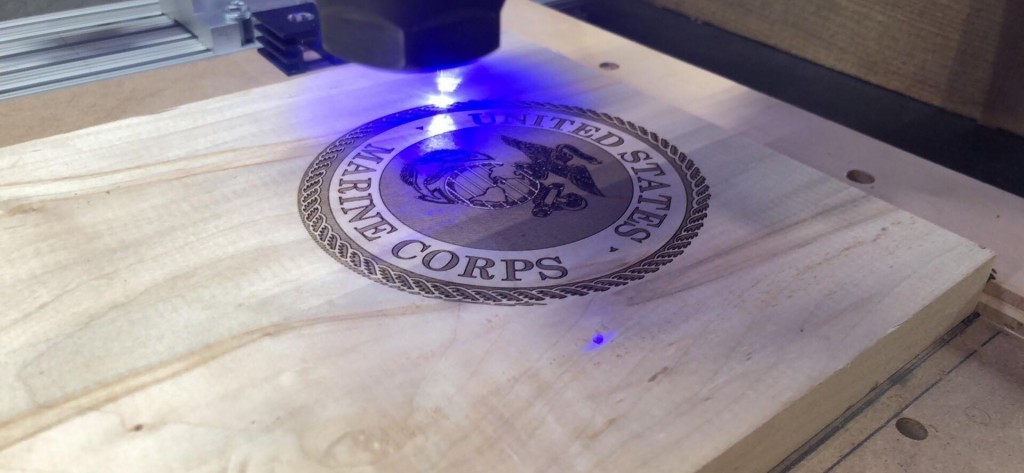
Our customers make and show!

Order a laser kit now.
Get a special laser box kit
An Endurance Laser Box – ultimate tool for your diode laser.
Learn how to connect the laser box to the laser module.
Files to download

Got a question?
Special warranty for an Endurance DIY laser kit
An Endurance laser kit (a laserbot tool) offers a powerful laser attachment for your 3D printer or CNC machine with the guaranteed non-stop operation time of 48-72 hours. Lasers with an output of 5.6 watt, 8 watt can engrave on anodized and painted aluminum, glass and stone. Lasers with an output of 8.5 watt+ and 10 watt can engrave on stainless steel, copper, brass.
