All you need to know about Endurance laser boxes
Power your laser externally using an Endurance Mo1 PCB. Works with all types of diode lasers. Required for all 3D printers / engraving machines with low current output.
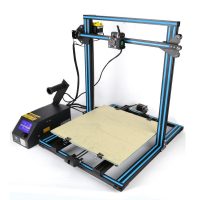
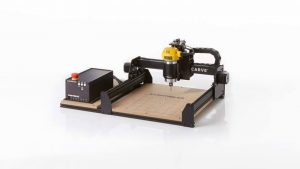
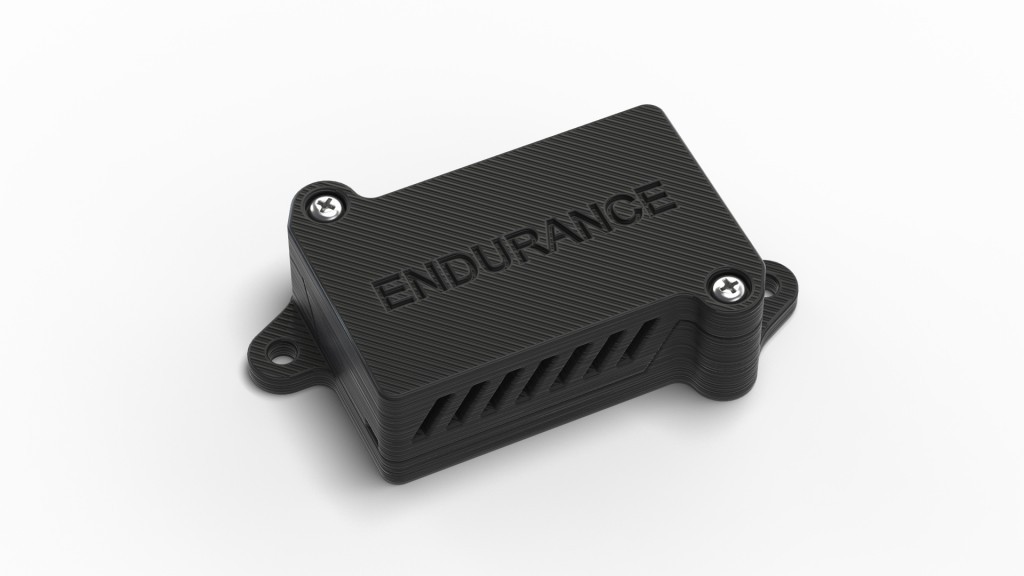
If you do not have enough power output (low current) on your main (control) board to run a powerful laser – then you need an Endurance MO1 PCB to feed your laser externally.
An Endurance MO1 PCB works in 3.5-24V range. (can be adjusted to 1.35V)
An Endurance MO1 PCB optimal frequency 1-2 kHz (250-500 Hz is optimal).
An Endurance MO1 PCB – external power control board for your laser module
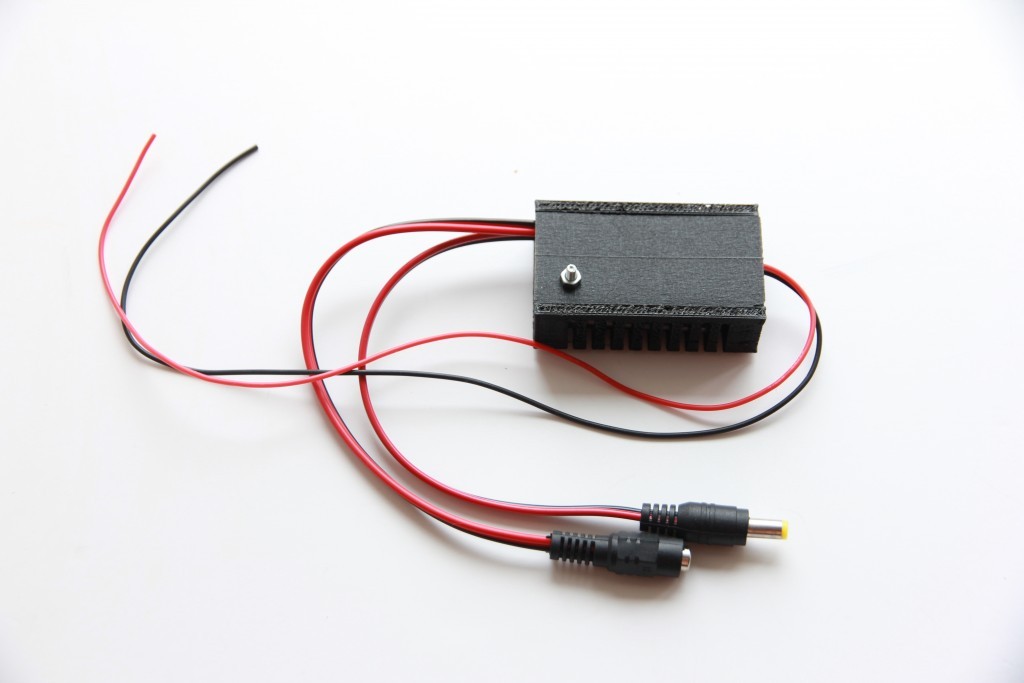
This board allows us to connect a laser to CNC machines, XY plotters, DIY engraving machines, and 3D printers and have an external power supply.
To install a powerful laser onto a CNC machine, plotter or any device of this kind, it’s necessary to have a bigger amperage (3A+); thus, for 5.6W and 8W, 8.5W+ you need 4-7 Amps, respectively, and 9-16 V.
Not all the controllers (control boards) have the corresponding outs. Most fan pins on 3D printers have 1-2 Amps and 12 V limit.
A question arises, how to connect a powerful laser if there is no corresponding out connectors.
You just cannot take an additional power supply, as you must also have a tool for turning the laser on/off and a mechanism to adjust the power of the laser.
To solve this problem Endurance has designed the Endurance MO1 PCB.
Components
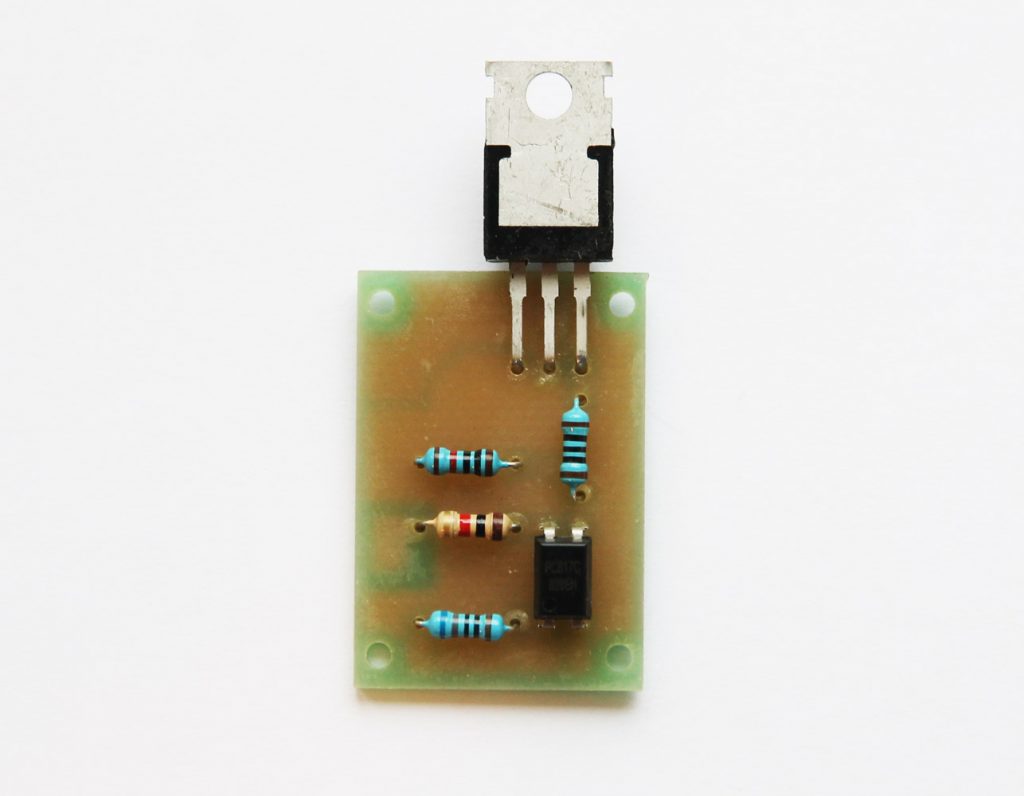
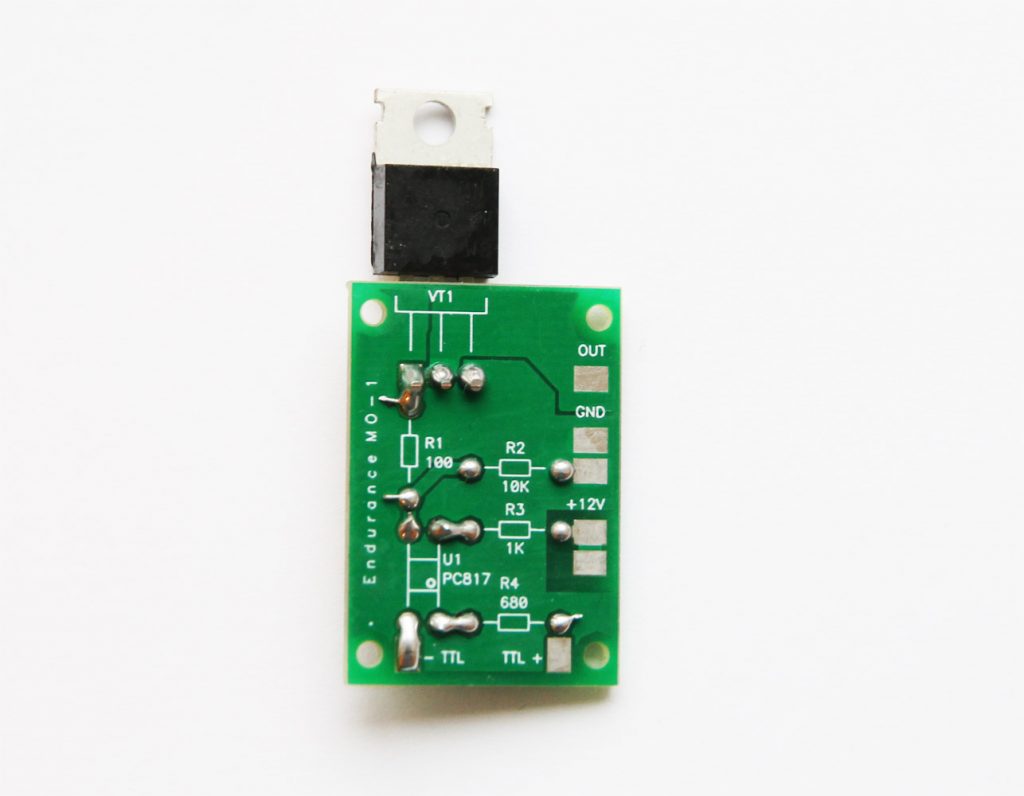
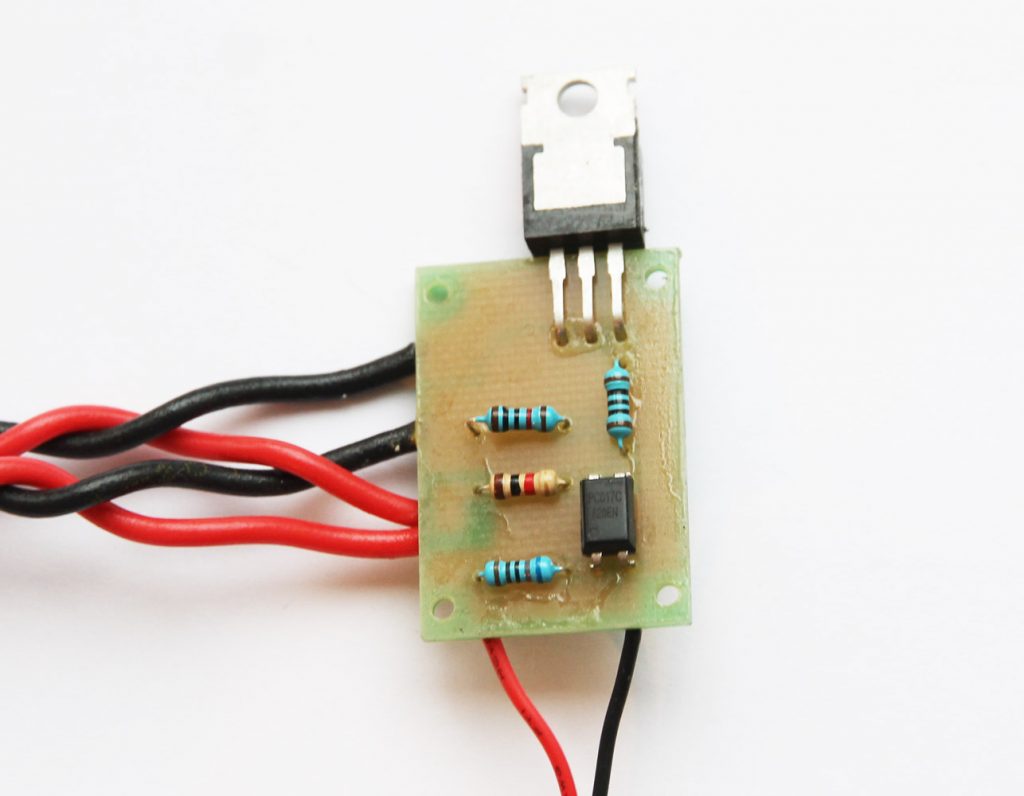
This board consists of a powerful field transistor, an optocoupler, and resistors.
– Q1-IRFZ44N,
– IC1-PC817,
– R1- 100 ohm,
– R2- 1 Kohm,
– R3-10 kOhm,
– R4-680 ohm.
The circuit design
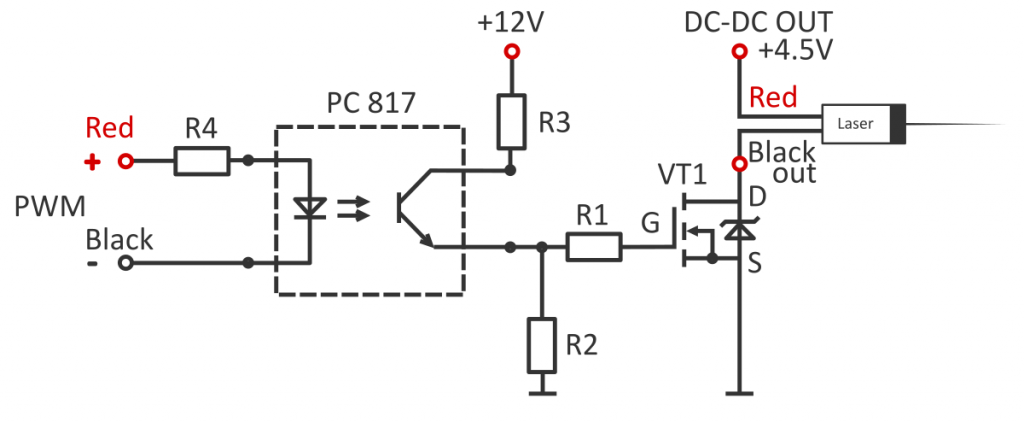
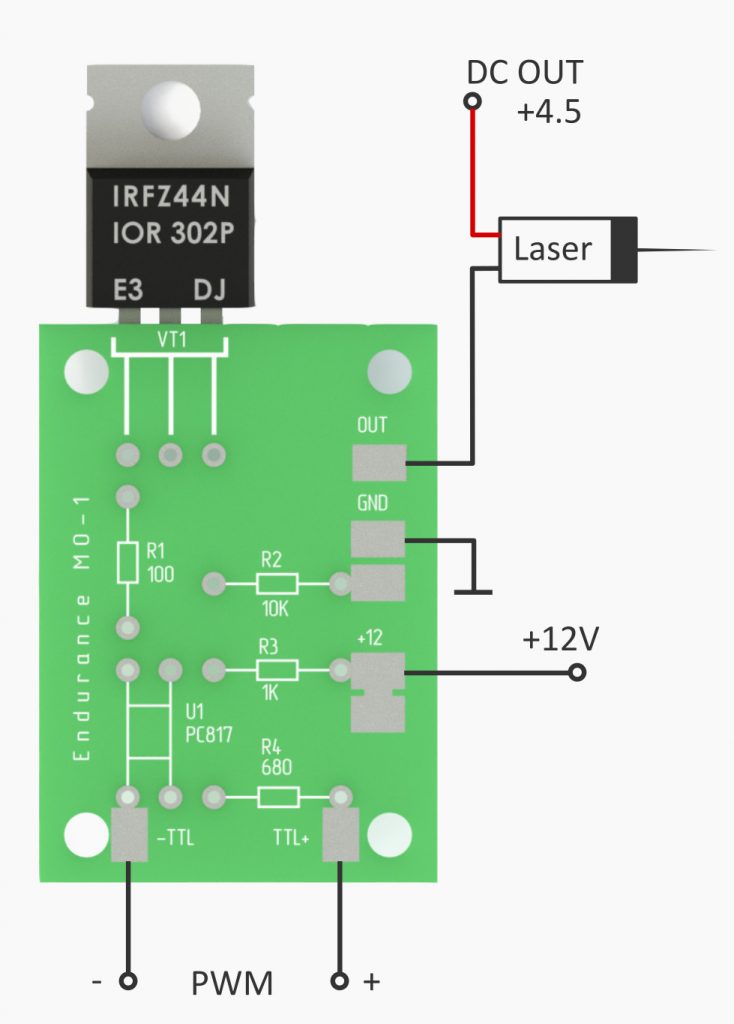
Modifications upon request
If you need to turn on the laser with a lower voltage (1.5-3.5V) then you need to add 680-ohm resistor in parallel to the existing one and TTL will start working with lower voltage from 1.5V.
The manufacturer can change the parameters of the electronic circuit design.
This board will suit everybody who needs to connect a more powerful laser to a 3D printer or XY Plotter. Most CNC machines do not need an external power supply.
Keep in mind that an entire schematic was designed for 3.5-12 input voltage to control. We do not recommend to run the Endurance MO1 PCB with higher voltage. Also if the voltage is lower than 3.5V – the MO1 PCB will not work as well.
Keep in mind that Endurance lasers (2100 mW, 3500 mW, 5600 mW, 8000 mW, 8500 mW) work from 9 – 16V.
If your 3D printer or CNC router supports 24V only and you do not have a 12V power pin – let us know and we will ship you step-down “buck” DC/DC converter.
Endurance MO1 PCB connecting with Endurance laser (older models)
(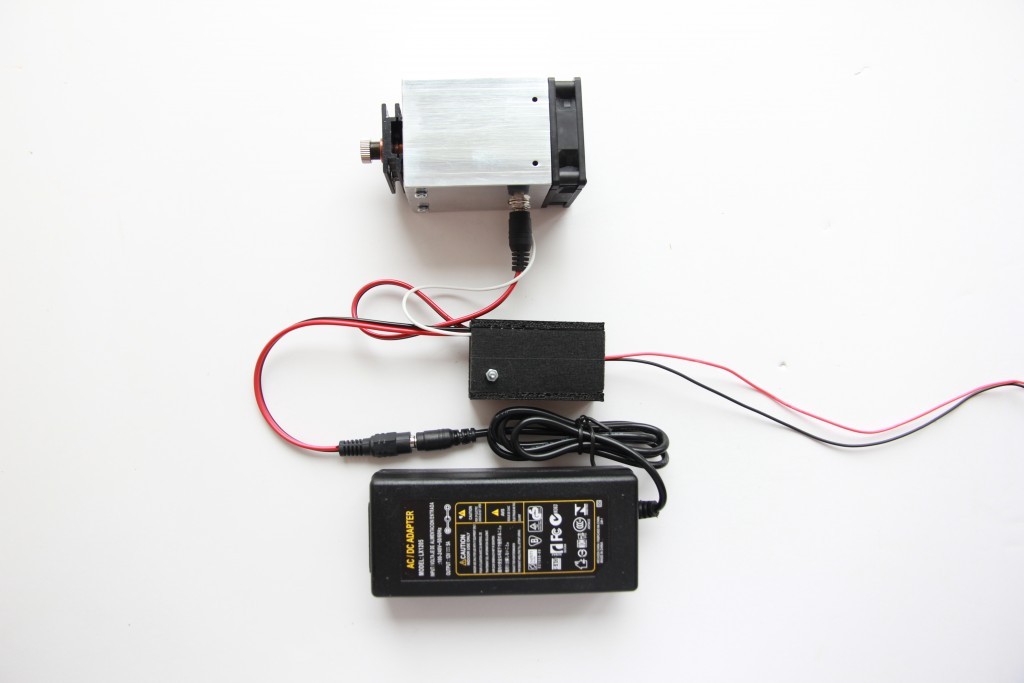
(for the lasers with a build-in laser driver inside the housing)
White wire from the laser (TTL) is connected with 12V power.
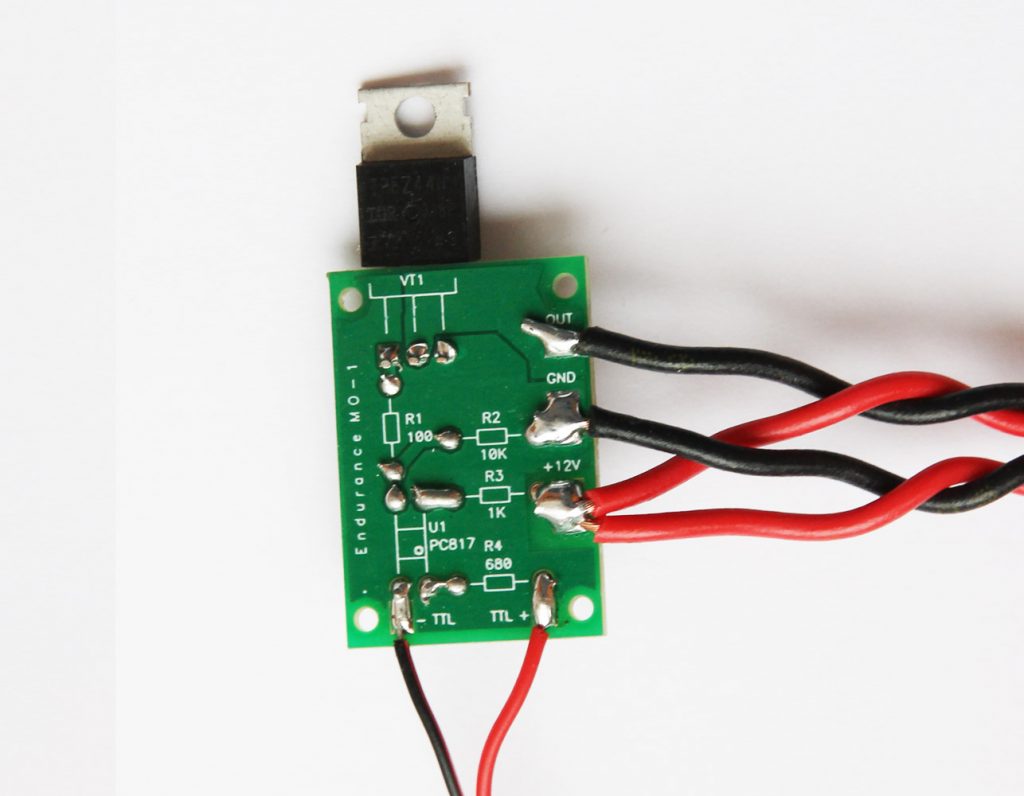
Endurance MO1 PCB schematic. Wiring diagram
Data & a Diagram: current with a different PWM frequency vs. PWM ratio (PDF) >>>
Download an STL file for a Mo1 PCB box
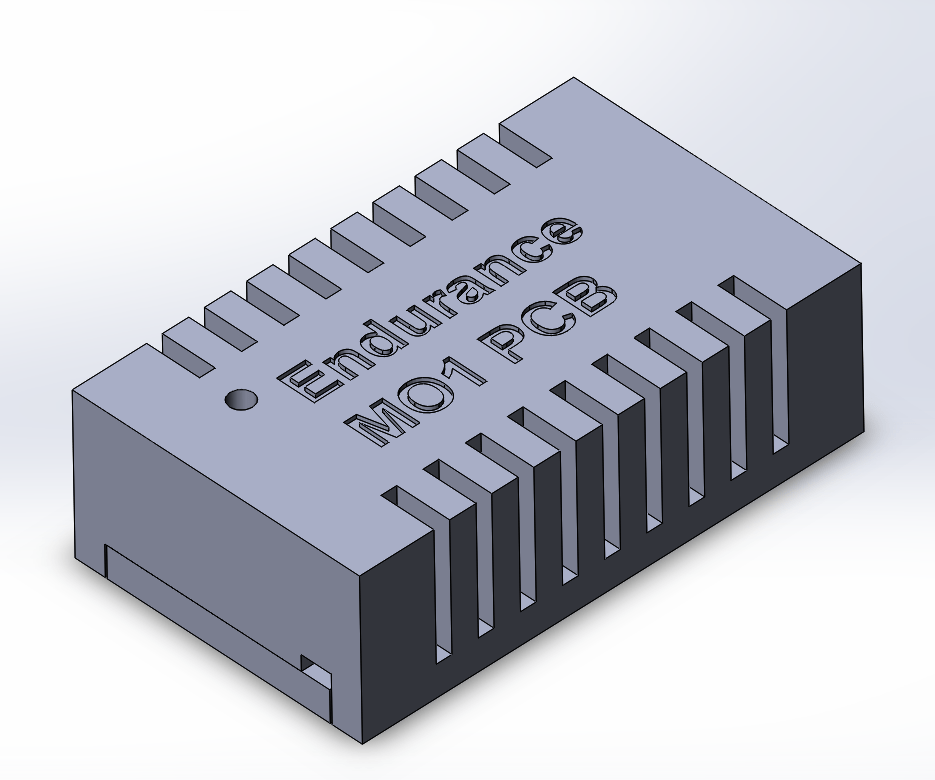
Endurance MO1 PCB STL housing (version 1) | (version 2)
Order on our online store

