Please, check the power adapter’s (voltage & current) performance. Connect the TTL wire to the 12V+ to test if the laser is working. It should work full power. Watch this video.
The laser works full power but the laser power cannot be changed
Please check the g-code parameters (S / L) used for the pin to change the power. Either your PWM does not change the duty ratio or the contact of any of the laser connectors (if you run without TTL) is broken. Check with the voltmeter and ammeter if the voltage on this pin changes. Watch a video about TTL signal. Arduino with TTL.
I did everything as described but the laser does not work
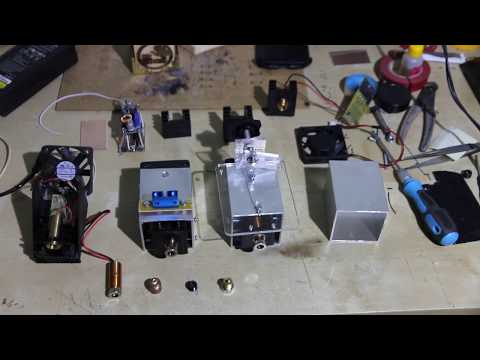
We need to see a detailed photo and video of what you have done to help you with further steps. Sometimes 13N10 or LM338 die and need to be replaced. We will guide you how to do that.
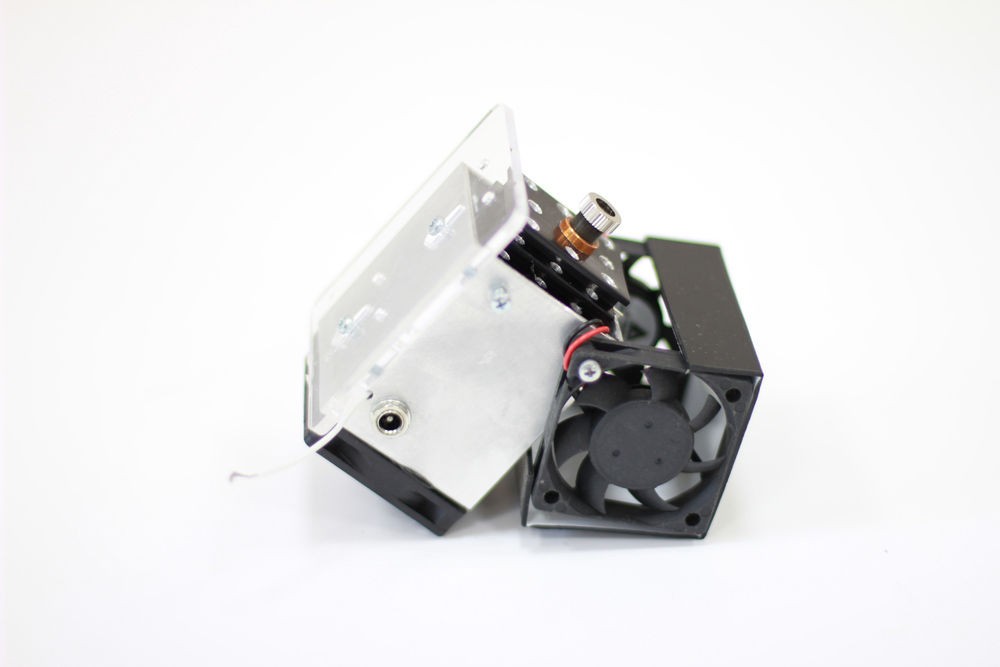
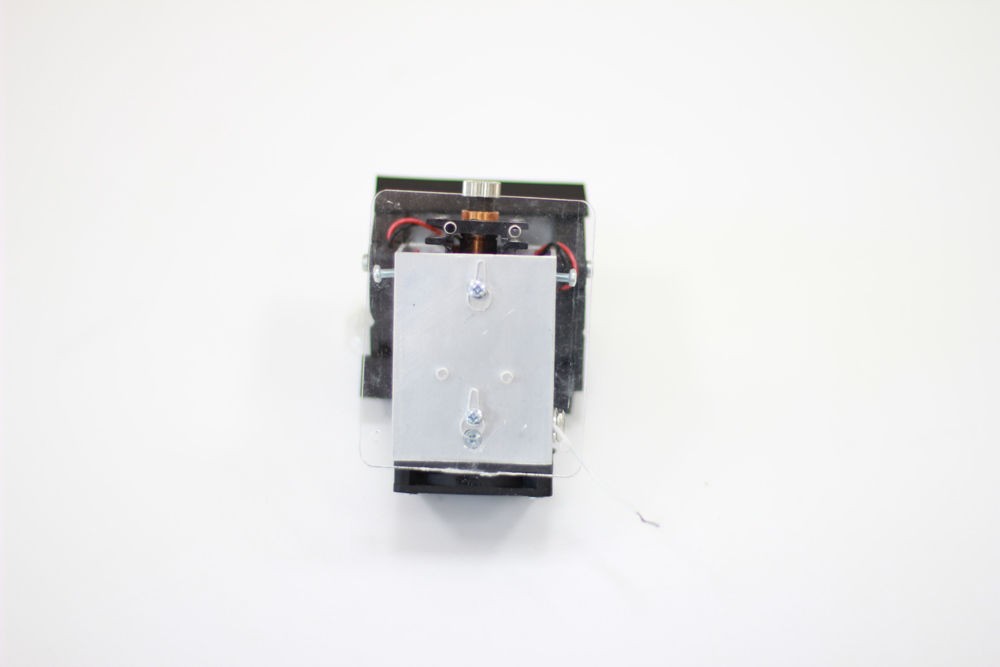
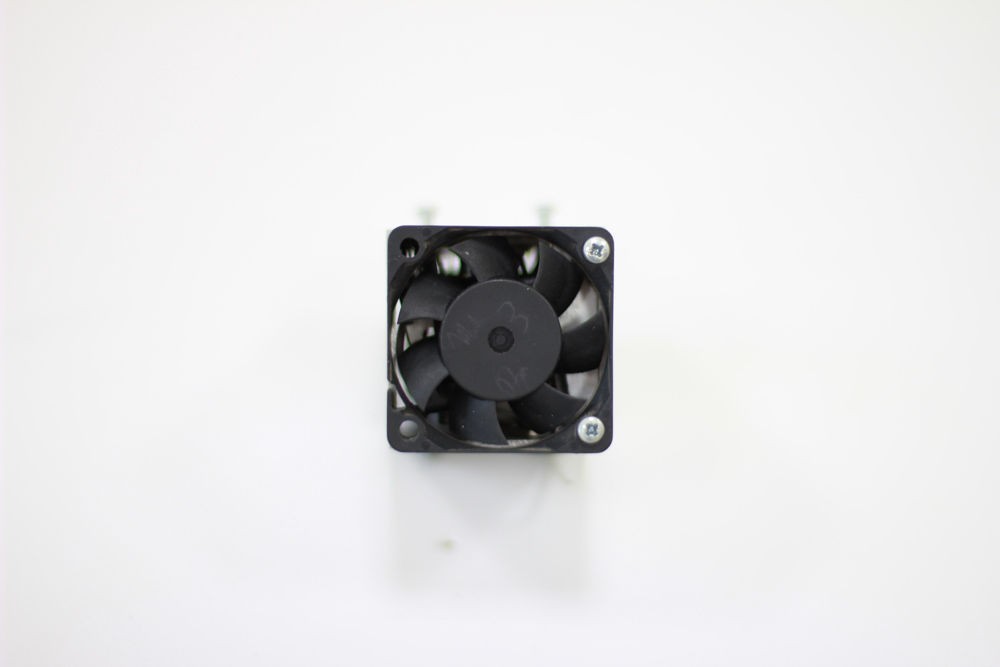
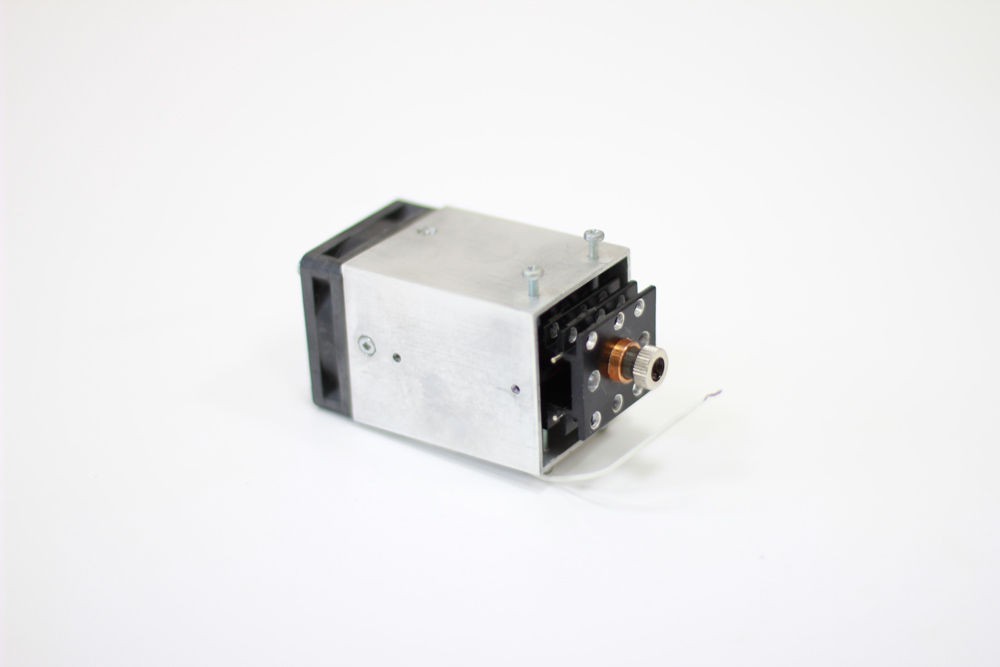
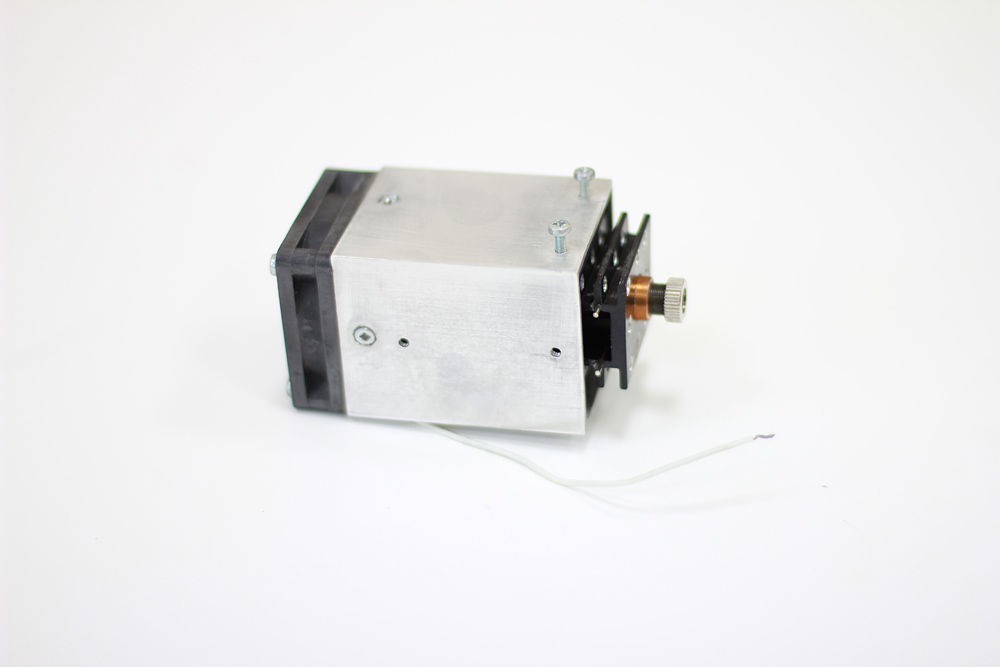
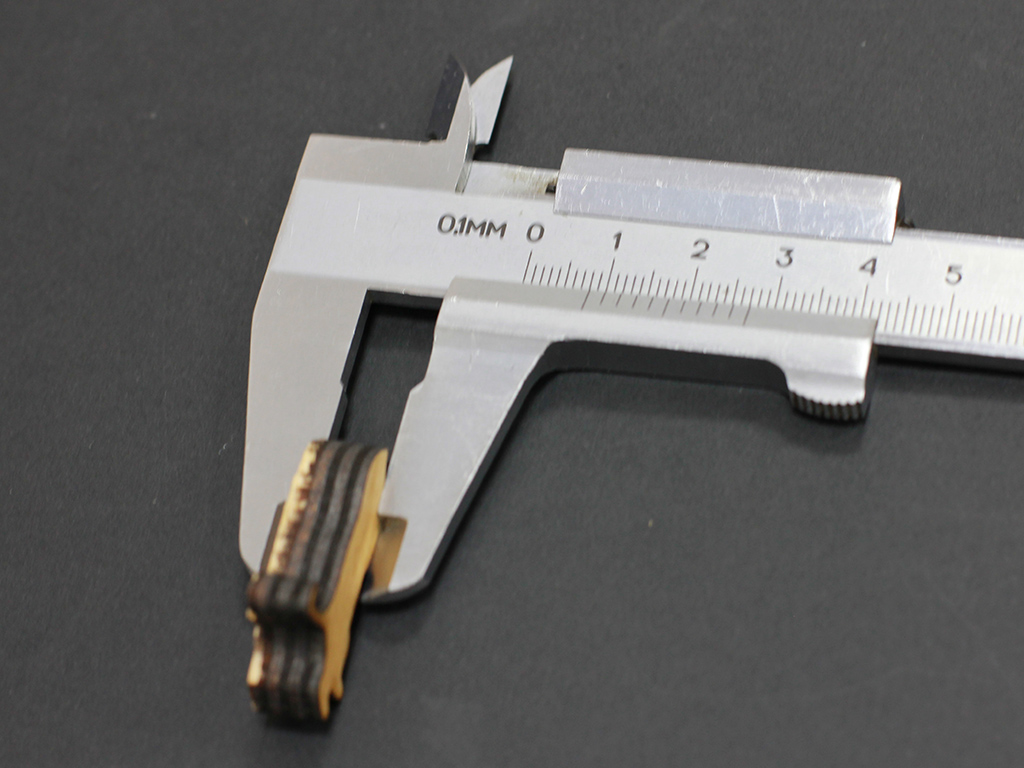
Endurance MO1 PCB does not work
The Endurance MO1 PCB is a quite a simple circuit and works pretty stable, however, there is a simple way to check it out. (described on this page + video guidance)
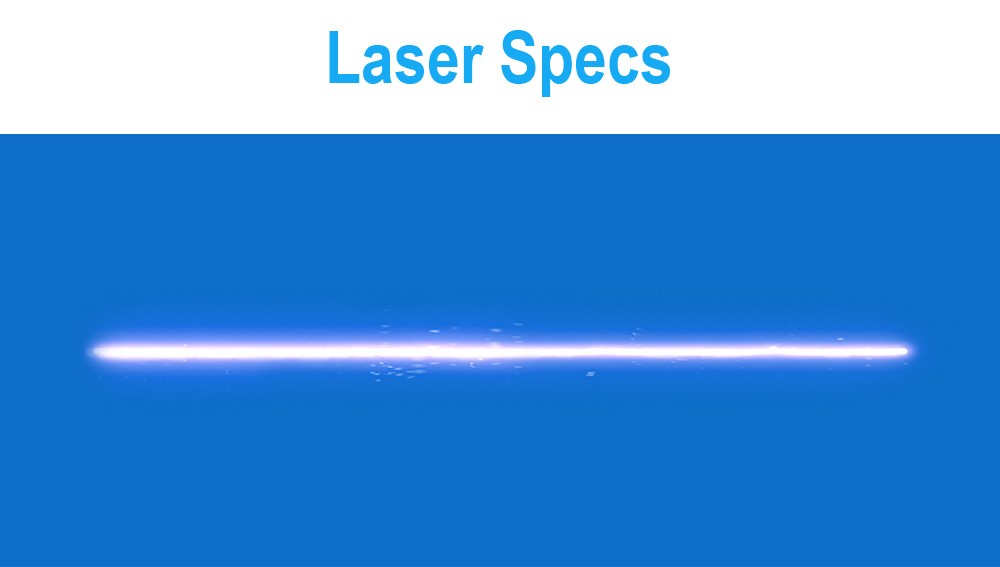
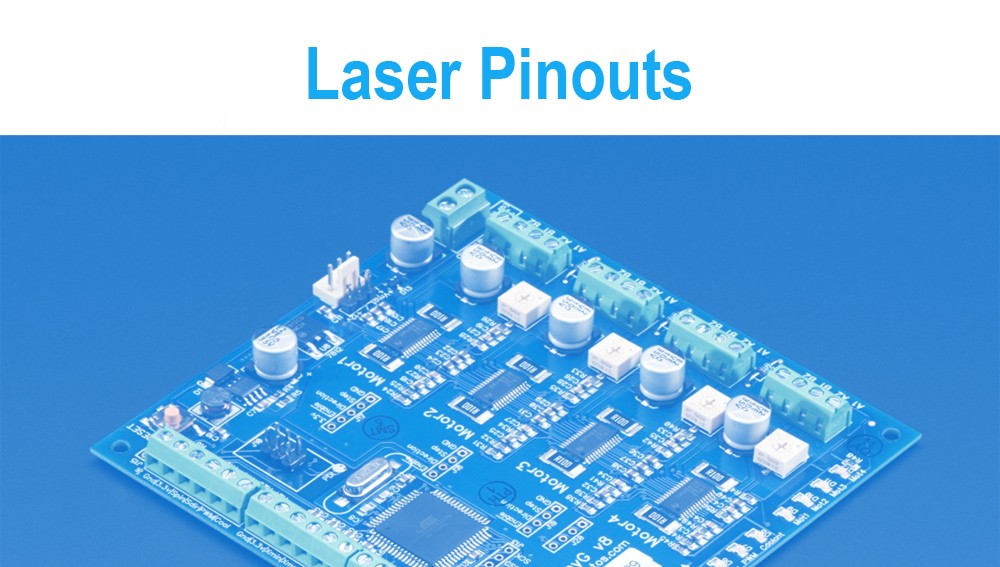
How do I find a proper pin to connect the laser?
We provide an ultimate guidance and tutorials. The laser is usually connected to the fan output on 3D printers or spindle output on CNC machines or can be connected to any other pin that is controllable, such as: D11 on the Arduino Nano. Detailed pinouts you may find here.
The laser lost its power.
The probability that this might happen is 5%. It might happen due to overheating. Avoid the laser diode and laser control board overheating. Check the temperature of the heatsink or laser driver. They must not be VERY hot (if you can touch these elements and hold on – it means that the temperature is less than 70C). If the temperature rises too high we can guide you how to reduce the voltage going to the laser diode and causing the loss of power.
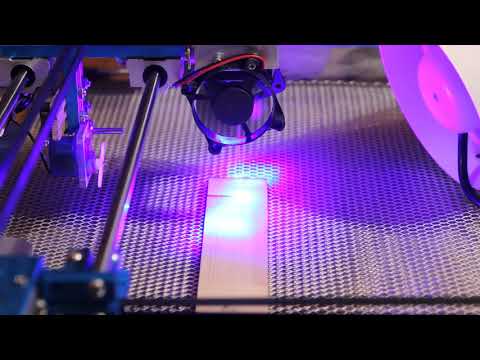
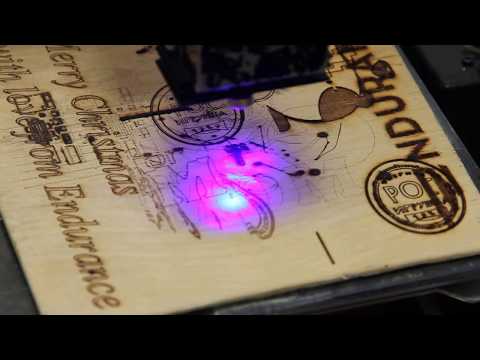
I am trying to cut 3-5mm plywood using the laser, however I still did not manage to cut it with a single pass. Please assist
use a G-2 lens for laser cutting.
setup a perfect focus on a G-2 lens (make sure that focal range is something like 4-8 mm)
make sure that a plywood is very dry (you may use a 3D printer bed to warm it up)
speed parameters should be 50-150 in your g-code
make sure that the plywood is not specially treated with anti-inflammable materials
make sure that the laser runs full power and you have enough power that goes to the laser
make sure that the lens is clean and has no dust on it.
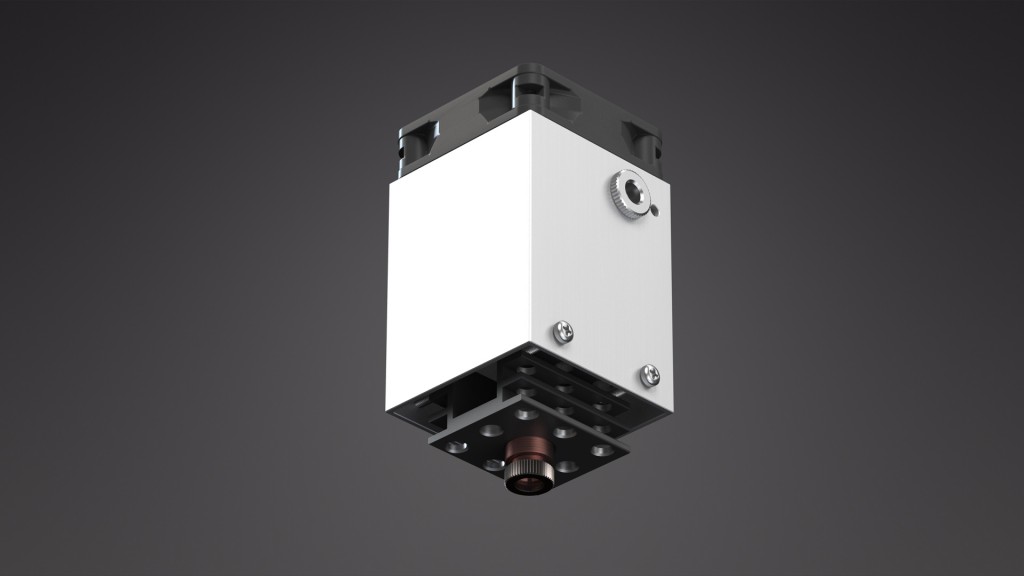
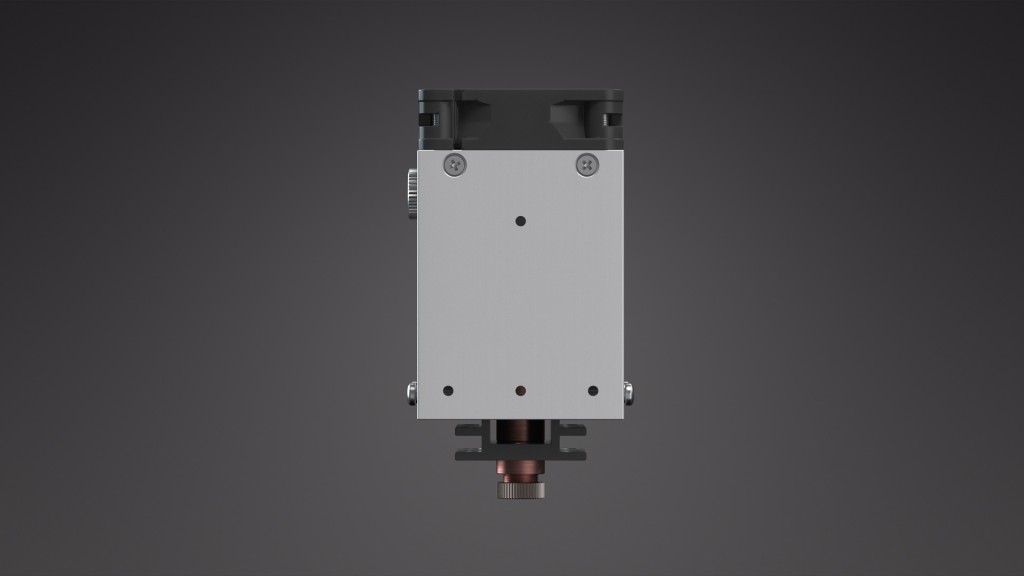
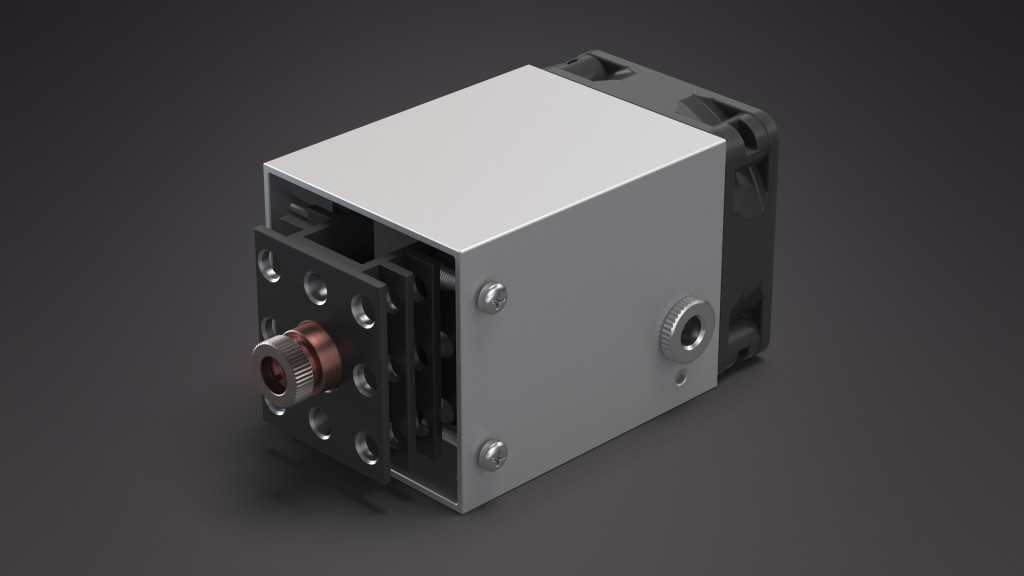
Диодный лазерный блок 5,6 Вт (5600 мВт) для любого 3D-принтера или ЧПУ-роутера. Инструмент для лазерной резки и гравировки. Лазер 5,6 Вт – это самонастраивающееся устройство (Plug and Play), установка драйверов и подключение происходят автоматически. С этим лазером вы можете делать гравировки и резать самые разные материалы, такие как фанера и дерево, МДФ и бальза, акрил, PLA и ABS пластик, войлок и ткань, бумага и картон, ДВП, камень, стекло, анодированный и окрашенный алюминий и многие другие.
Работа полупроводникового (диодного) лазера Endurance 5,6 Вт (5600 мВт)
Мы хотим рассказать вам о возможностях, которые открывает лазер мощностью 5,6 Вт.
Описание лазера 5,6 Вт
Лазер можно установить практически на любой 3D-принтер или станок с ЧПУ.
Его главное отличие от моделей мощностью 2,1 Вт и 3,5 Вт находится внутри. Лазер имеет гораздо более эффективную систему охлаждения и мощный твердотельный диод. Мы используем высококачественные диоды японской компании NICHIA с длиной волны 445 нм. Еще одно отличие – показатели потребляемого тока. Для работы требуется ток в 3-4 А, в то время как лазеры 2,1 Вт (2100 МВт) и 3,5 Вт (3500 мВт) потребляют лишь 1,7-2 А при одинаковом напряжении в 9-16 В.
Проведенные нами испытания показали, что лазер способен работать в непрерывном режиме 48 – 72 часа и, возможно, даже больше.
Особенности лазера 5,6 Вт
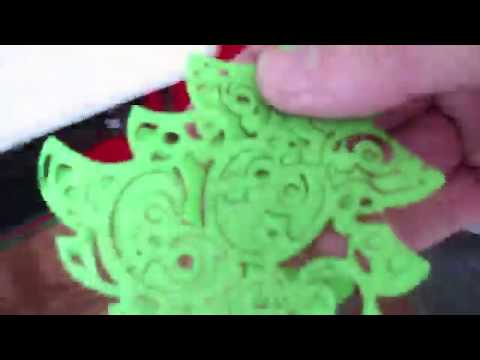
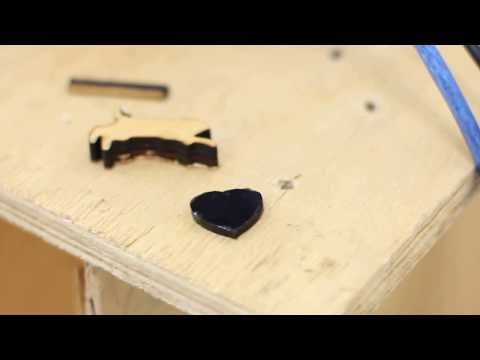
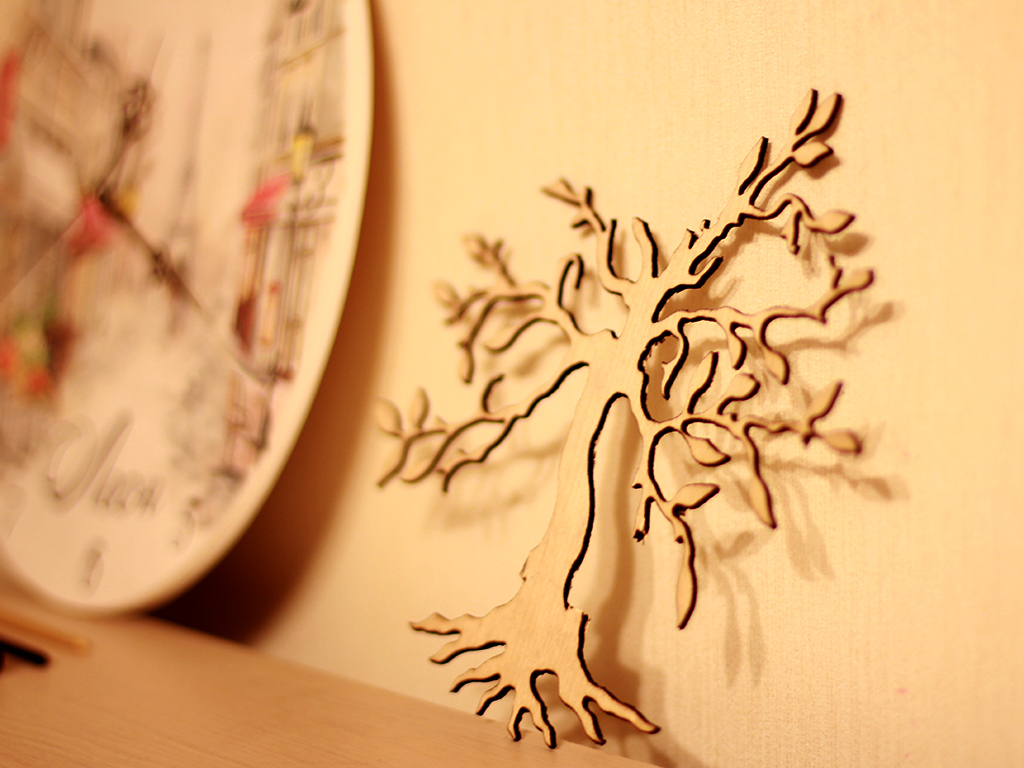
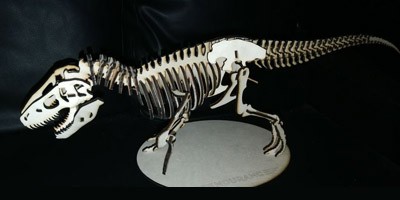
Лазер мощностью 5,6 Вт легко режет фанеру и акрил толщиной 3-5 мм (0,1-0,2″), справляется с резкой фанеры толщиной даже в 8 мм (1/3″) за несколько проходов (потребуется ось Z).
Последнее особенно примечательно, поскольку для резки настолько толстой фанеры углекислотному лазеру необходима мощность более 60-80 Вт.
Возможность лазера резать 8-миллиметровую фанеру и 5-миллиметровый акрил позволяет нашим клиентам решить множество практических задач. Вы сможете создавать удивительные шедевры.
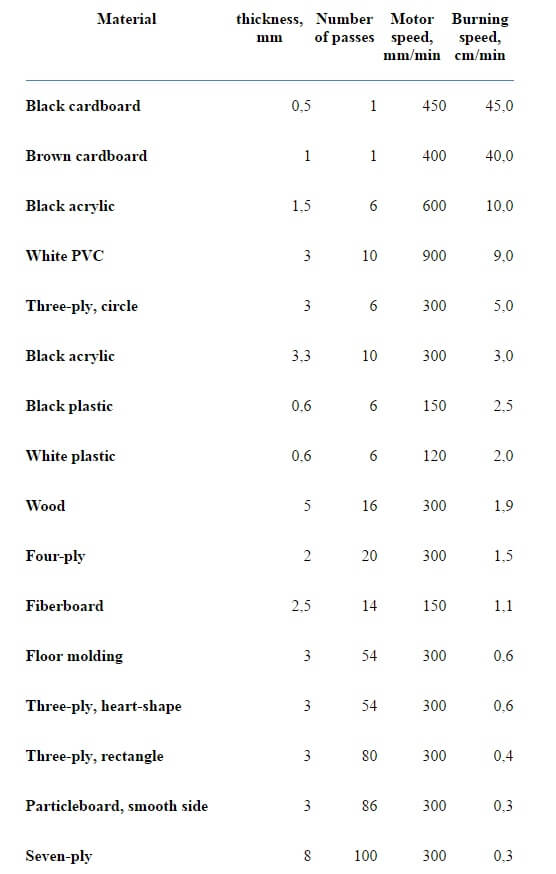
Обратите внимание, что для одних и тех же материалов в разных условиях внешней среды (температура, влажность и т.д.) могут требоваться разные параметры резки. Важную роль также играет цвет и прозрачность материала.
В таблице ниже представлены параметры резки диодным лазером 5,6 Вт для протестированных материалов.
Параметры лазерной резки
Пожалуйста, помните, что при резке пластика, акрила и поливинилхлорида необходимо использовать вытяжку или работать в проветриваемом помещении во избежание отравления ядовитыми газами (хлорином и др.).
Следует уточнить, что приведенные ниже данные являются приблизительными, поскольку существует много разновидностей материалов.
Параметры лазерной резки для лазера Endurance 5,6 Вт
Обычная длиннофокусная линза с фокусным расстоянием 2-10 см (1-4″)
Толщина фанеры
Скорость (мм/мин)
Повторения
2 мм (1/12’’)
3000
10
3 мм (1/8’’)
8000
30
4 мм (1/6’’)
500
10
Короткофокусная линза G2 с фокусным расстоянием 5 мм (1/5″)
Использовались несколько видов трехслойной фанеры. Несмотря на то, что все образцы фанеры выглядели абсолютно одинаково, полученные результаты различались.
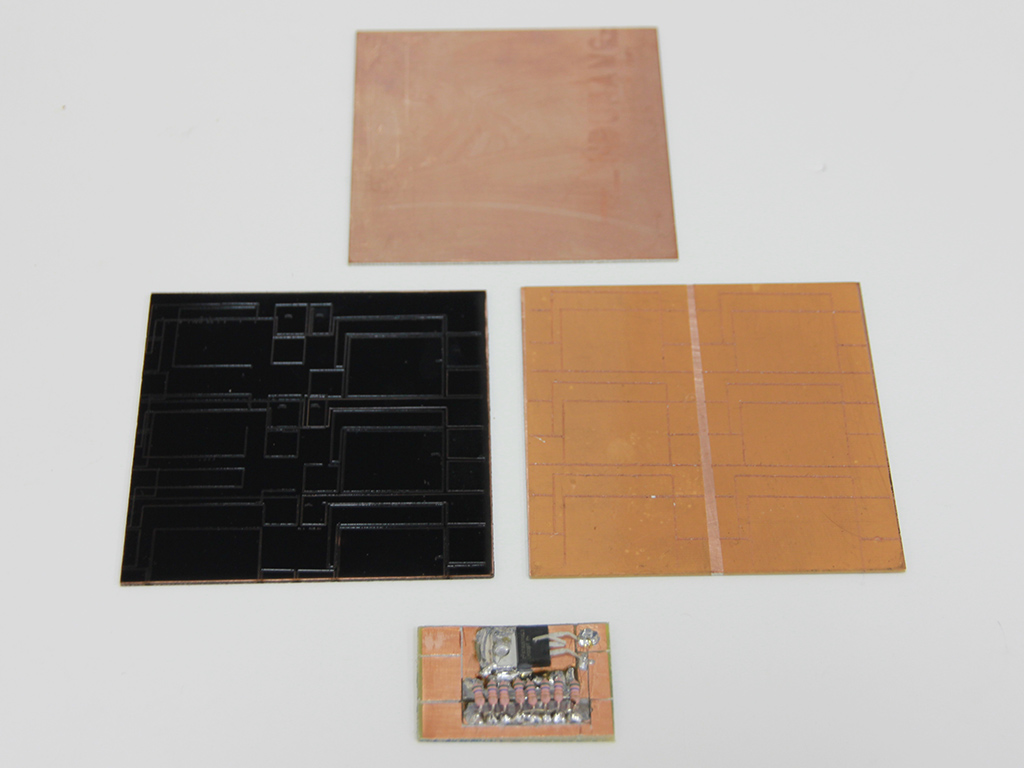
С помощью лазера 5,6 Вт вы не только сможете резать фанеру, дерево и акрил, но и сделаете заготовки для макетных плат (на медном стеклопластике) и для гравировки по алюминию.
Лазер подходит и для резки, и для гравировки. Мы писали об этом в предыдущих статьях.
Лазеры совместимы с любыми станками с ЧПУ, плоттерами и 3D-принтерами и просты в установке.
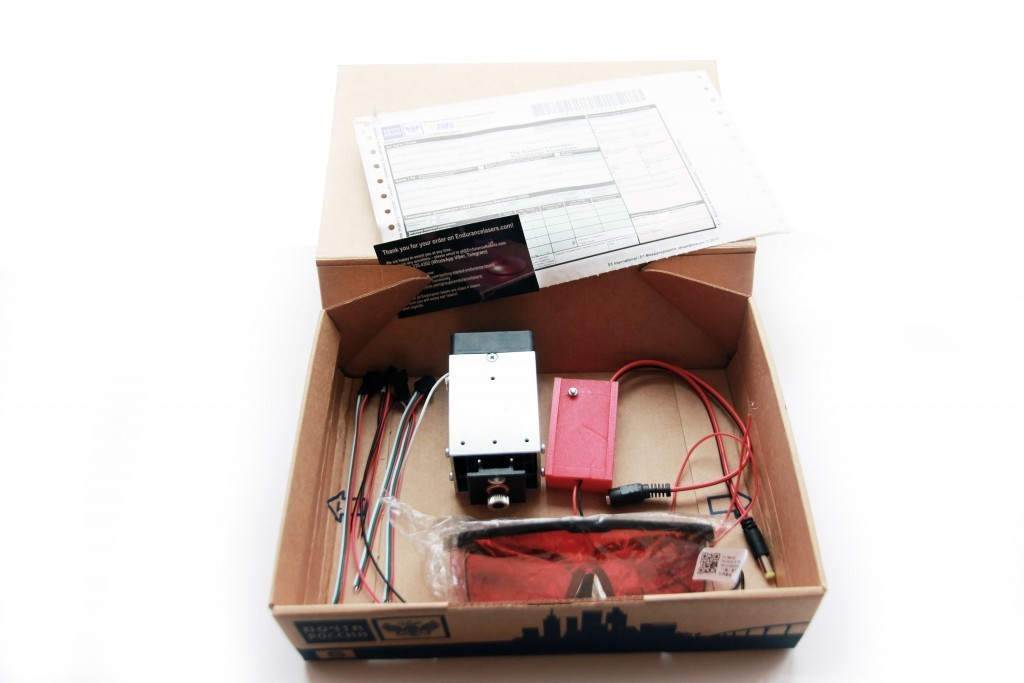
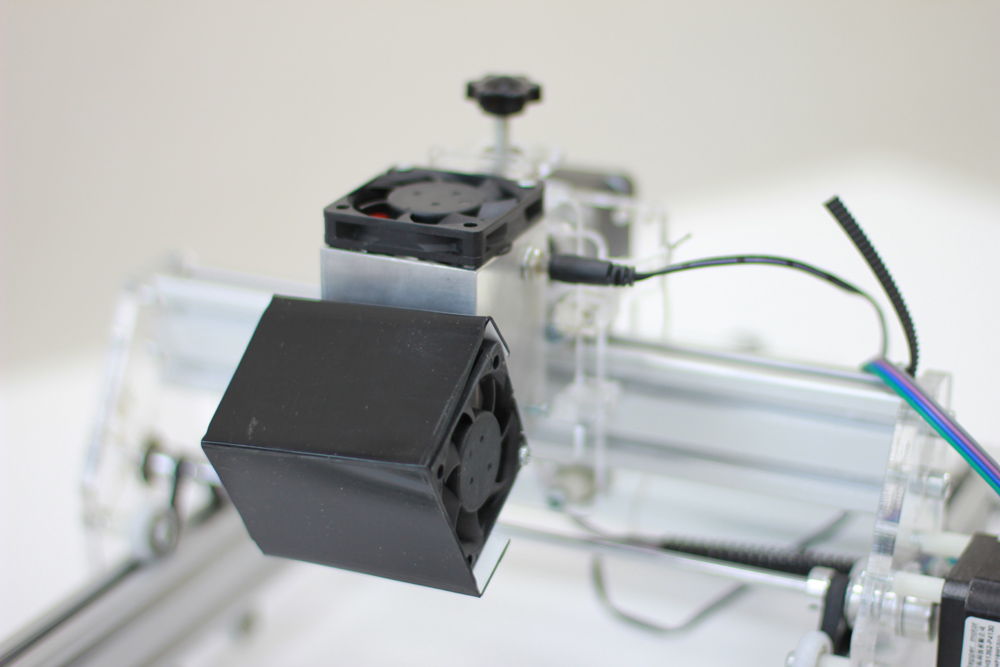
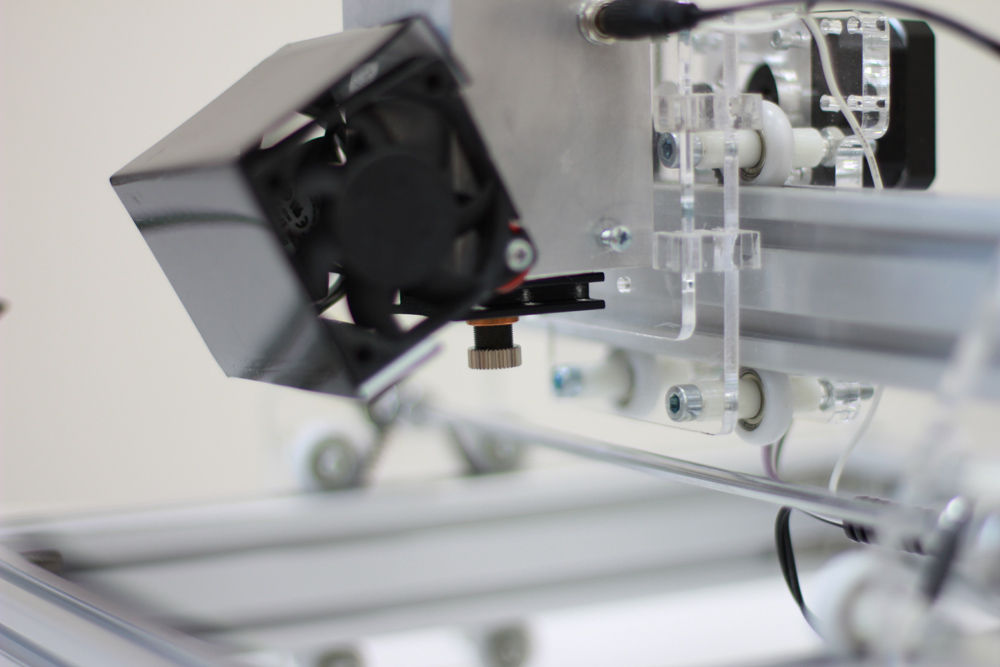
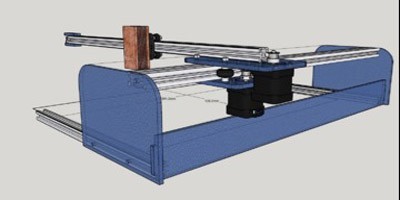
We ship everything you need to get started. It will take 5-15 minutes to mount and wire the laser to your 3D printer or CNC machine.
Plug and play
All Endurance lasers are plug and play. Just mount the laser to the spindle or extruder without removing them. Connect wires to the fan/spindle/laser pin on your board. Use the same software, just generate a g-code and run the laser from your computer or SD card.
All Endurance lasers are assembled and tested manually which reduces the risk of failure. Every single laser is been tested before shipment on a special testing stand.
Taxes and duties
All prices include all sales taxes but do not include import duties. However, in 98% shipments our customers do not pay any additional taxes or customs duties. We fill all papers carefully for each country following regulations and importing rules.
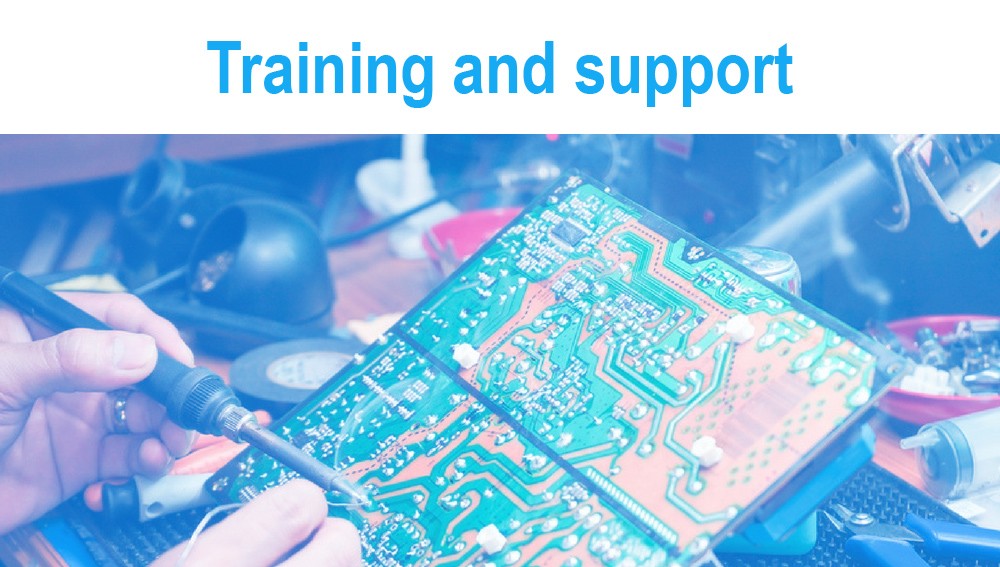
Support & help desk (pinouts inquiry)
Get an instantaneous help over any messenger indicated at the top and bottom of the page (under phone numbers).
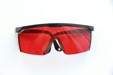
Laser safety and security
Your safety and security is our top priority. All Endurance lasers are shipped with protective goggles. Operating lasers wearing protective goggles is secure and harmless. However, if you want an additional protection you may add an acrylic plate or window to your 3D printer or CNC router. It should be made out of black, green or red acrylic. It will not let the laser light go out and will make the laser operation more comfortable. Keep in mind that Endurance lasers do not affect 3D printer bed so no additional protection is required. All Endurance lasers are class 4 lasers.
Ключевые понятия: лазерная гравировка, резка по материалам, аксессуар для 3D-принтера, дополнительное устройство для 3D-принтера, устройство для расширения возможностей 3D-принтера.
If you have any questions or concerns, please let us know, post your question here: Ask your question