How to make a pencil sharpener stylized as a sandworm from the movie “Dune”.
Not so long ago the movie “Dune” was released, after watching the idea came up to stylize an ordinary pencil sharpener under the image of a sandworm, one of the creepy monsters of the film.

Reviews of the film on the internet were mostly positive, so the film was viewed. The picture itself is incredibly beautiful and spectacular, personally, I am really looking forward to the release of the sequel.
On the Internet, I found several ideas for creating sharpeners at home, however, they have nothing to do with our idea
Later we found the following project on the Internet: https://www.cgtrader.com/3d-print-models/hobby-diy/hand-tools/dune-sandworm-pencil-sharpener
But since we are engaged in lasers, not 3D printing, we will develop the design ourselves.
To translate the idea into a finished project, we will use 3.3mm plywood.
This is a rather malleable material, it was chosen because of its simplicity. To improve the visual characteristics, you can use, for example, acrylic.
Saws, jigsaws, etc. can be used to cut and engrave plywood.
We will use the Endurance 10w Delux diode laser.
We need:
1) Laser: https://www.endurance-lasers.com/products/10-watt-laser-se-delux-laser-module
2) Any standard sharpener that can be bought anywhere or found at home.
3) Magnet
4) Washer of any size
5) A sheet of plywood of 3.3mm A4 size.
6) Two wooden skewers.
7) Any glue that can hold wood together.
8) An adhesive capable of holding together wood and metal (parts and sharpener).https://www.ebay.com/sch/i.html?_from=R40&_trksid=p2380057.m570.l1313&_nkw=%D0%BA%D0%BE%D1%81%D0%BC%D0%BE%D1%84%D0%B5%D0%BD&_sacat=0
If you want to make any changes to the project, the list may change.
1) Simulation.
First, we will sketch out all the parts in CoralDraw. (You can use any other available or convenient software for creating and editing vector images) As mentioned earlier – all parts will be made of 3.3mm plywood. 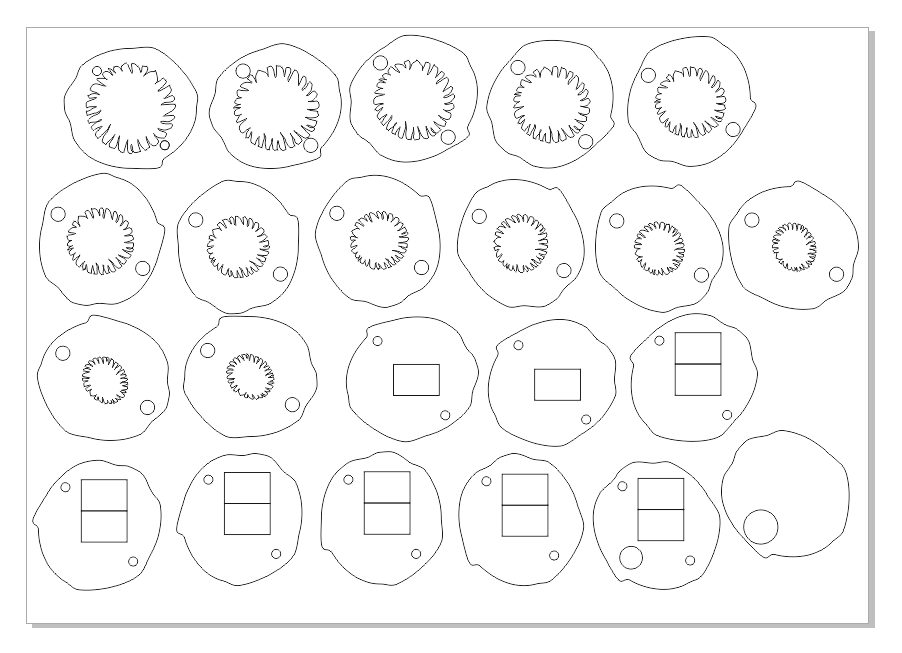
After finishing the modeling – the file was exported in SVG format for subsequent import into the machine program.
If your machine is not so large and does not allow you to cut all the parts at once, divide the parts into three groups. Approximately as shown in the screenshot below. 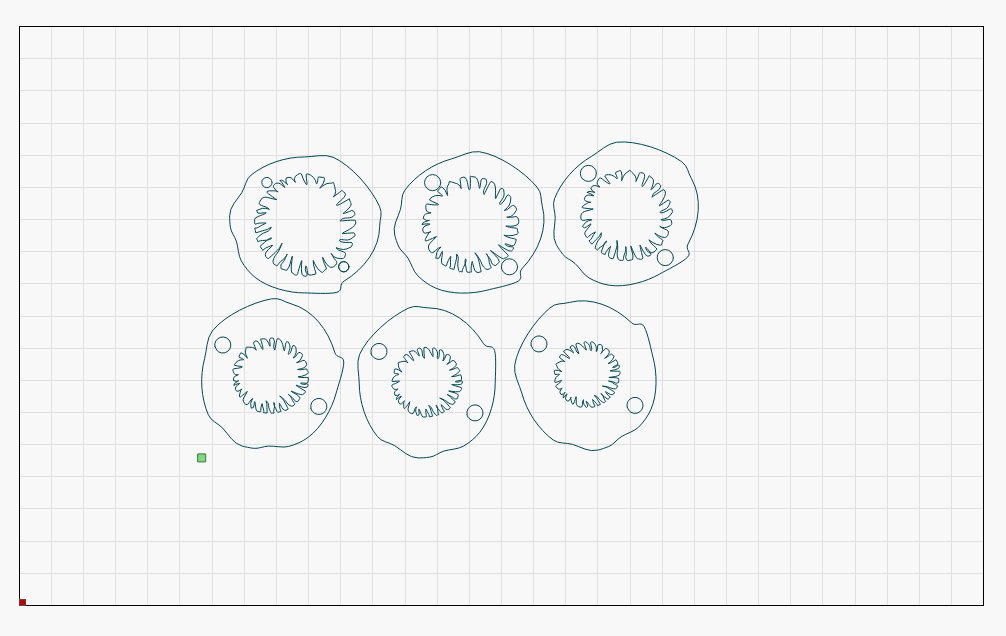
2)Cutting.
Let’s import our vector file. We put the plywood in the working area of the machine and start cutting. Blowing is very important when cutting plywood. This will preserve the lenses for a long time and improve the cut quality. Also, don’t forget about ventilation. The laser beam, when exposed to the material, vaporizes it. The fumes not only smell bad but are also harmful to health.
It is also important to remember the danger of laser or reflected laser hitting the eyes. This is fraught with negative consequences, including loss of vision. To protect against radiation, special protective goggles and green glasses are used. 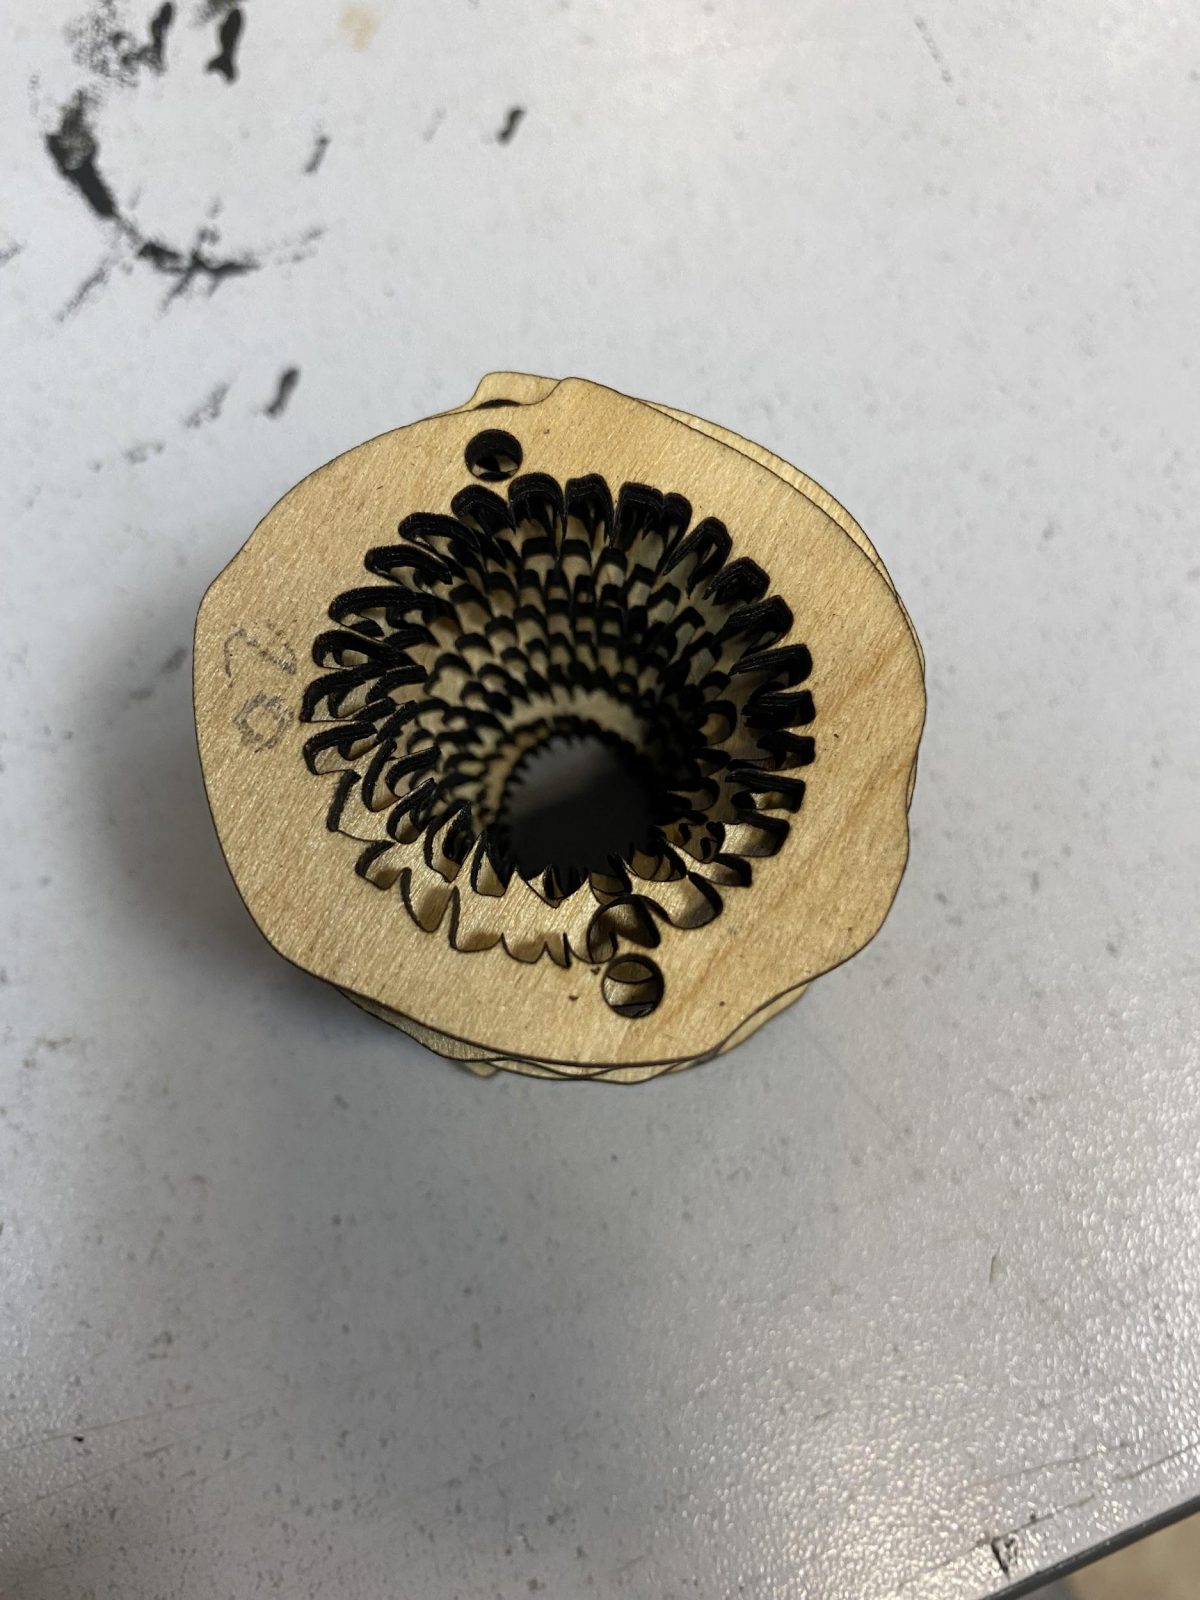
3) Assembly.
For ease of assembly, it is better to give the number of each part.
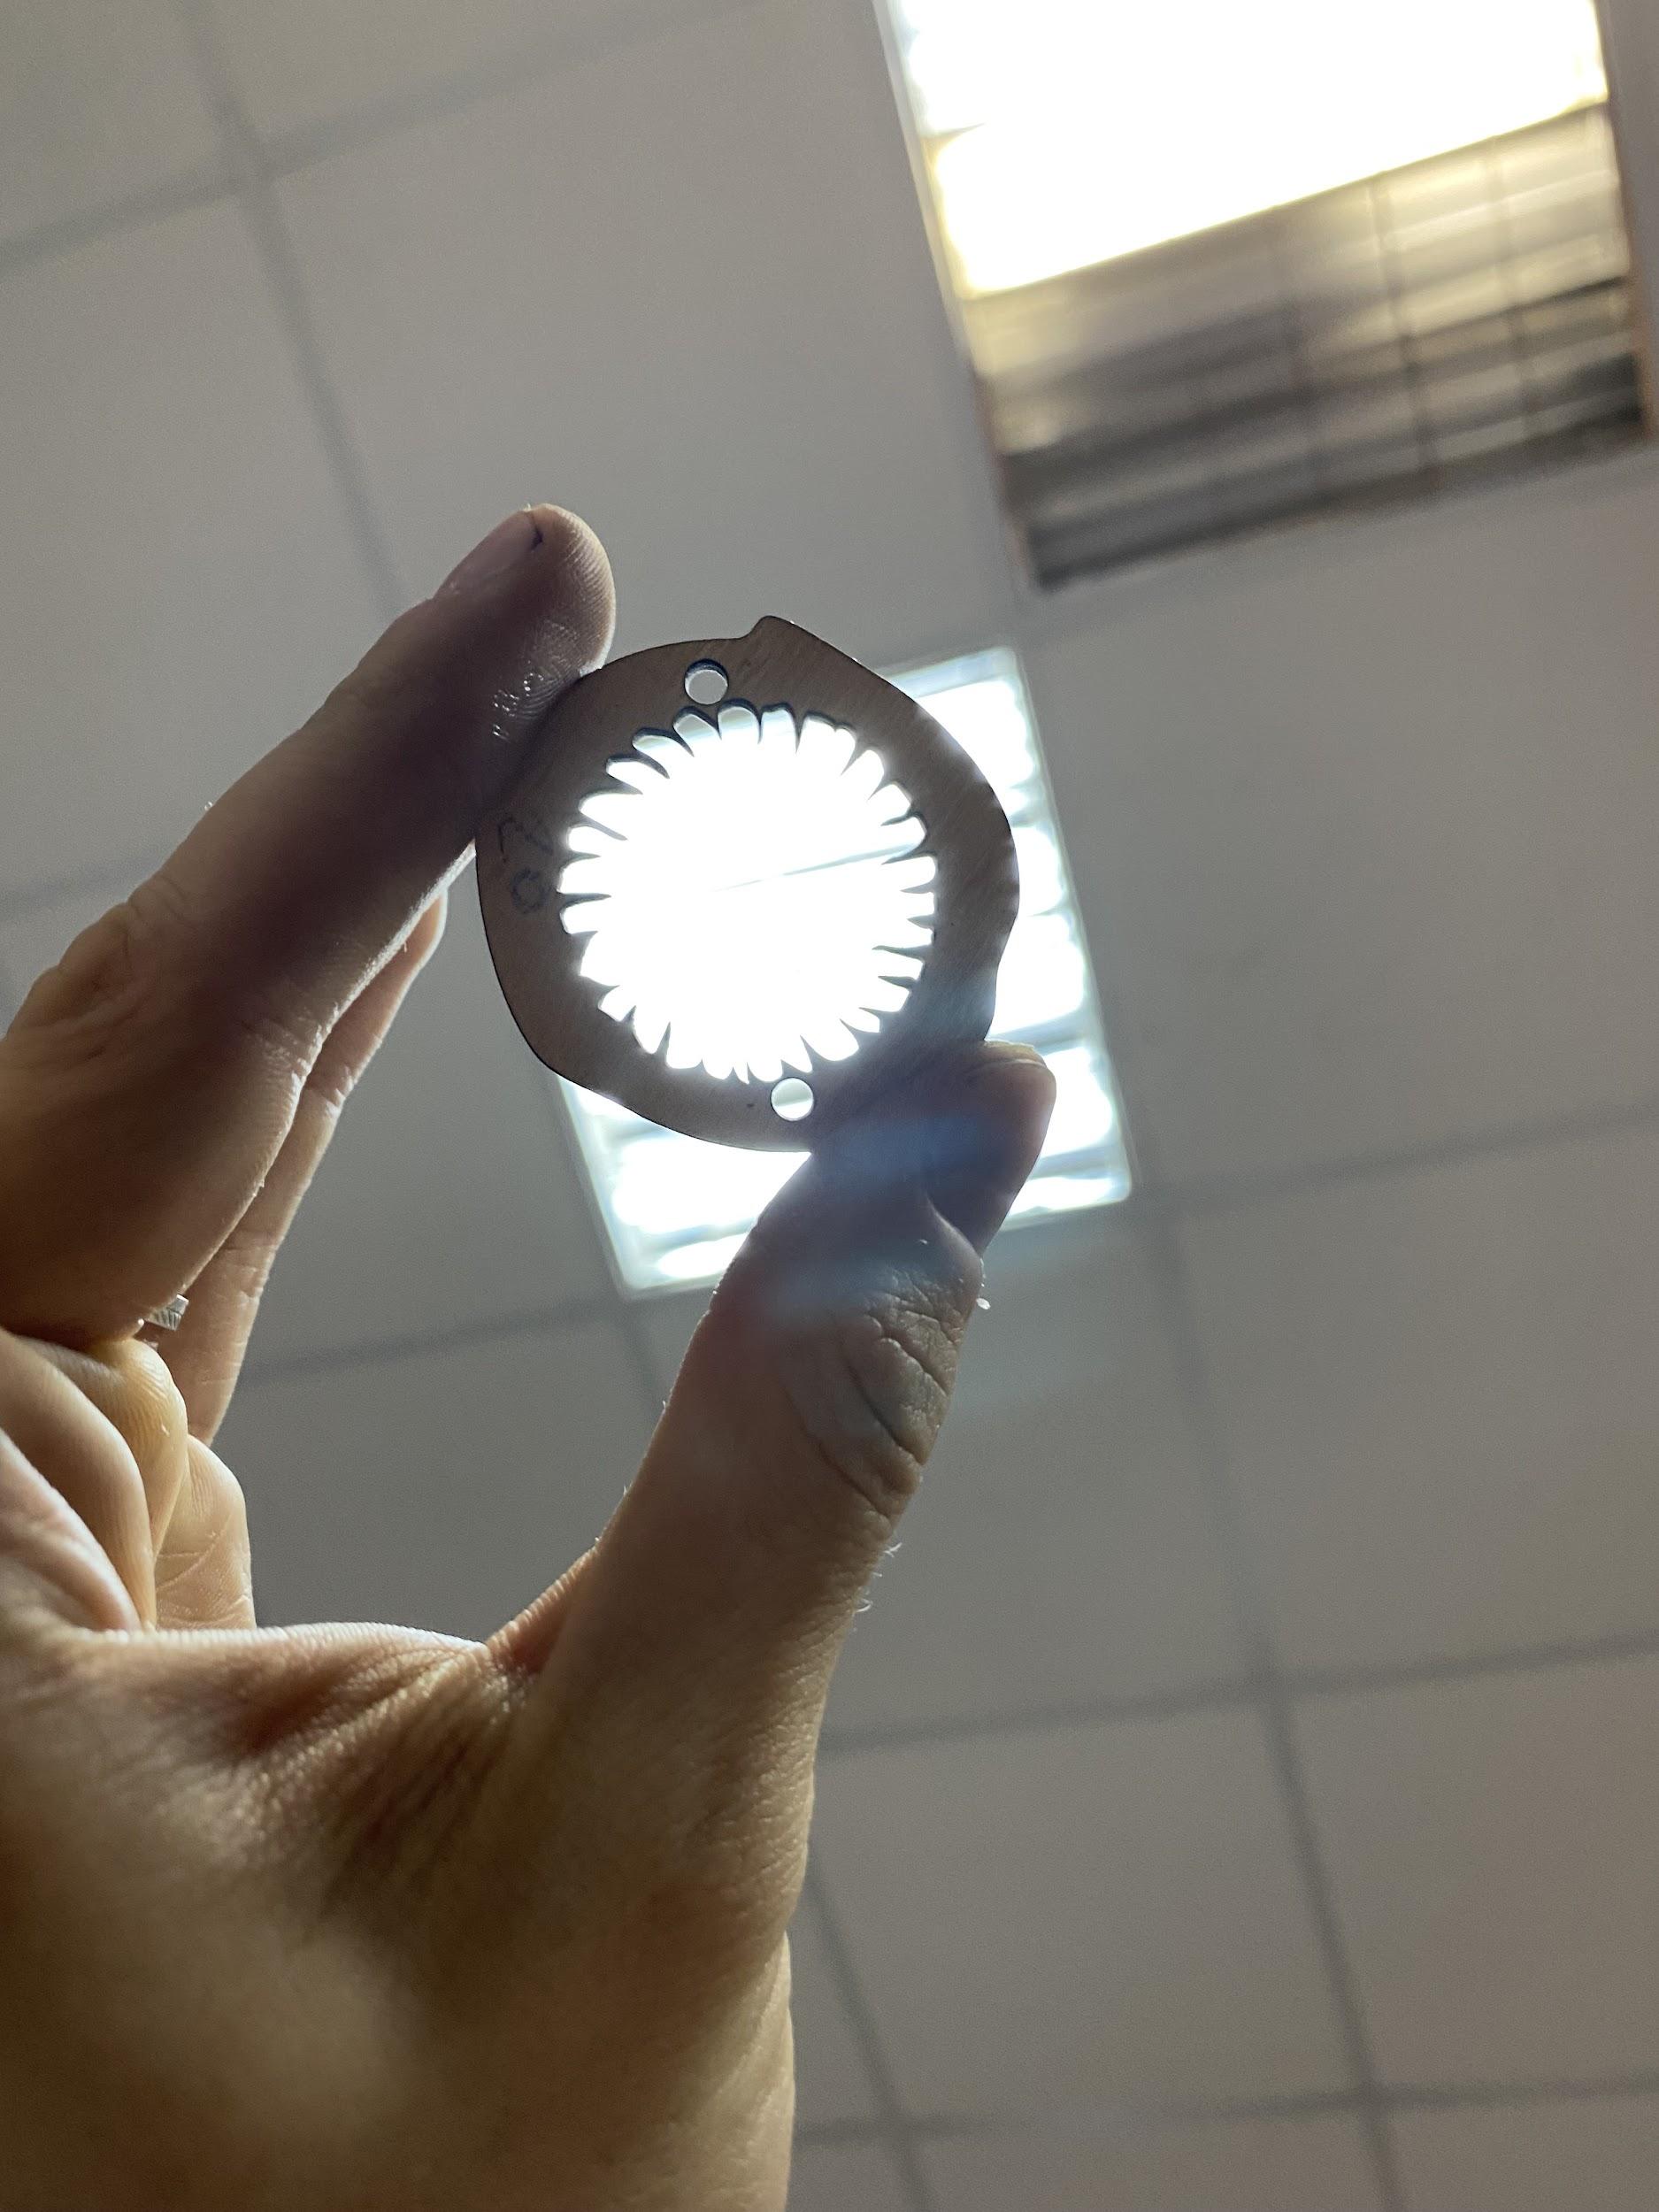
If at the cutting stage the plywood is not completely cut through or a defect has appeared, it can be easily removed with sandpaper.
In the same way, using sandpaper, you need to clean the ends of each part.
First of all, we put all the details on the skewers one by one (I use the most common culinary skewers). 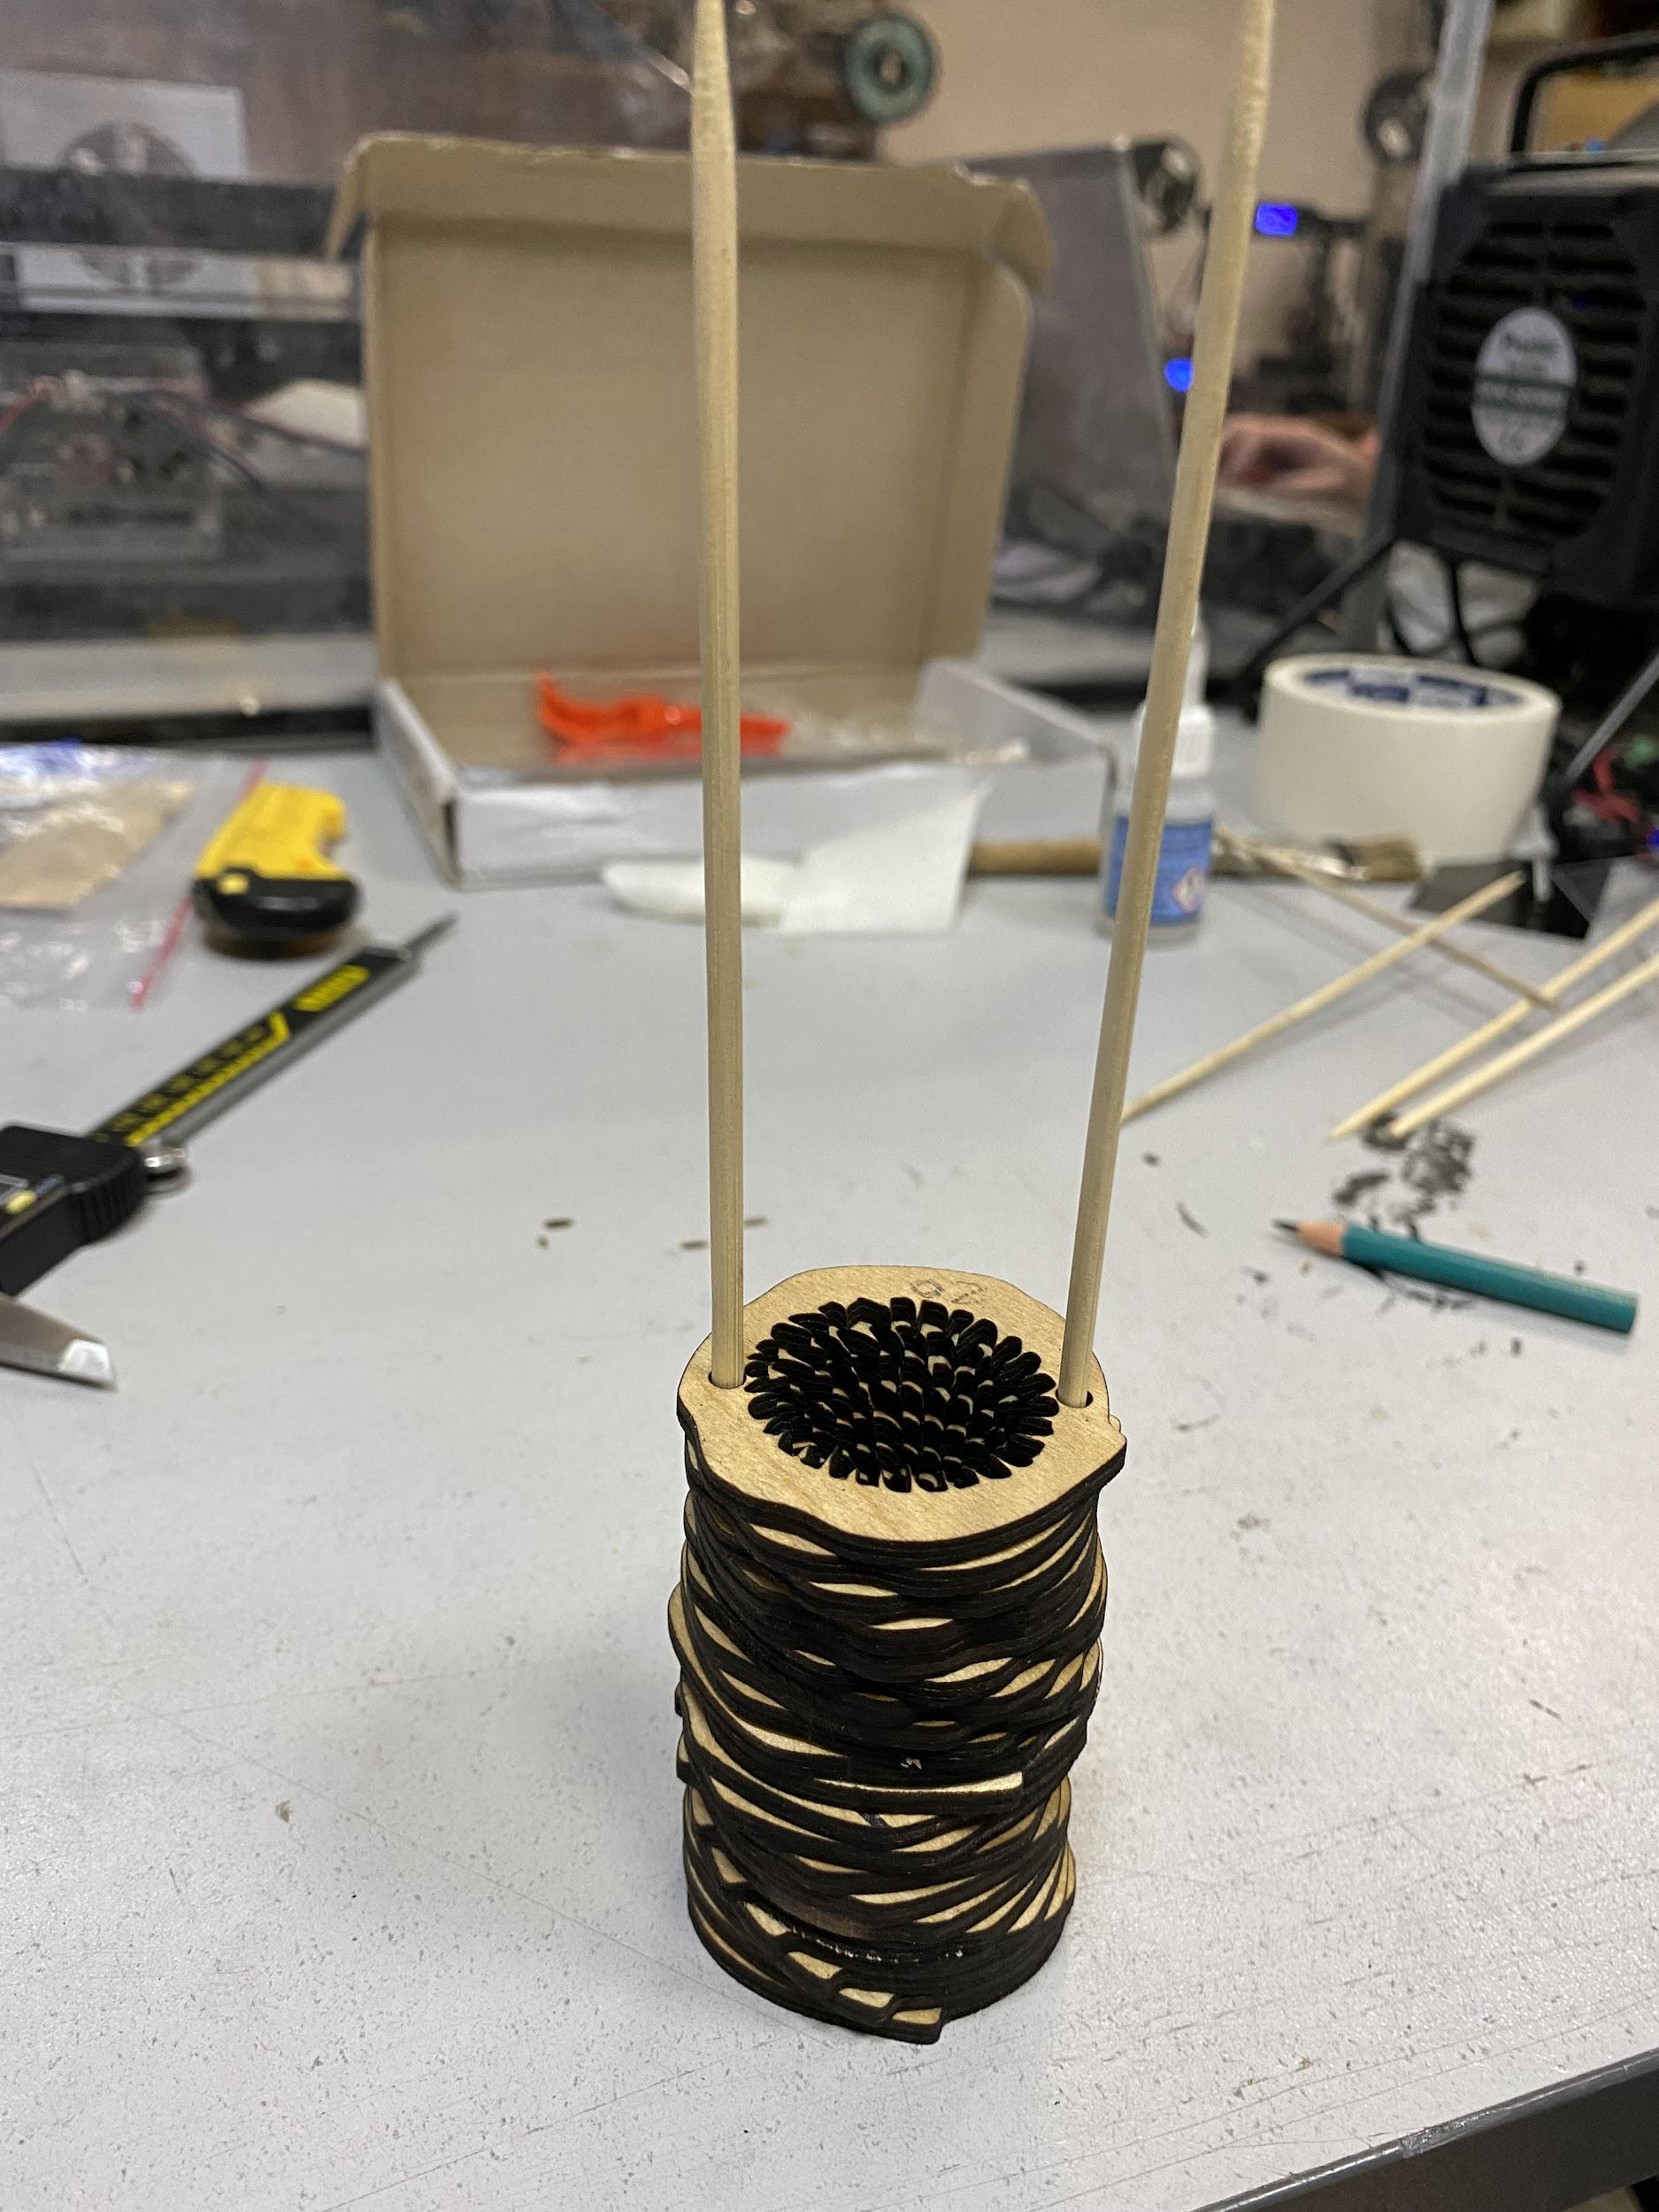
Next, we need to glue the sharpener directly to the bottom of the product.
It is very important to position the sharpener correctly – with the blade up. 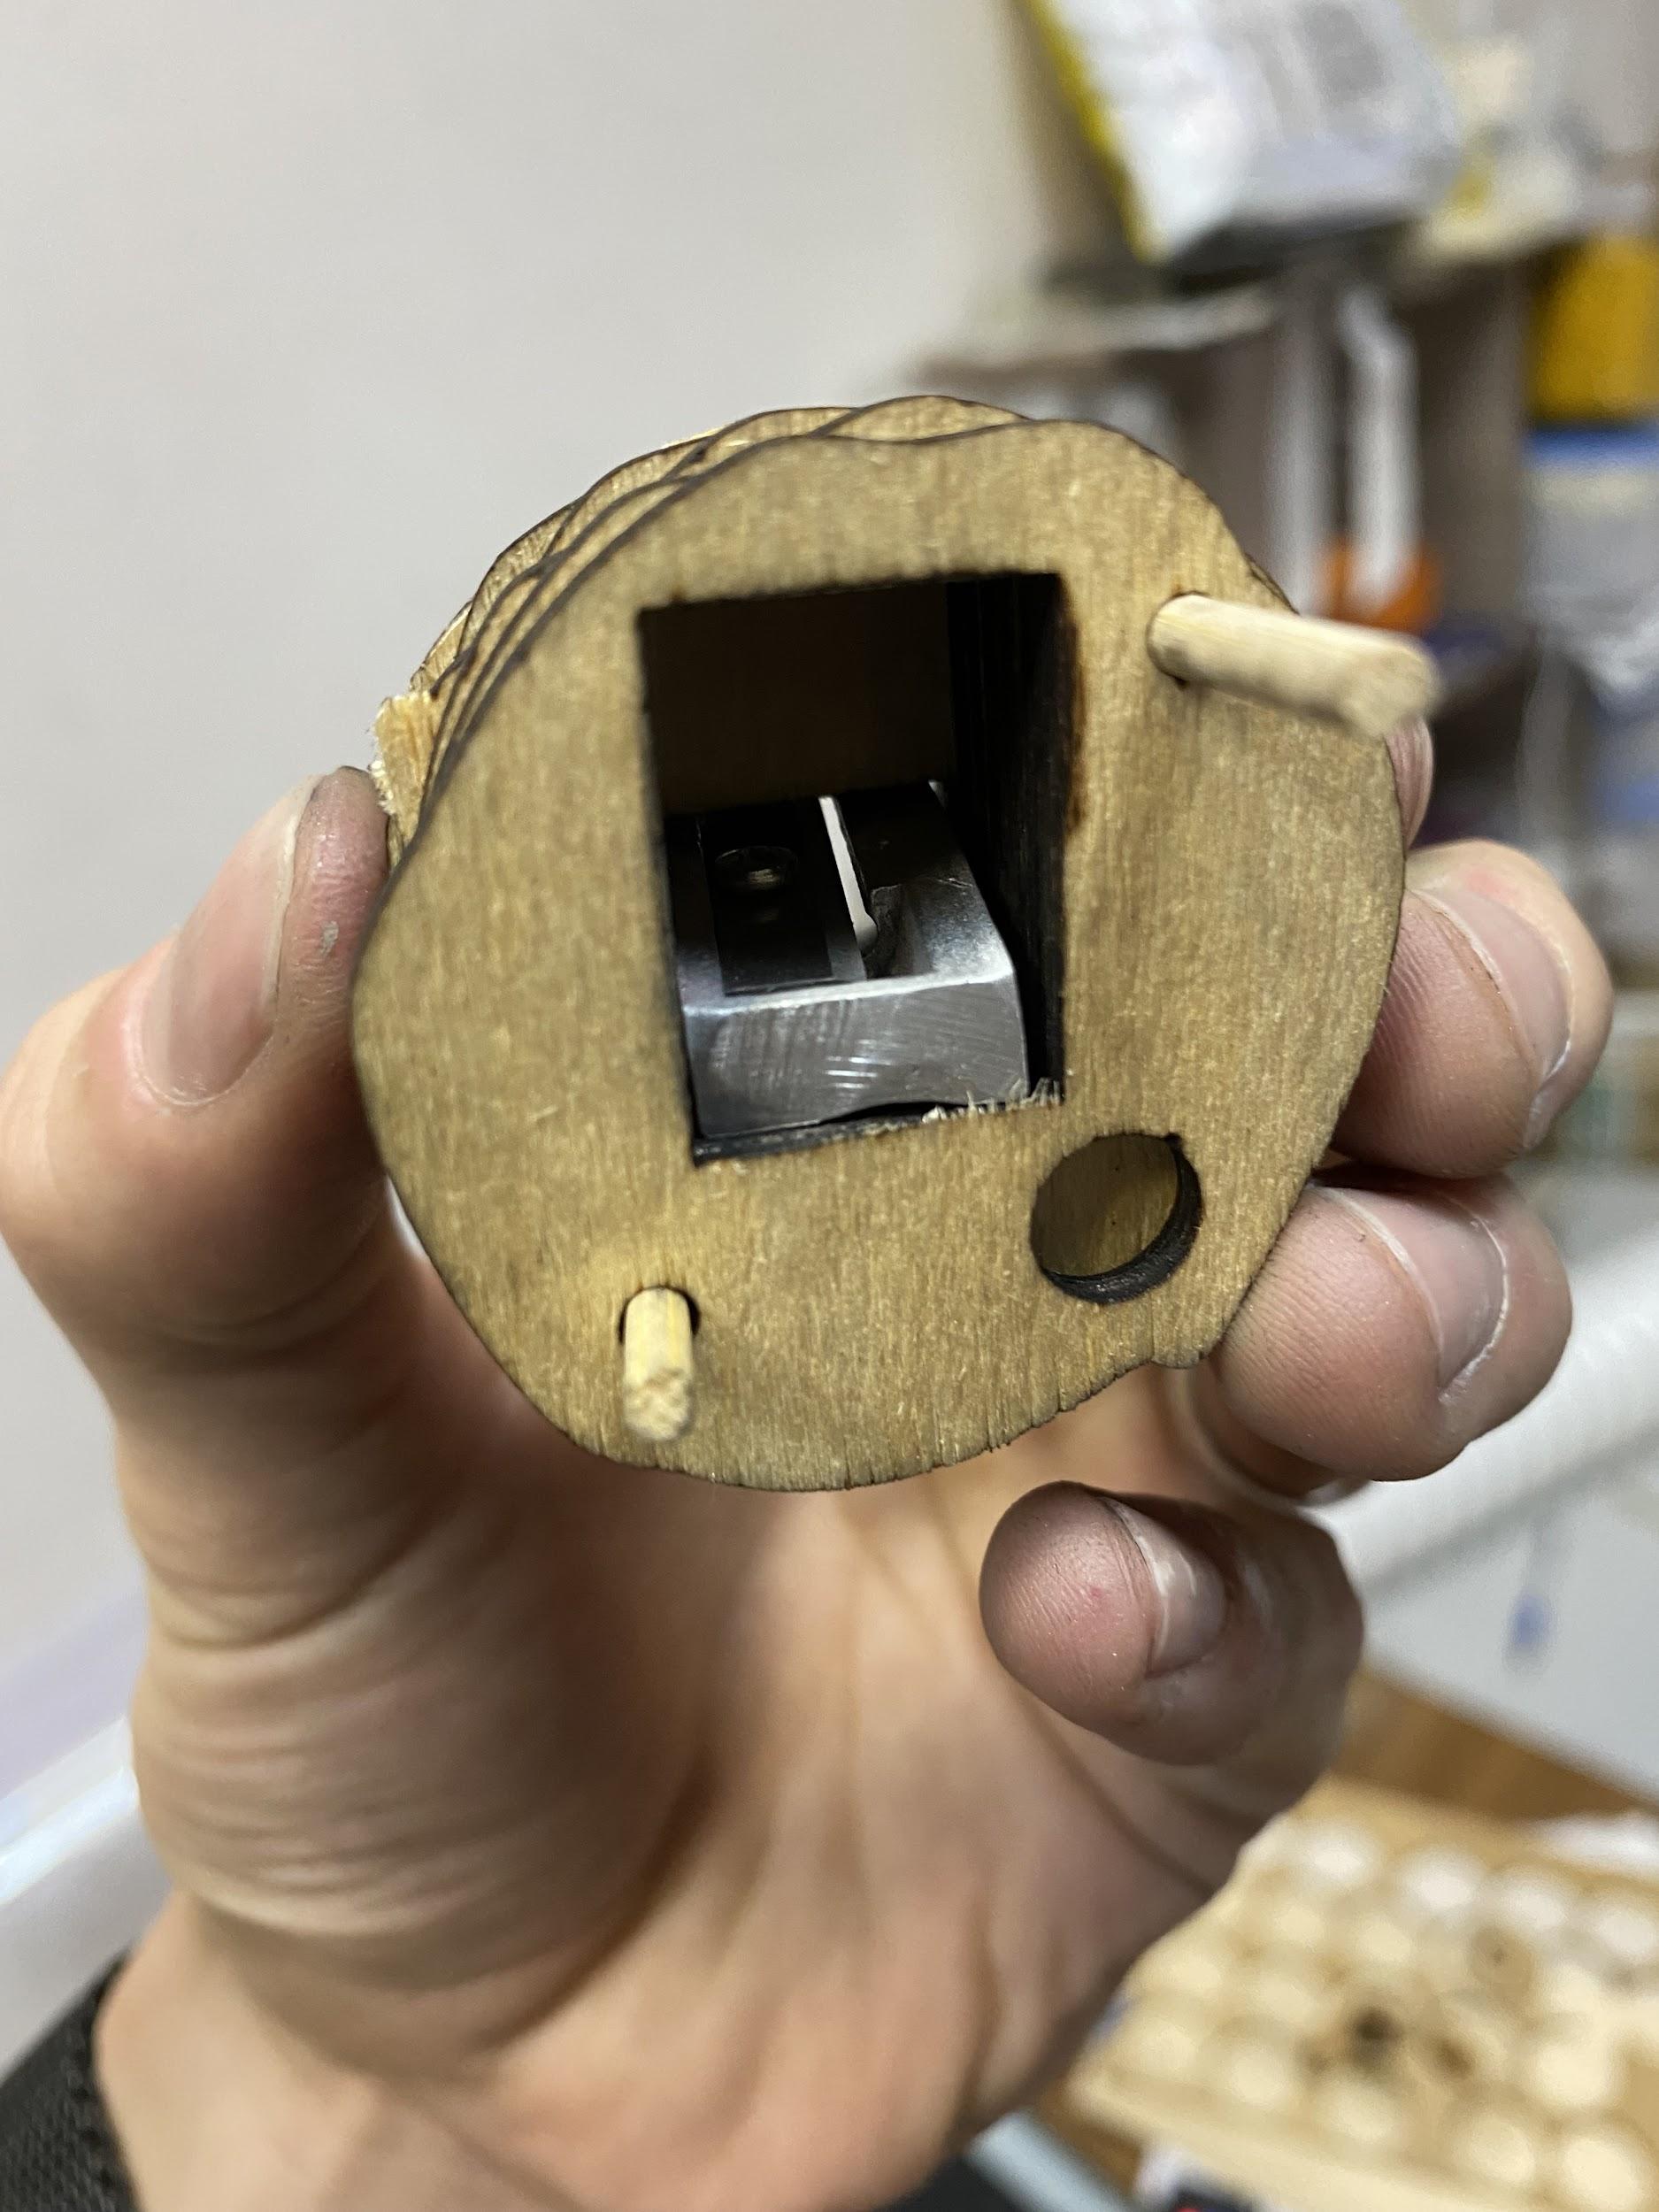
After that, glue the entry points of the skewers from above and below with glue.
NB! From above, only the upper part must be glued to the skewers. According to our idea, the rest of the links should move, imitating the insides of the worm.
All layers are glued from below together with a sharpener.
Cosmofen glue is used.
After the glue dries, excess pieces of skewers are removed with a file or nippers.
To improve the result, we use sandpaper and sanding end. 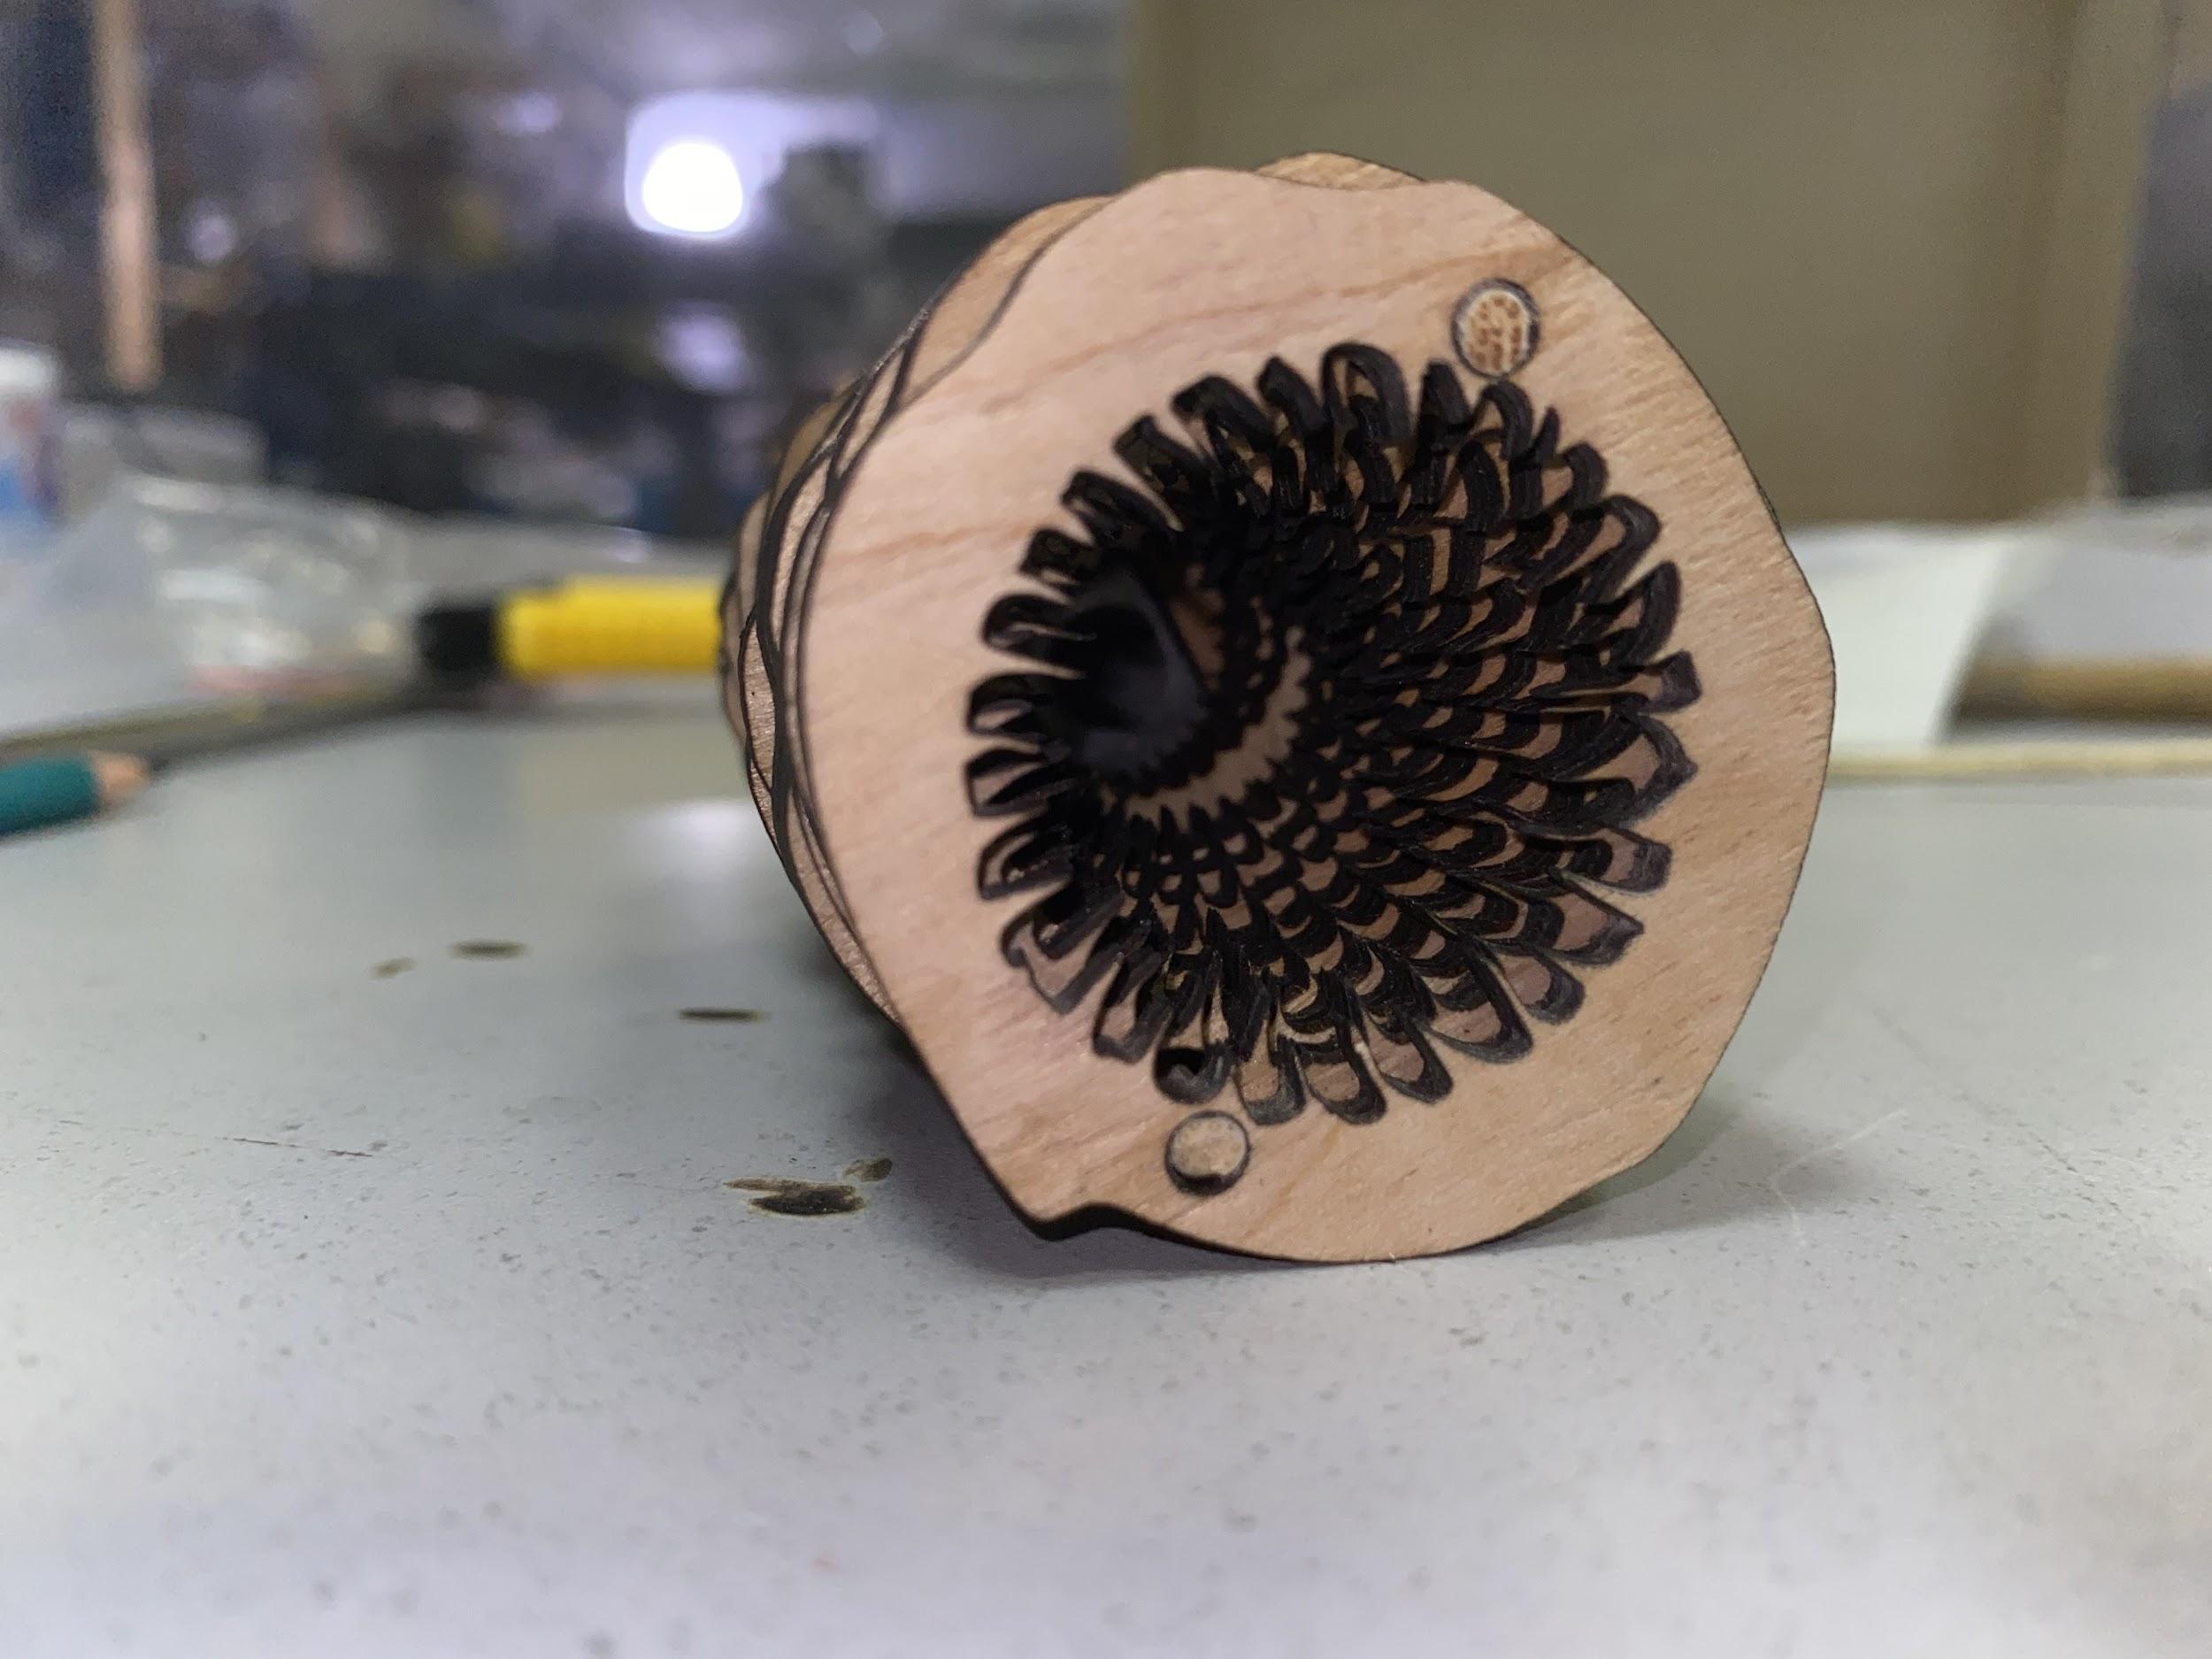
Now you can glue the magnet and washer into the grooves provided for this. 
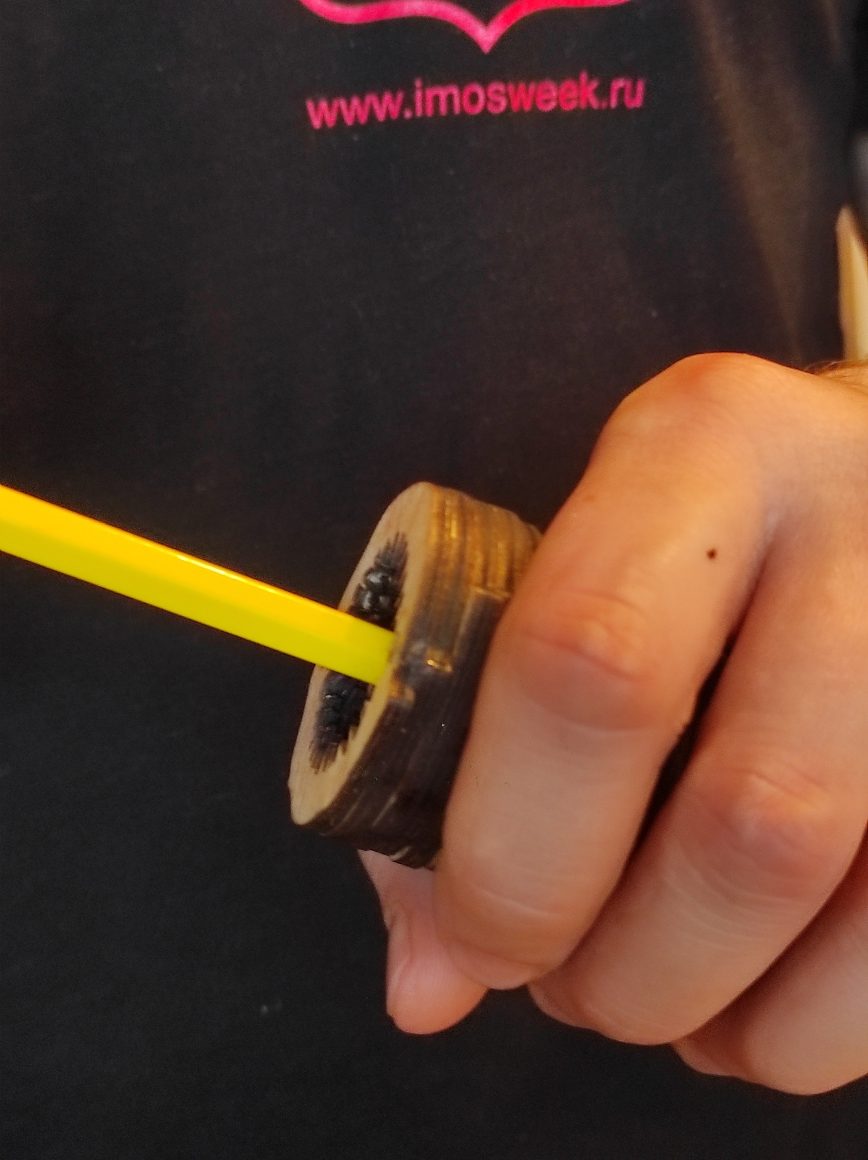
Our custom sharpener is assembled and ready to use!
Thanks for your time and let me know if you have any questions in our Livechat!
P.S. Below are the parameters of the laser. 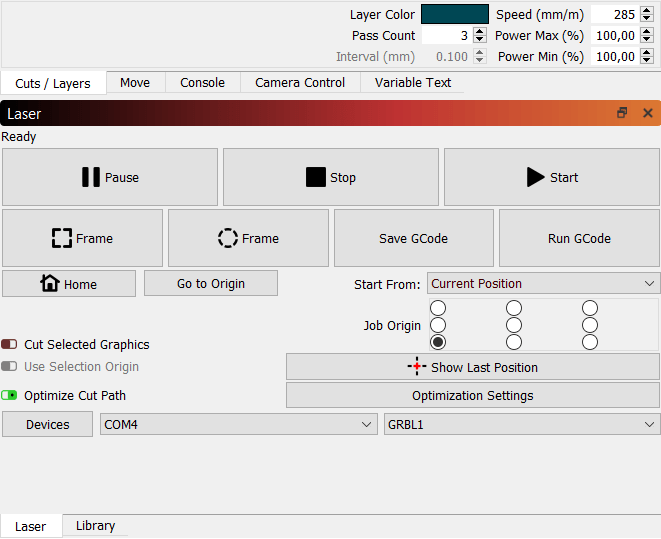
Enjoy a DIY plywood sandworm sharpener