
My Background
I purchased an Endurance laser in September 2018. Similar to many an Endurance customer, I started my laser engraving experience with a DIY Eleksmaker 2.5w laser before upgrading to an Endurance 10 watt+ laser.
I was a complete novice with lasers, or anything electronic for that matter! I owned a soldering iron, but used it as a pyrography tool! In fact, that’s was my entry into the world of wood burning. Luckily, however, I have always been a DIY person so together with a few Youtube videos and laser forums, I was able to put together my first laser machine with relative ease and even upgrade it to have a simple fan assist using a 5v USB powered computer fan from one of my old laptops. I then made an enclosure using an old ikea desk, added an extractor fan & I was ready to go!
I heard about Endurance lasers via a Facebook post by T2laser. I didn’t really have thoughts of upgrading at the time, but was intrigued by the higher power options. I use my laser to run a small personalised gift business, which up to this point only engraved wood. A more powerful laser could give me the ability to cut wood & create my own products, offering limitless possibilities! It was a very tempting proposition, however the price of an Endurance laser was very steep. I spent a lot of time researching, going back and forth trying to work out if it was worth the investment.
Many people in laser forums recommended purchasing the more powerful K40, a cheap Chinese CO2 laser instead of an Endurance diode laser, and I did consider this option. However for me, space was an issue – I have a tiny workshop. A K40 with its cooling system takes up too much space (I didn’t want to keep jumping over a bucket of water!), plus the adaptations that were recommended were too much of a hassle & the K40 is not known for it’s reliability. Also its working area is very limited, around the size of an A4 piece of paper – half the size of my DIY system. An Endurance laser would be much easier & quicker to get up and running.
Once I decided on an Endurance laser, I contacted Endurance to get more information. George was pretty quick to get back to me and very patient in answering all my questions! I eventually ordered the “Invincible 10 watt+ laser” with air assist & laser box and it arrived within a week.
Installing the Endurance 10 watt+ laser
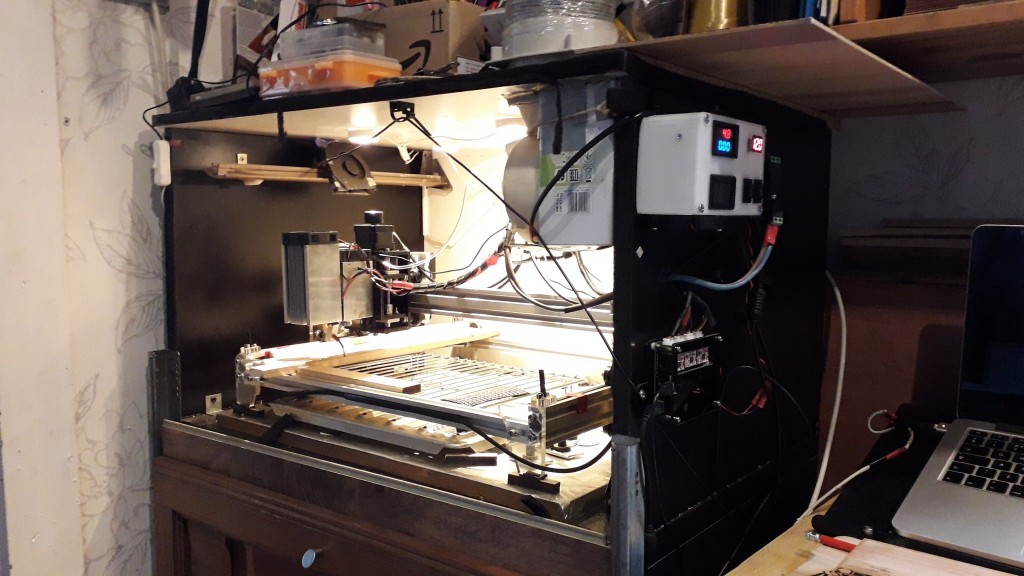
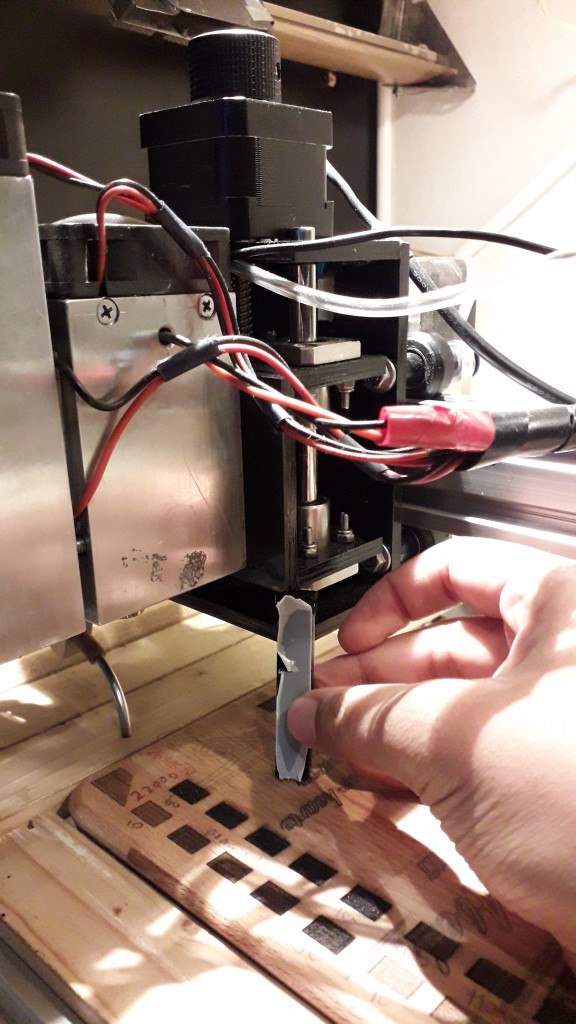
Fitting the Endurance 10 watt+ laser to my existing Elekslaser system was fairly straight forward. I just had to drill a couple of extra holes on to the existing acrylic plate attached to the X-axis and bolt it with some M3 screws. The Endurance laser is a lot bigger & heavier than my old 2.5w Elekslaser, so I was a little worried about the added weight but it was fine in the end. I later upgraded my machine to include a Z-axis which I made by using my new 10 watt+ to cut the 6mm acrylic frame!
Connecting up the laser to my Eleksmana board was a little confusing at first. It does require fiddling with wires – not quite plug & play, but nothing too complicated either. George was very accessible to answer questions and guide me through it. The Endurance laser box only had 2 wires coming out of it to control the laser, where as my Elekslaser had 3. For non-techies like me with an Eleksmana board, connect the red wire to the ’S’ pin and black wire to ‘-’ pin leaving ‘+’ empty! This way you will be able to control the power of the laser using your software 🙂
Using the Laser
Unfortunately I didn’t have the smoothest of starts with my new laser. I had issues with my Eleksmana board (unrelated to the laser), requiring me to purchase a new one, and then when I was finally up and running, I wasn’t quite happy with the laser power levels I was getting. It wasn’t as strong as I was expecting. I started off by attempting to cut 3mm laser plywood – but cutting was inconsistent. I then attempted veneered MDF, acrylic etc.. with similar results. Then one day the laser just stopped working altogether, it wouldn’t even mark cardboard!
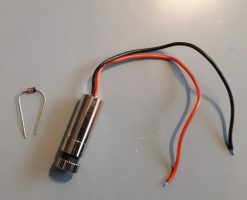
Luckily with Endurance, their customer service is second to none! I sent a video to George so he could see what was happening and he immediately, without hesitation offered to send me a replacement laser diode. The only problem was that I had to take my laser apart and insert the new laser diode myself – for someone with very little electronics experience, this was a little intimidating but George ensured me that it was a fairly simple procedure and that he would walk me through it. 60+ emails later(!), he was true to his word & I became more knowledgeable about what goes on inside that laser box! (As I said before George is a very patient person!)
Take 3! I was up and running again, the laser was working better than before, but still not quite perfect. Another great thing about Endurance is the community of users on Facebook! Someone had posted about how they used thicker wire to reduce resistance & get more power out of their laser. This got my brain ticking. In order to install the Endurance laser in my enclosure I had extended the wires. Not knowing anything about wires & resistance, I just found similar size cables to what was already fitted and in a very archaic way just connected them together.
On a side note, again for the non-techies – apart from just a feeling the laser wasn’t powerful enough, the amp reading my laser box was showing was not in line with what other people were reporting with their lasers. Most with a Voltage of 4.7-4.8V were reading amps in the region of around 4.5A, sometimes even over 5A. My box with the new laser was reading a max of 2.9A at full power.
So, again after conferring with George, I had some 3mm cable lying around and decided to replace my archaic wiring with the thicker stuff! And by George (excuse the pun!) it worked! I was now getting consistent readings of 4.58A at full power – and what a difference it made to the performance of the laser!
Some Tips & Tricks
Software
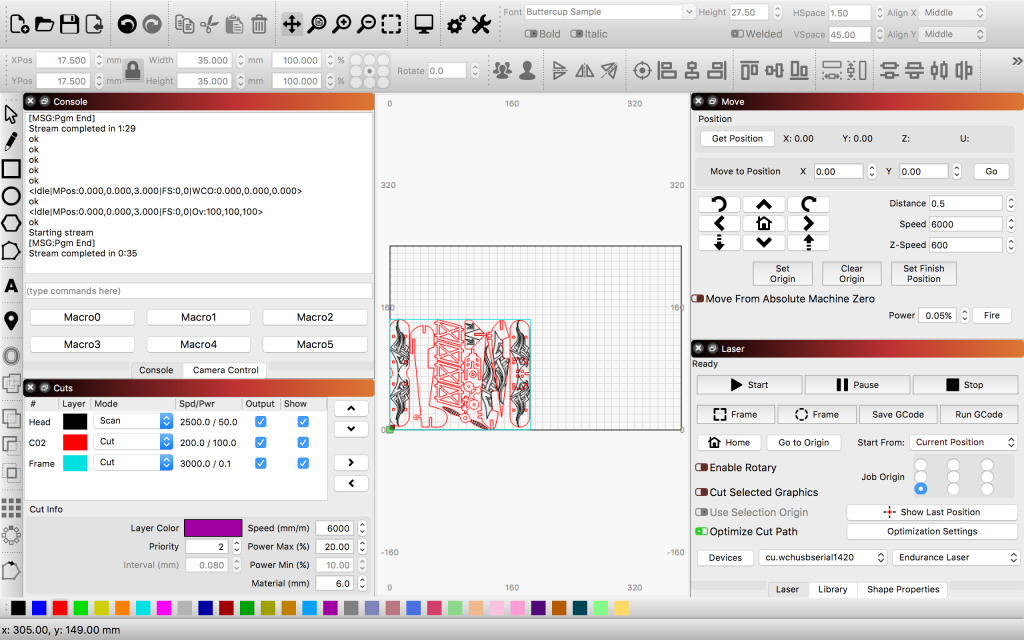
As I use my laser for business and use it regularly, I have found that investing in paid software is much better than the free ones, and they’re not too expensive (around $40). I am a MacBook user and currently use Lightburn – which is awesome! I can’t praise it enough. Its trace feature is the best & easiest to use that I have come across, and its user interface is second to none!
Prior to this, when I started my laser journey and as I couldn’t find any software that worked on a Mac, I used T2laser by Zax on an old windows laptop. It too is a great software, and Zax, like George is excellent at helping you out and guiding you when needed.
Of the two softwares, I highly recommend Lightburn for its ease of use.
Cutting Tips
The basics;
- Use air assist (apart from with acrylic)
- Raise the material so that air flows beneath it, ideally you want as little contact as possible in the area you are cutting
- Use some sort of grip or clamping system to stop the material from moving
- Make sure your laser is focused!
*Focusing Tip* I initially used a stainless steel ruler to see the beam & get the perfect dot, after this I cut a piece of acrylic to the exact height from the laser to my material. Now no matter the thickness of the material I use, whenever I need to focus the laser, I just pop the acrylic between my laser & material to get the focusing height & I’m done! Having a Z-axis makes this a lot easier too!
These are some of the settings I use in Lightburn to cut materials (you may need to tweak them, but they are a good starting point);
MDF
First and foremost I have decided not to work with MDF! I have purchased 3mm – 6mm laser MDF (as opposed to the normal stuff you find in a builders merchant), but even so, with my 10watt+ I have never been able to get consistent results. Maybe it’s the inconsistency of the glue, maybe my settings – but I find it too much hassle.
PLYWOOD
Oak Veneered Plywood – 3.6mm
Speed: 400mm/min
Power: 100%
Passes: 5
Poplar Plywood – 6mm
Speed: 300mm/min
Power: 100%
Passes: 6
ACRYLIC
Black – 3mm
Speed: 100mm/min
Power: 100%
Passes: 3
Air Assist: OFF*
Black – 6mm
Speed: 100mm/min
Power: 100%
Passes: 6
Air Assist: OFF*
*I found that if air assist is on, it cools the acrylic down so the laser is not as effective when cutting. Warm acrylic cuts much easier!
FELT
Speed: 1500mm/min
Power: 100%
Passes: 1 (sometimes 2 depending on conditions)
CARDBOARD
Speed: 500mm/min*
Power: 100%
Passes: 1-2 (varies depending on thickness)
*never leave laser unattended when cutting cardboard – it easily catches fire, especially corrugated cardboard – if you see glowing, stop! Increase speed & number of passes – this will also prevent charring of edges.
STICKERS
Speed: 1000mm/min*
Power: 100%
Passes: 1
*This speed perfectly cuts just the top sticky layer making it easy to peel from the base layer. If you want the base layer cut out as well do 2 passes.
SOLID WOOD
When cutting wood make sure the wood is flat as possible, i.e. not warped, and keep the edges exposed. Since wood is a breathable material, I have found that when I cover the edges (which I sometimes do to align it), the heat/smoke is unable to escape & it does not cut as well. The alternative is to keep a margin around the area you want to cut i.e. not cut to the edge.
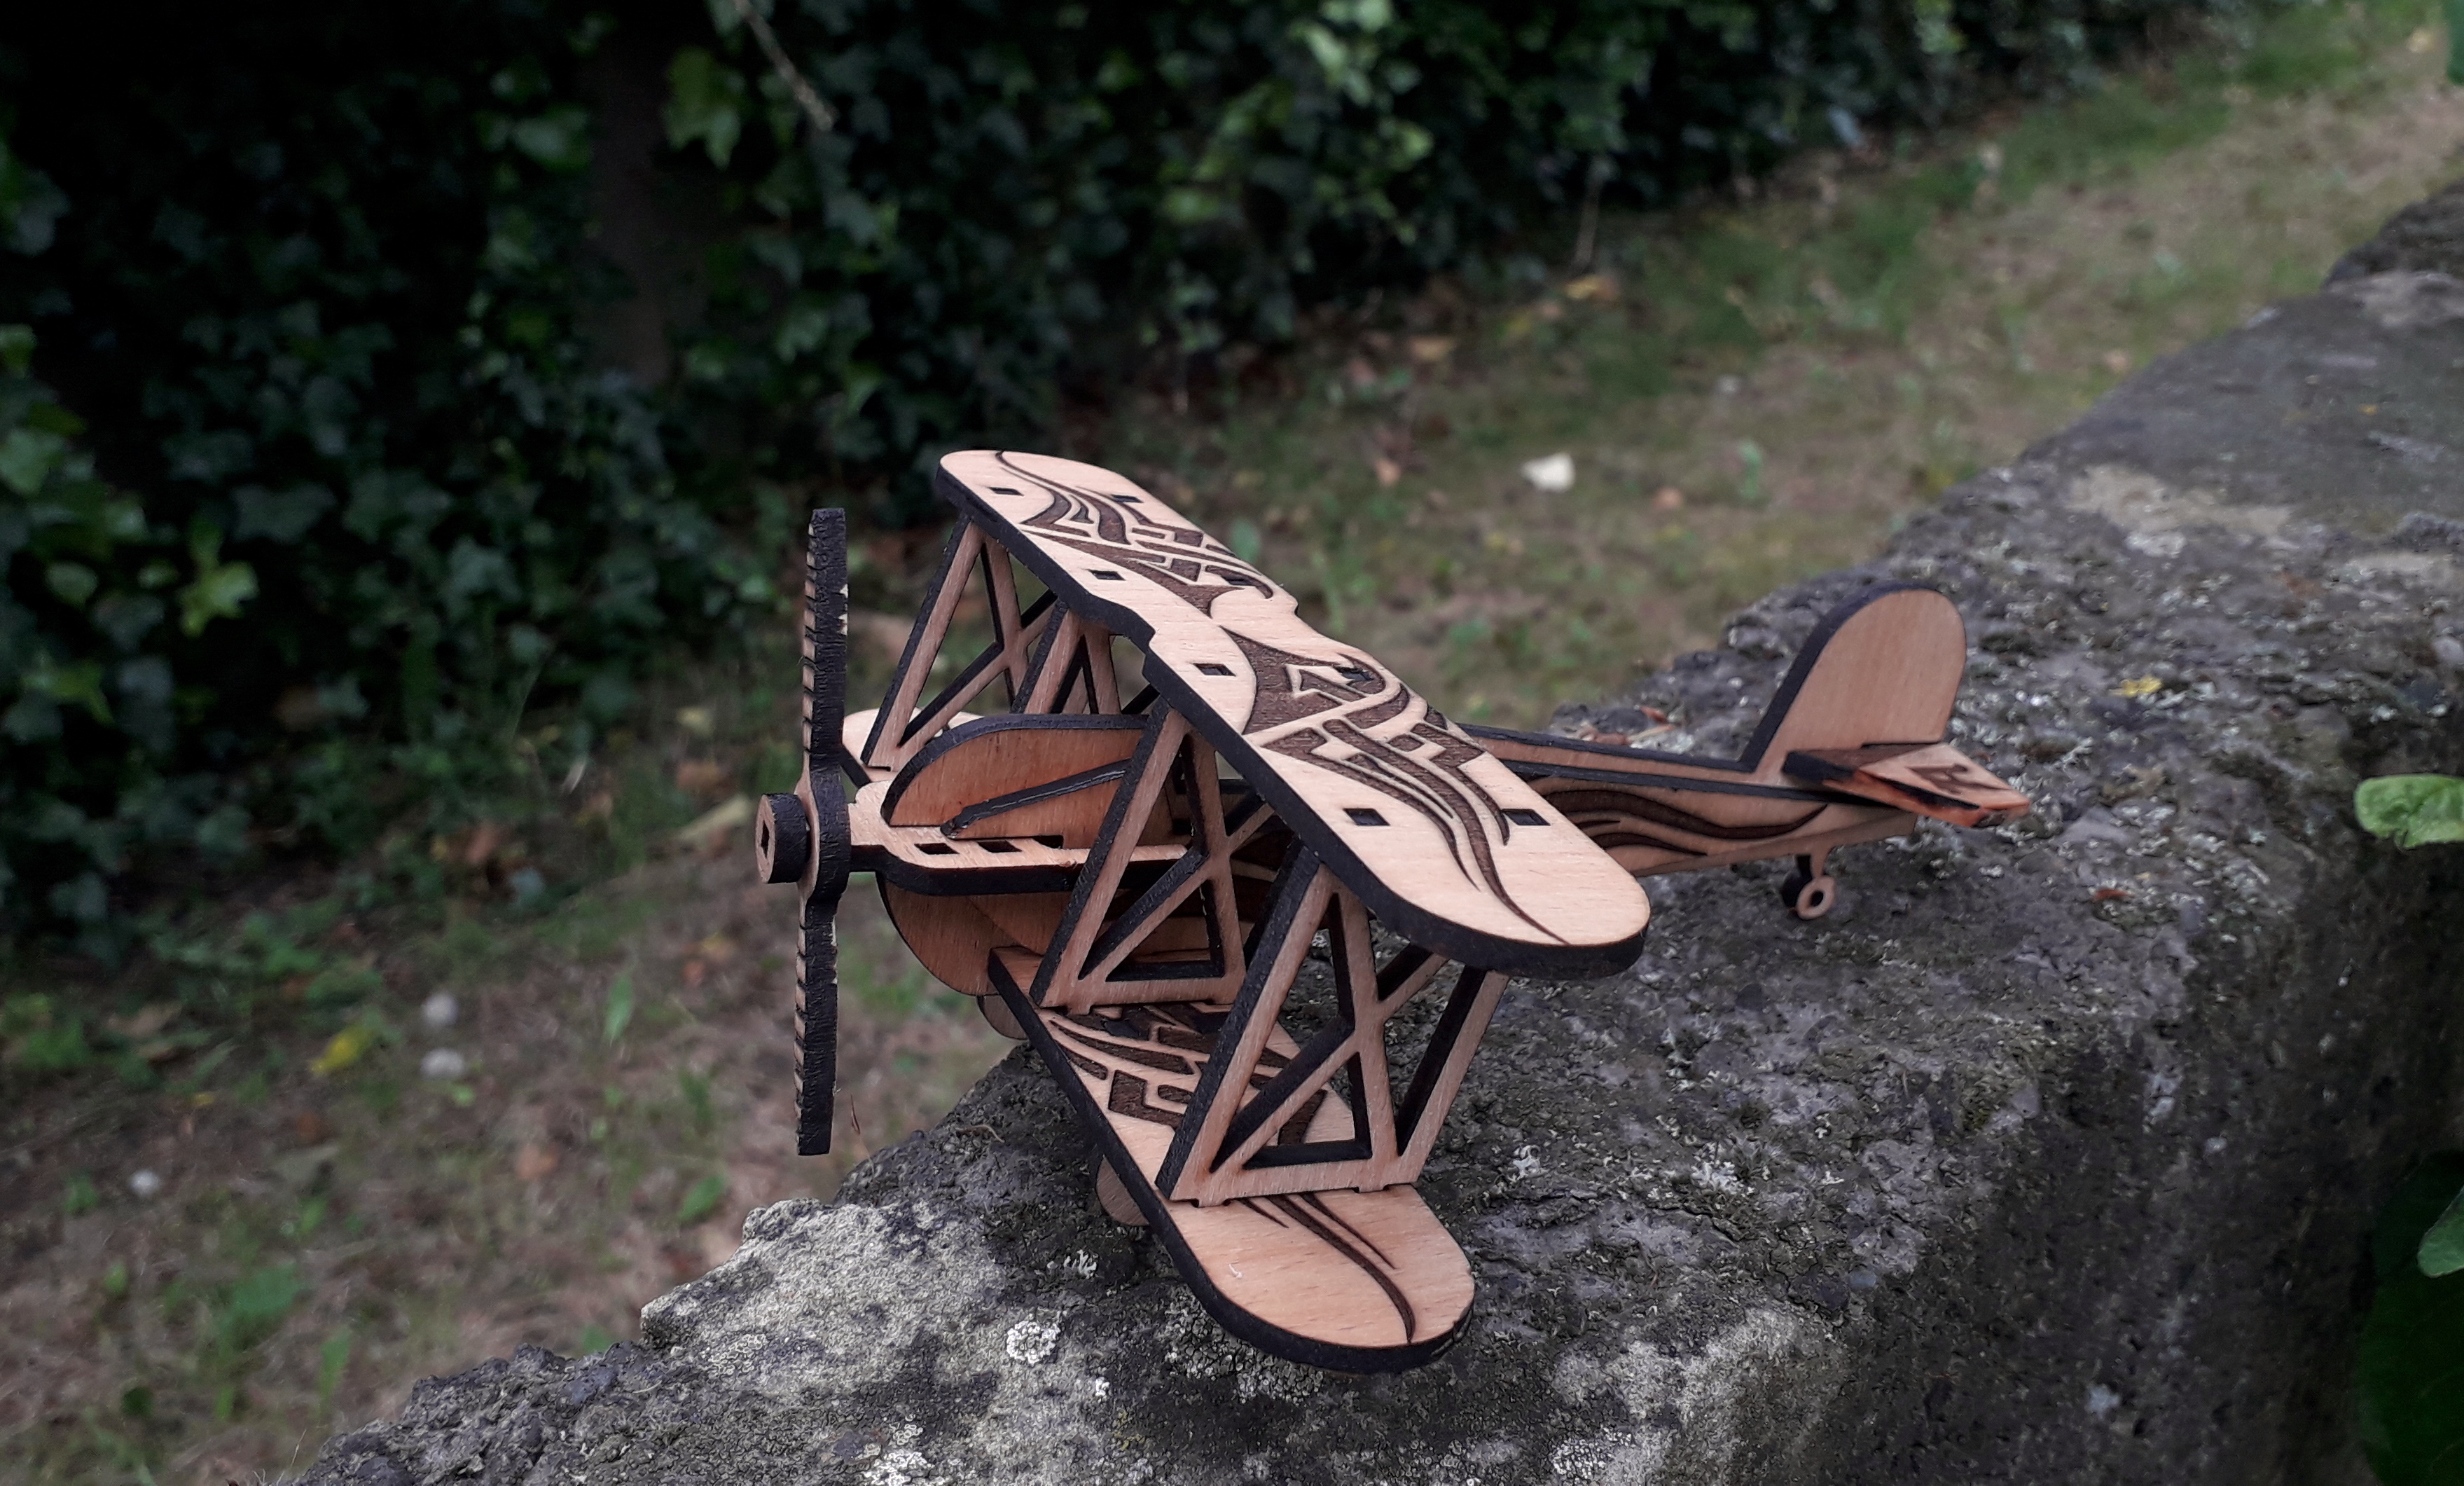
Model plane cut out from 3mm Beech
Beech – 3mm
Speed: 400mm/min
Power: 100%
Passes: 5
Oak – 3mm
Speed: 400mm/min
Power: 100%
Passes: 5
Walnut – 3mm
Speed: 400mm/min
Power: 100%
Passes: 4
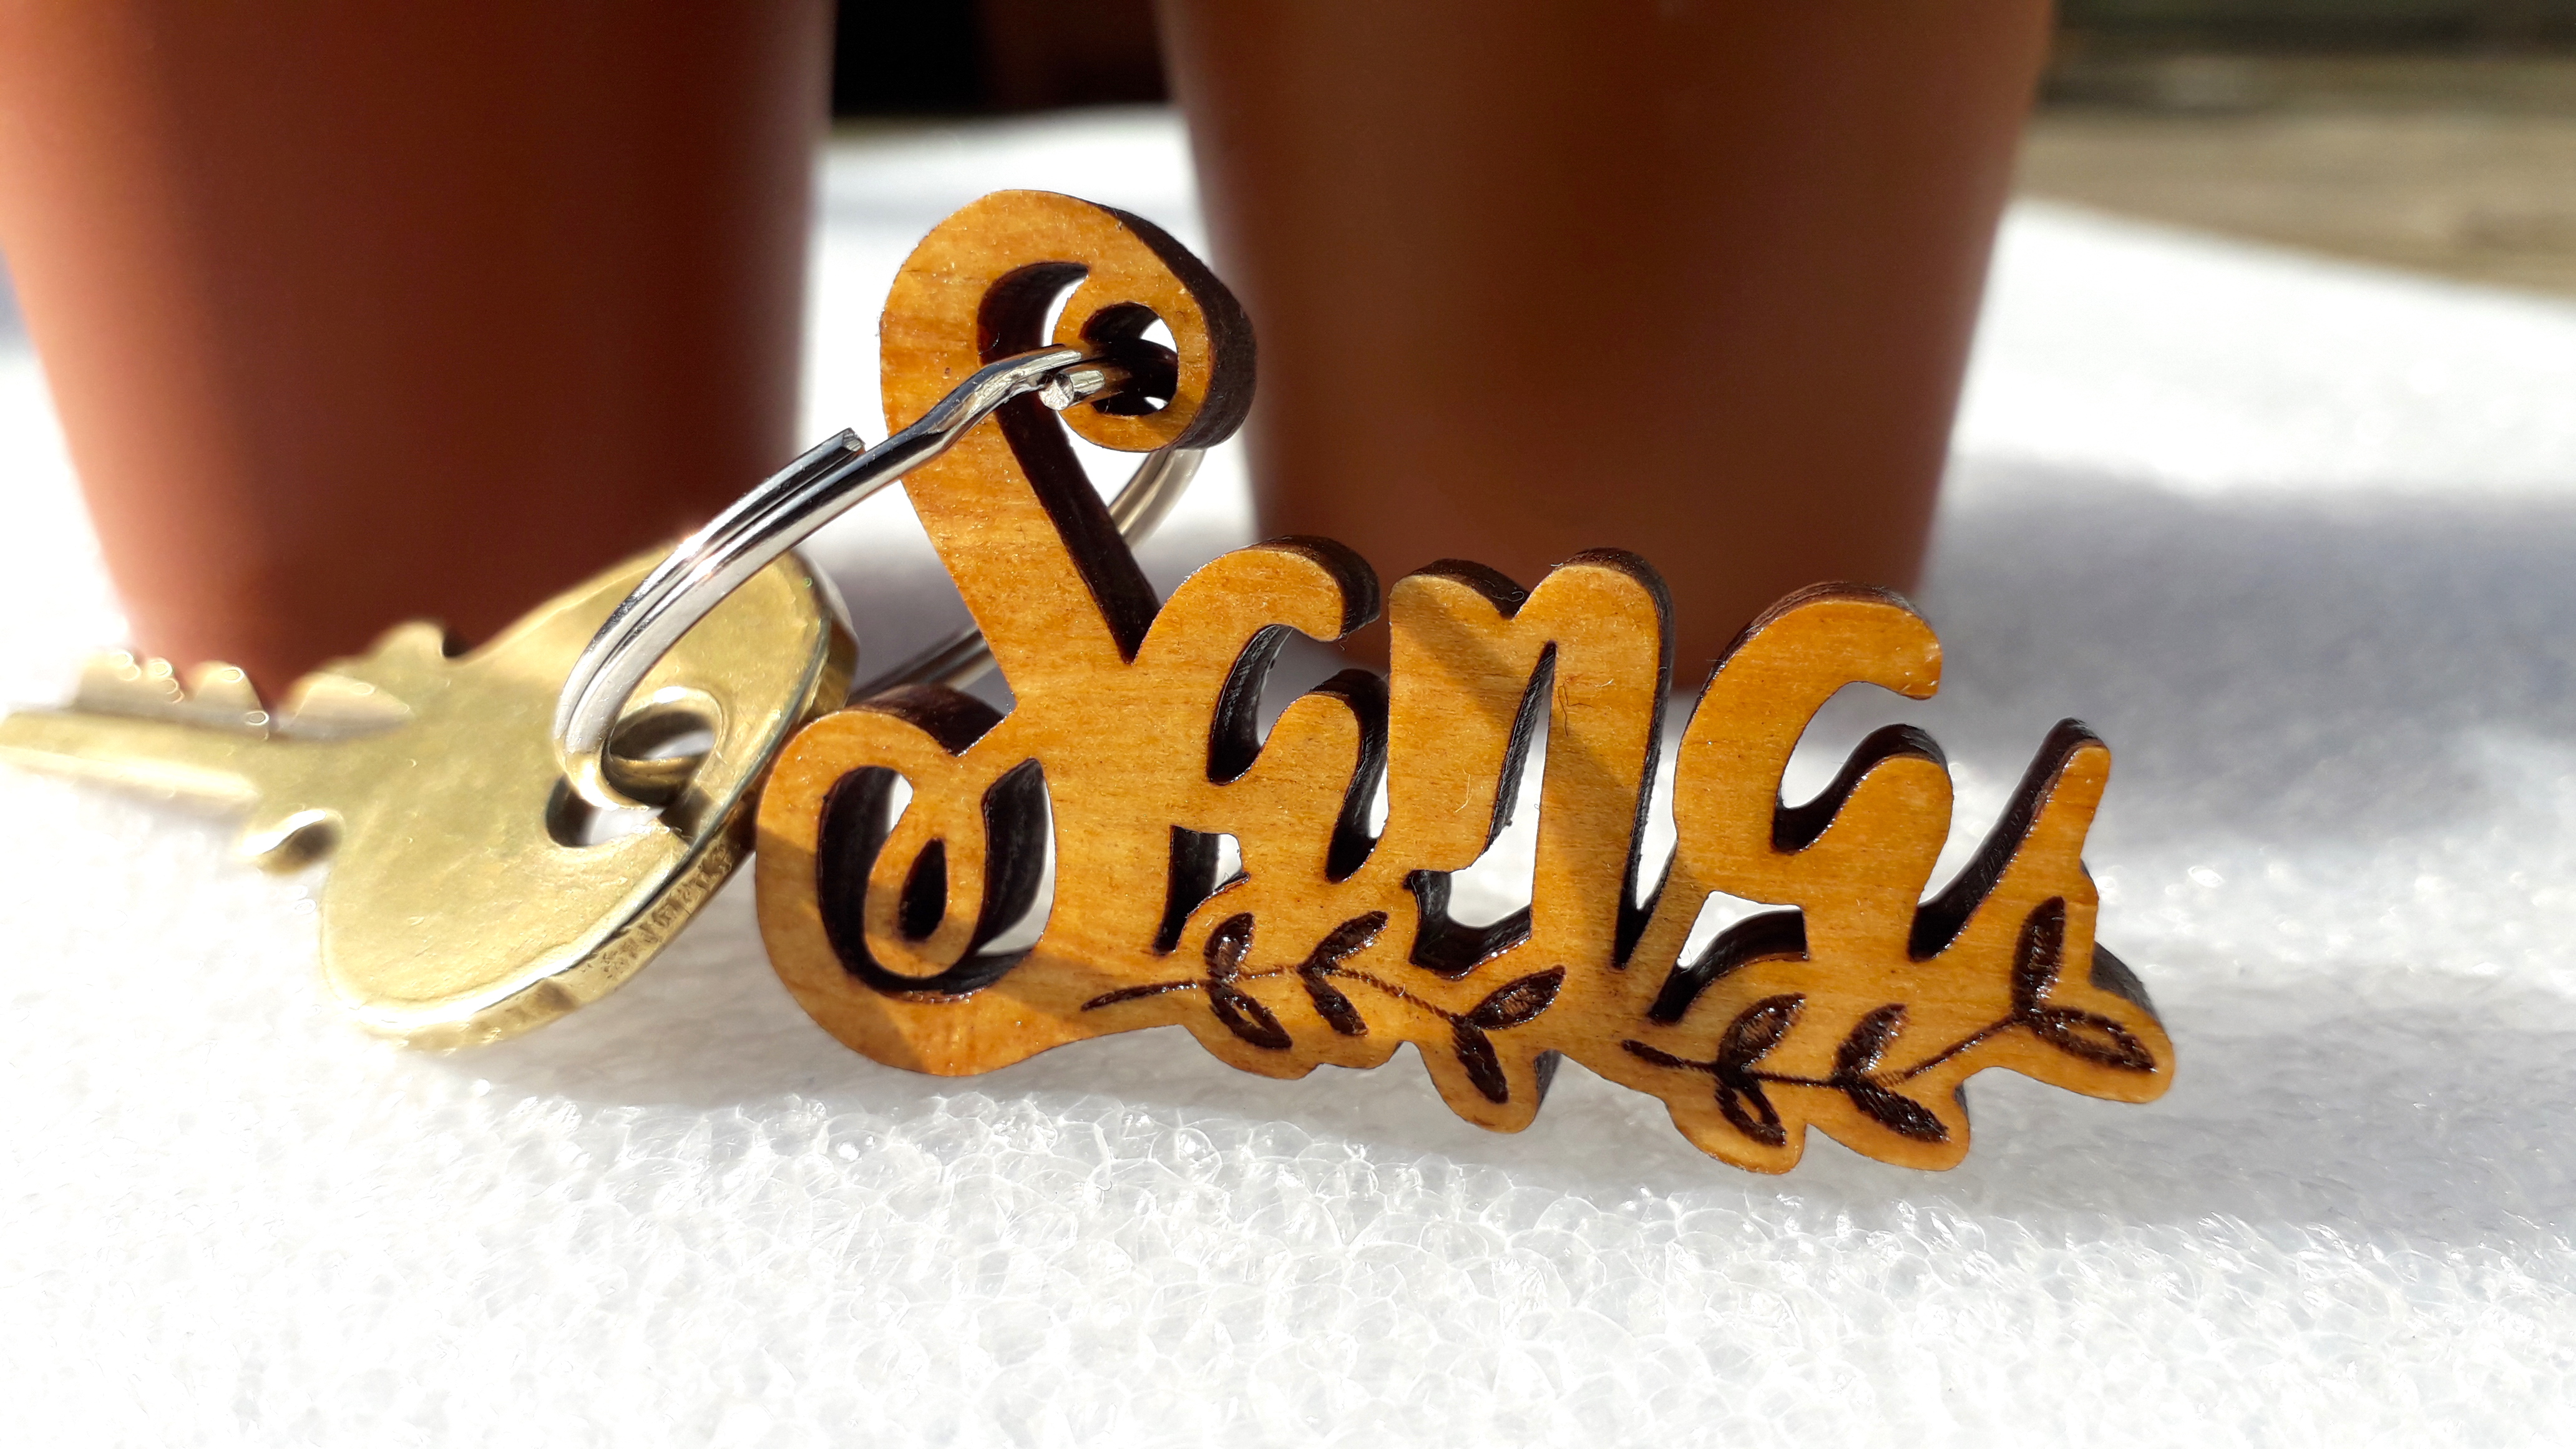
6mm pine keyring cut with 10w+
Pine – 6mm
Speed: 200mm/min
Power: 100%
Passes: 6
The following thicknesses cut inconsistently so you may need to flip the material to get a clean cut. To do this you need to make sure you are able to realign the material in exactly the same spot, & don’t forget to mirror the image if it is not a symmetrical shape!
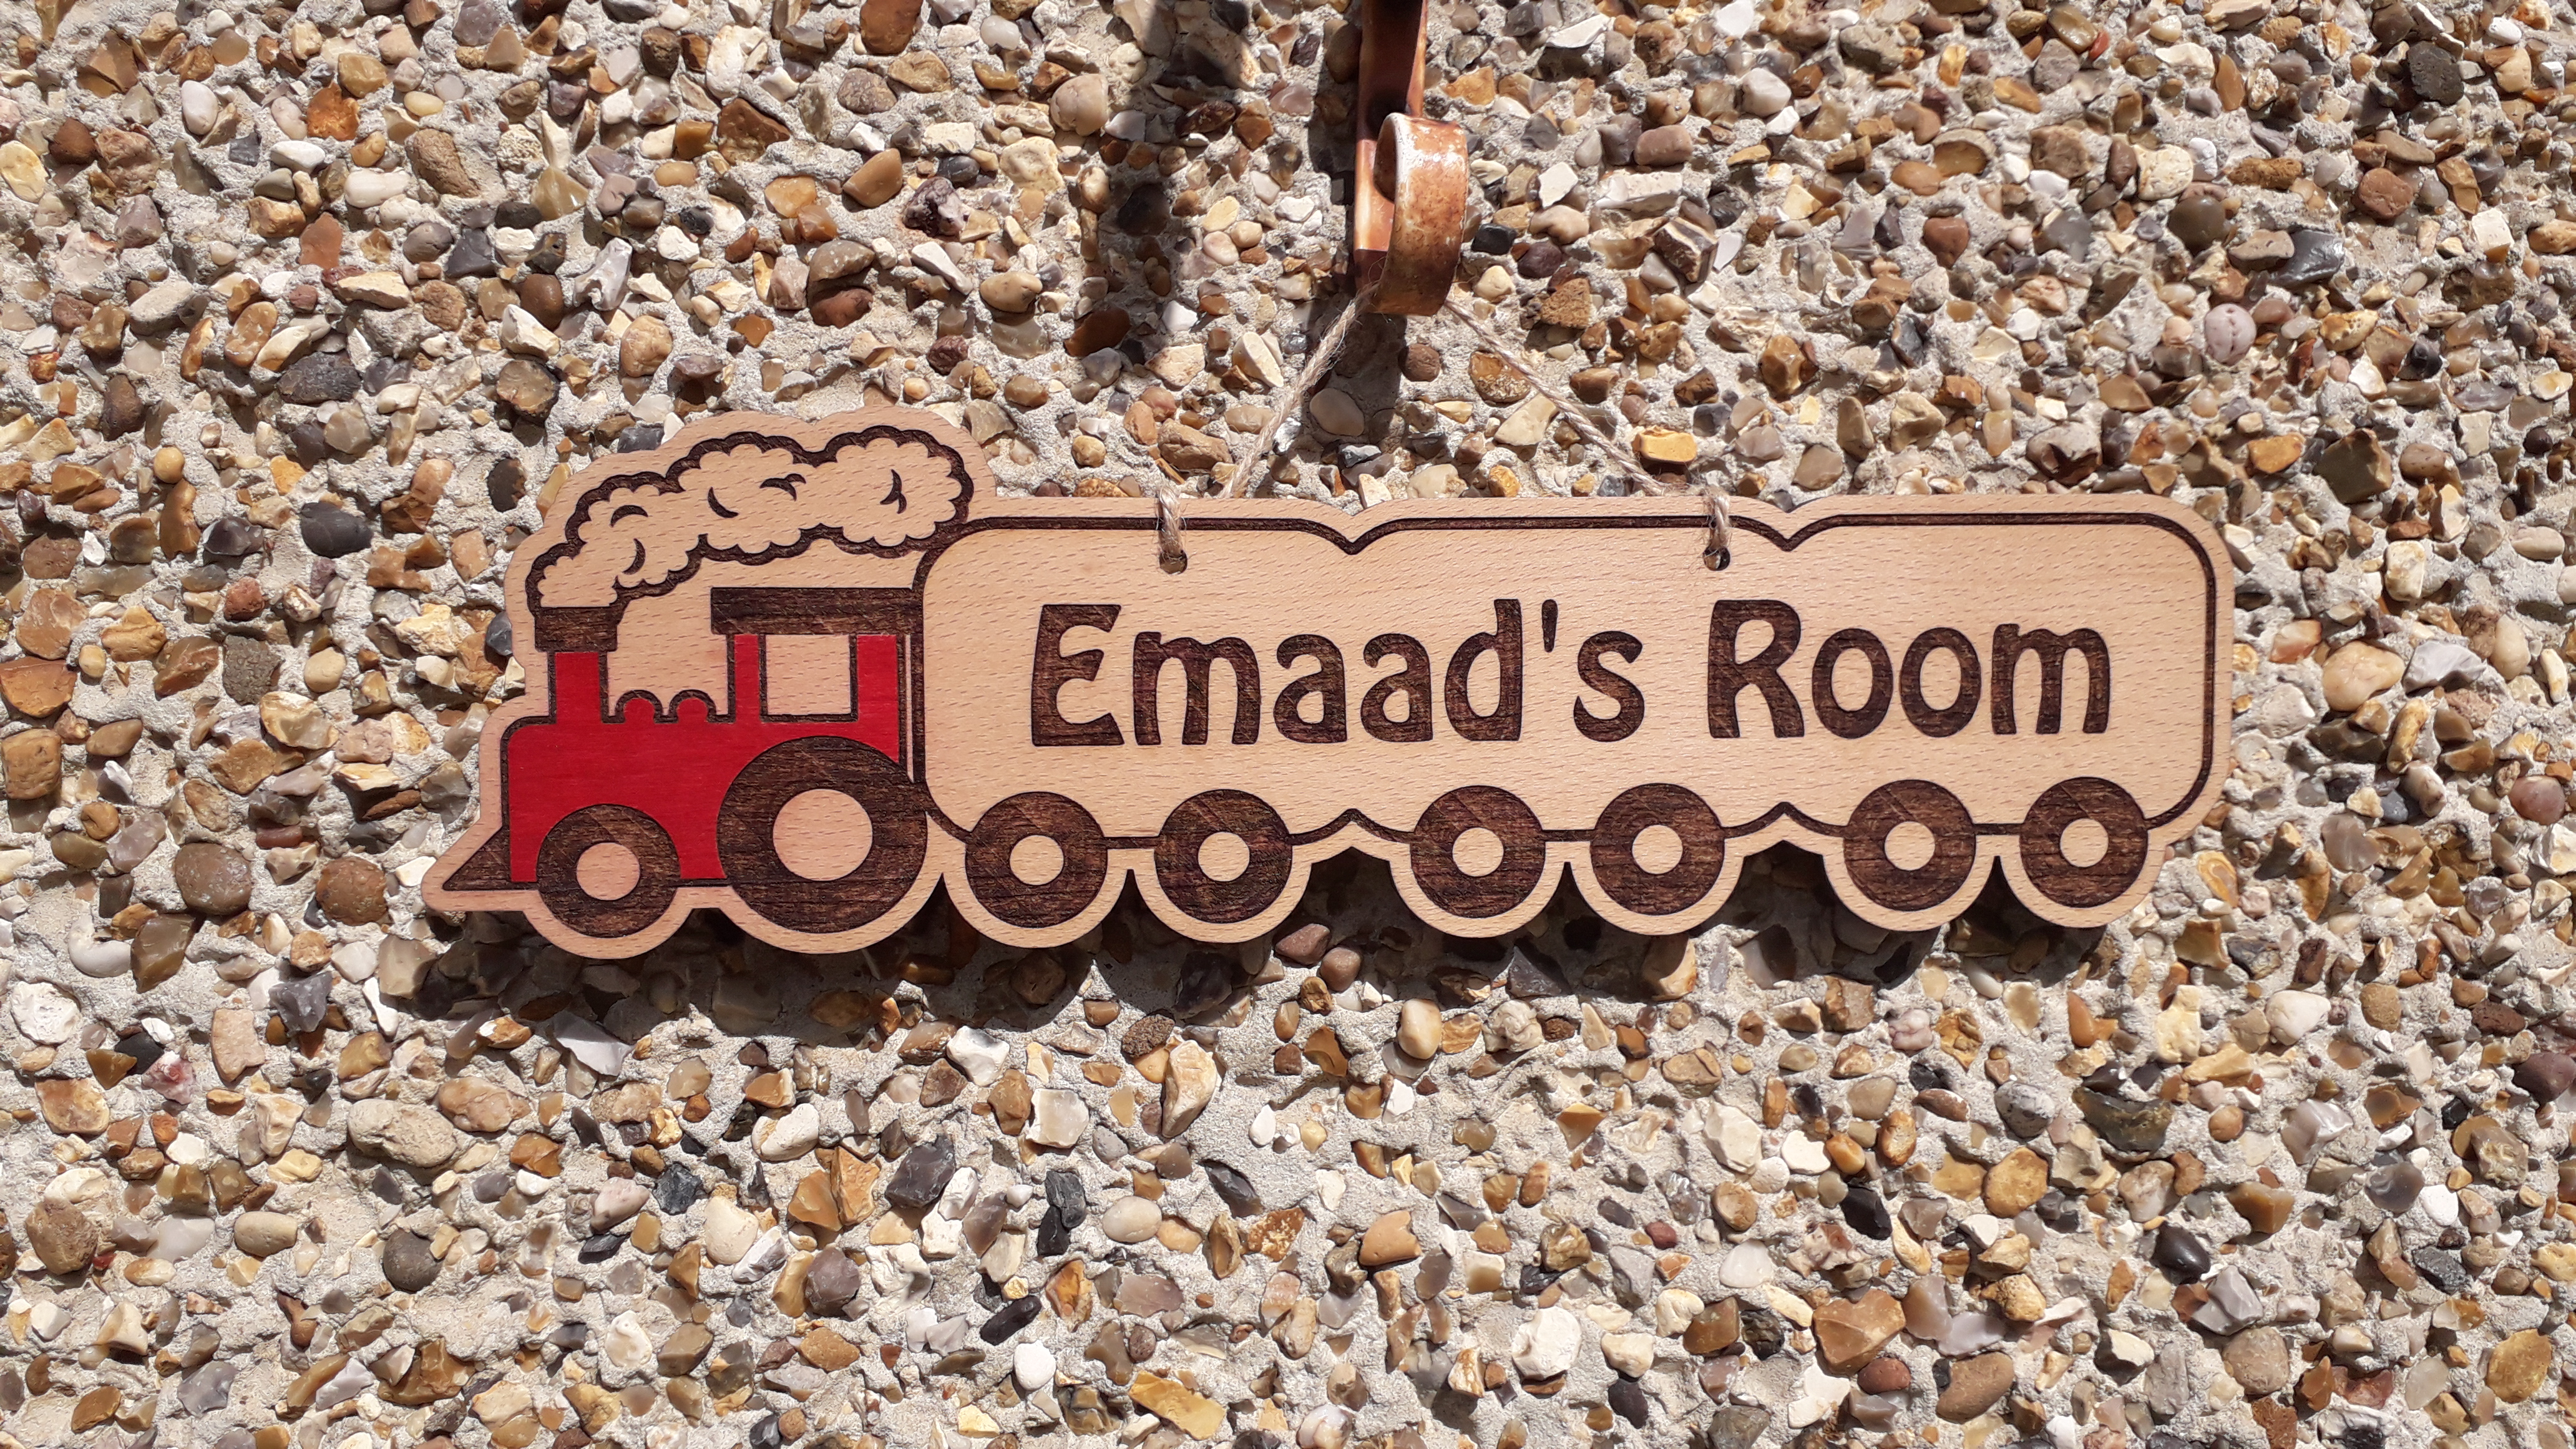
Wooden train sign cut out from 6mm Beech
Beech – 6mm
Speed: 400mm/min
Power: 100%
Passes: 10
Flip: repeat above, 1-2 passes
Oak – 6mm
Speed: 400mm/min
Power: 100%
Passes: 10
Flip: repeat above, 1-2 passes

Walnut – 6mm
Speed: 400mm/min
Power: 100%
Passes: 10
Flip: repeat above, 1-2 passes
Pine – 10mm*
Speed: 200mm/min
Power: 100%
Passes: 4
Flip: repeat above, 4 passes
*For 10mm pine, I only cut simple shapes (circles, straight edges etc..), then sand the edges with a dremel to get a better finish as the cut is usually uneven.
Woods that are difficult to cut
These are woods I have attempted to cut & have either failed or struggled immensely;
- Mahogany – possible as shown in image above, but very, very, very difficult!
- Teak
- Bamboo
- Chipboard
- MDF
- Anything greater than 6mm
Engraving Tips
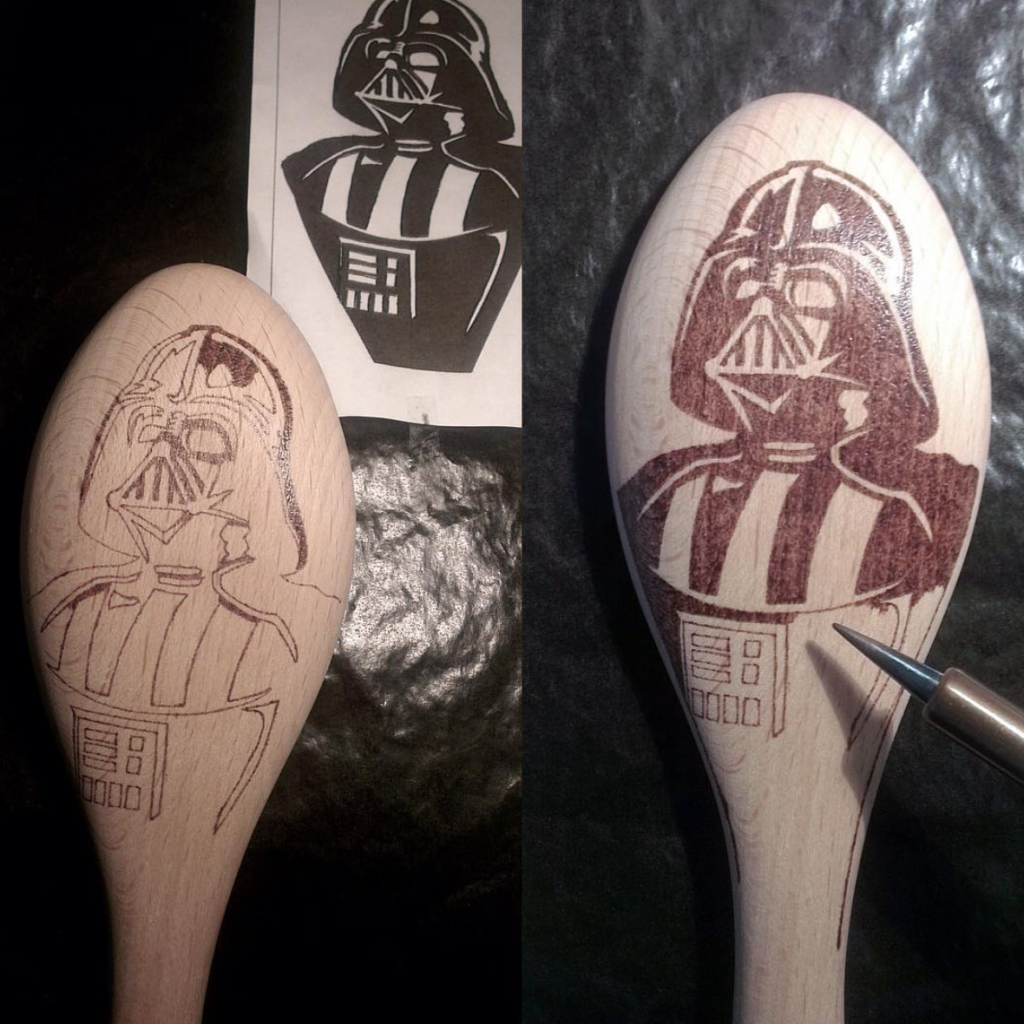
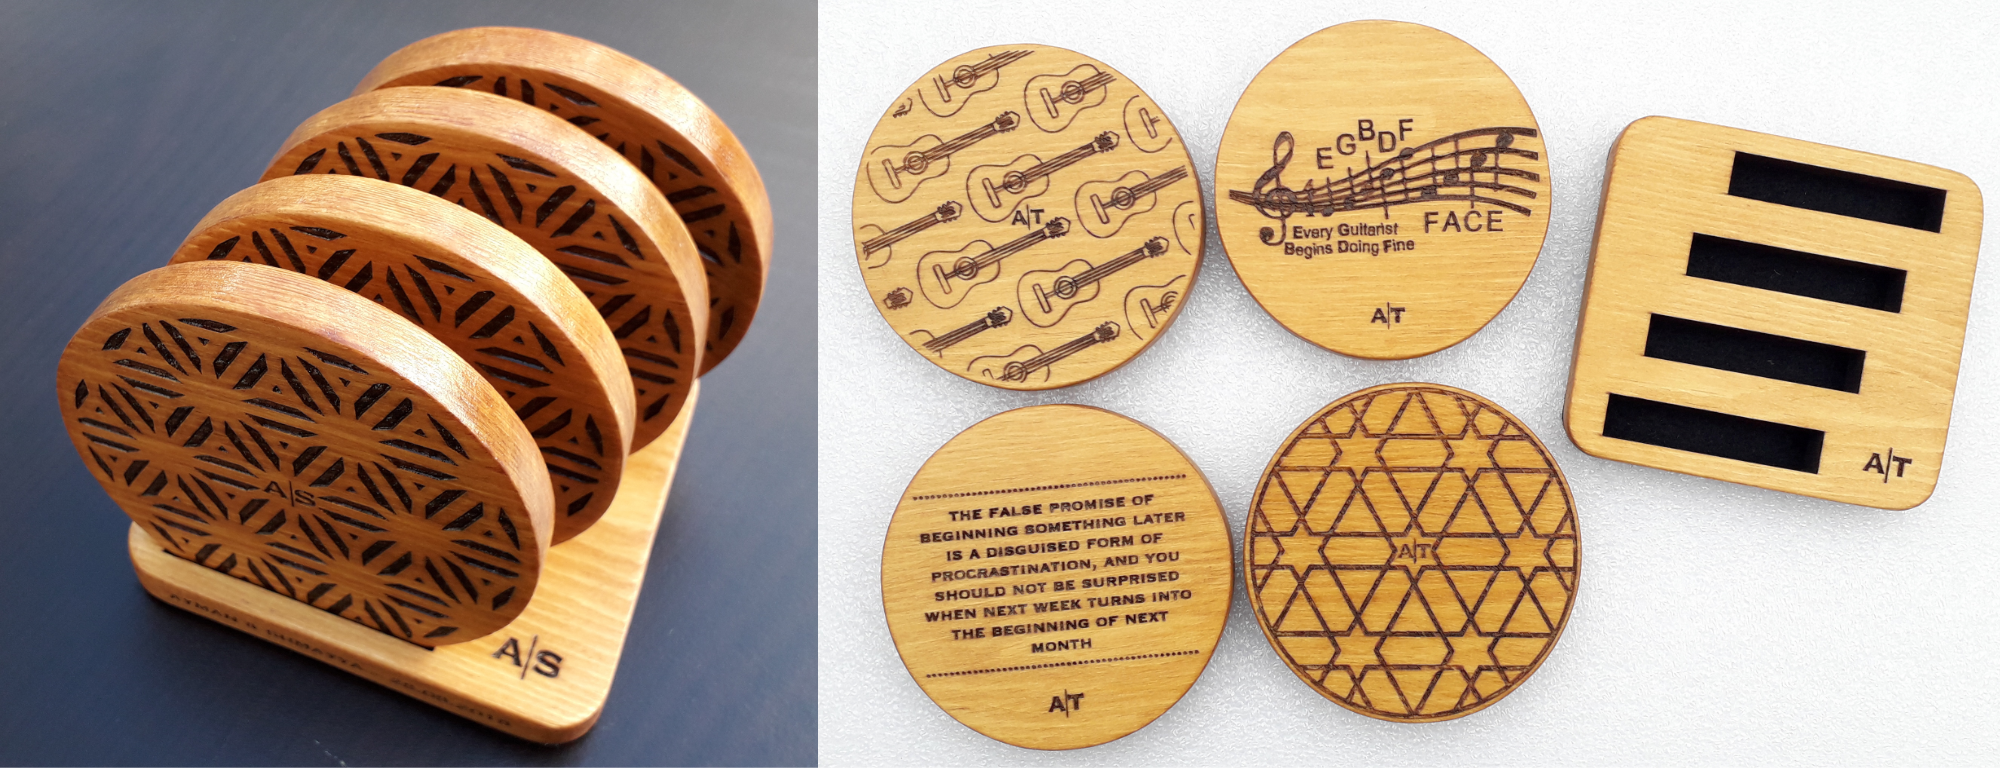
I mostly engrave wood, & these are the settings I use in Lightburn. I also always engrave with air assist on as I find it blows away any charring & the quality of engraving is much better.
Scan Settings:
Line interval: 0.08 – this gives a slight overlap when engraving, giving a nice even finish
Scan Angle: In line with the grain – so 0 degrees if grain is horizontal or 90 degrees if grain is vertical
I also usually select “scan shapes individually” – but that is just a personal preference.
WOOD
Beech:
Speed: 2500mm/min
Power: 50%
Air Assist: ON
Oak:
Speed: 2500mm/min
Power: 40%
Air Assist: ON
Walnut:
Speed: 2000mm/min
Power: 50%
Air Assist: ON
Pine:
Speed: 1500mm/min
Power: 50%
Air Assist: ON
Bamboo:
Speed: 2500mm/min
Power: 60%
Air Assist: ON
Mahogany:
Speed: 2200mm/min
Power: 60%
Air Assist: ON
SLATE
Engraving Slate:
Speed: 2500mm/min
Power: 60%
Air Assist: ON
Scan Angle: -45 degrees*
*diagonal engraving gives a smoother result than horizontal on slate
This is all the testing I’ve done for now.
To conclude, I would highly recommend Endurance lasers. If you’re not a very technical person and/or you’re on the fence about getting an Endurance laser, I hope the information I have provided here is of some help. There is a little bit of a learning curve, but also enough support out there to get you going!