
All you need to know about how to prepare the image for laser engraving
Step One – Start with High-Quality Images:
Be very selective in the quality of images you choose to laser engrave with.
These can be sharp large high-quality digital photos or very clean scans or photos of sharp drawings.
Step Two – Remove the Background:
If an image is an object that you want to render without a background then remove the background for free online or with your program you might have on your pc. After the background is removed then go to step three.
Step three – Crop to picture Perfect:
You need to be and crop square or rectangle so it fits what you are wanting to engrave it on.
Once you place it into your engraving program for final sizing.
Step Four – Sizing images –
Most images are very large from cameras and cell phones and the internet but are 72.dpi.
Some paint programs will let you change dpi and this will also resize an image with new dpi settings.
If you change dpi to a higher number like 600 dpi then if the image is still larger you can resize it while retaining the new dpi setting. This helps stop image degrading by resizing it as is.
Step Five – Edit Your Photo:
You can change and experiment in many image processing programs to gain graphical effects
That you might want to display on the engraved images.
Step Six – Sharpening Images.
In your photo processing, I always test image using a sharping feature some images it is not needed other times it helps image and engravings by keeping it sharp and clean.
Step Seven – Convert and Export:
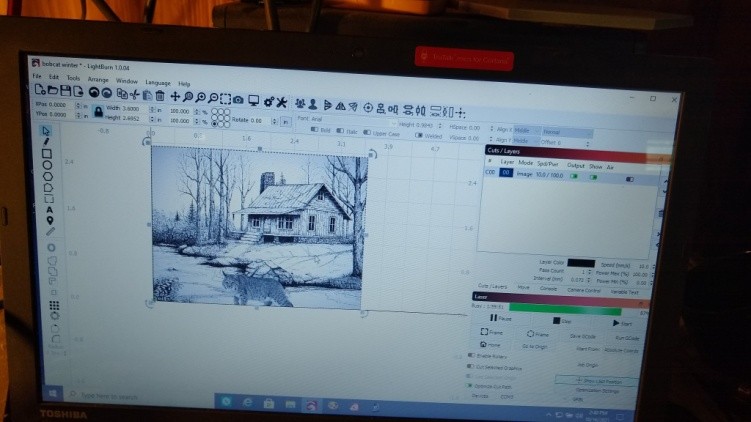
Basically, this is just a save as feature you want the image to be compatible with the Laser engraving program you use. I prefer Lightburn some of the above steps are not always needed with high-quality images imported into Lightburn and click on the image and adjust the image you will come up with nice features that give a lot of features and image in control.
I use a WinUAE Amiga emulator and all the programs I have downloaded with my Amiga over time.

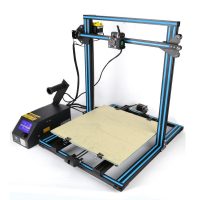
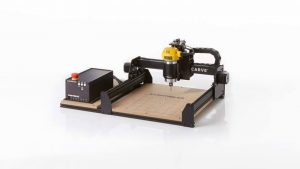
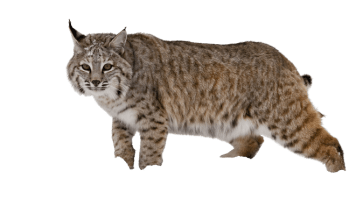
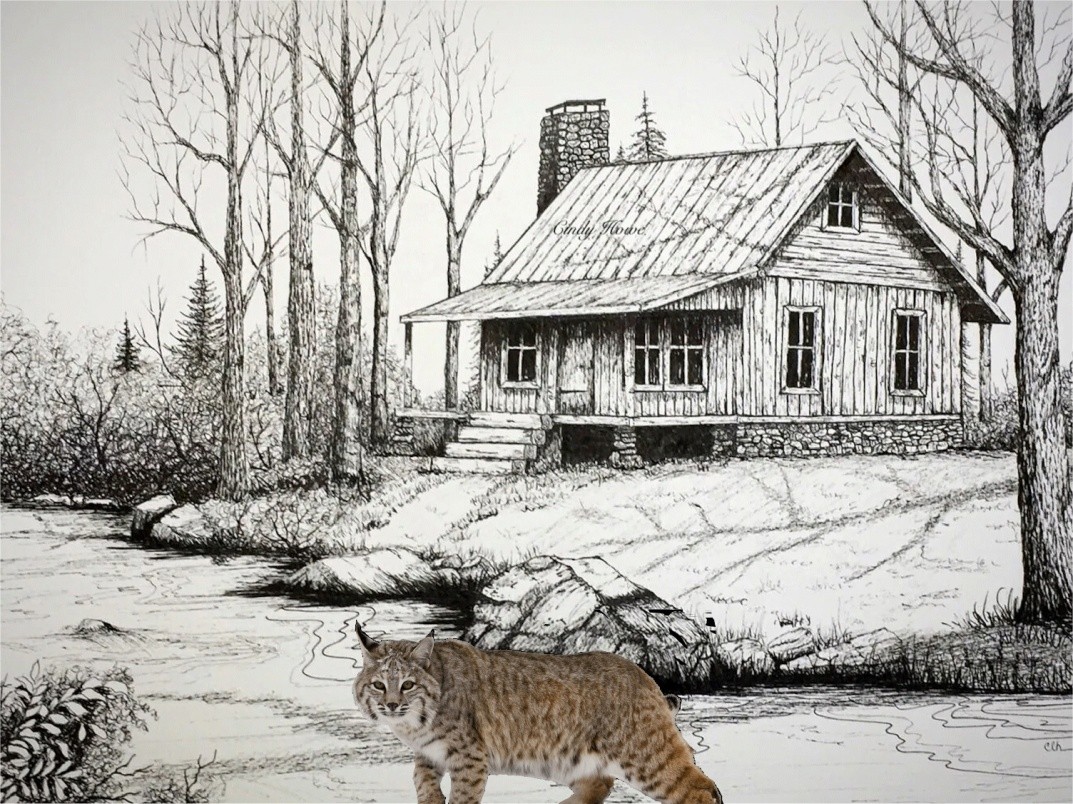
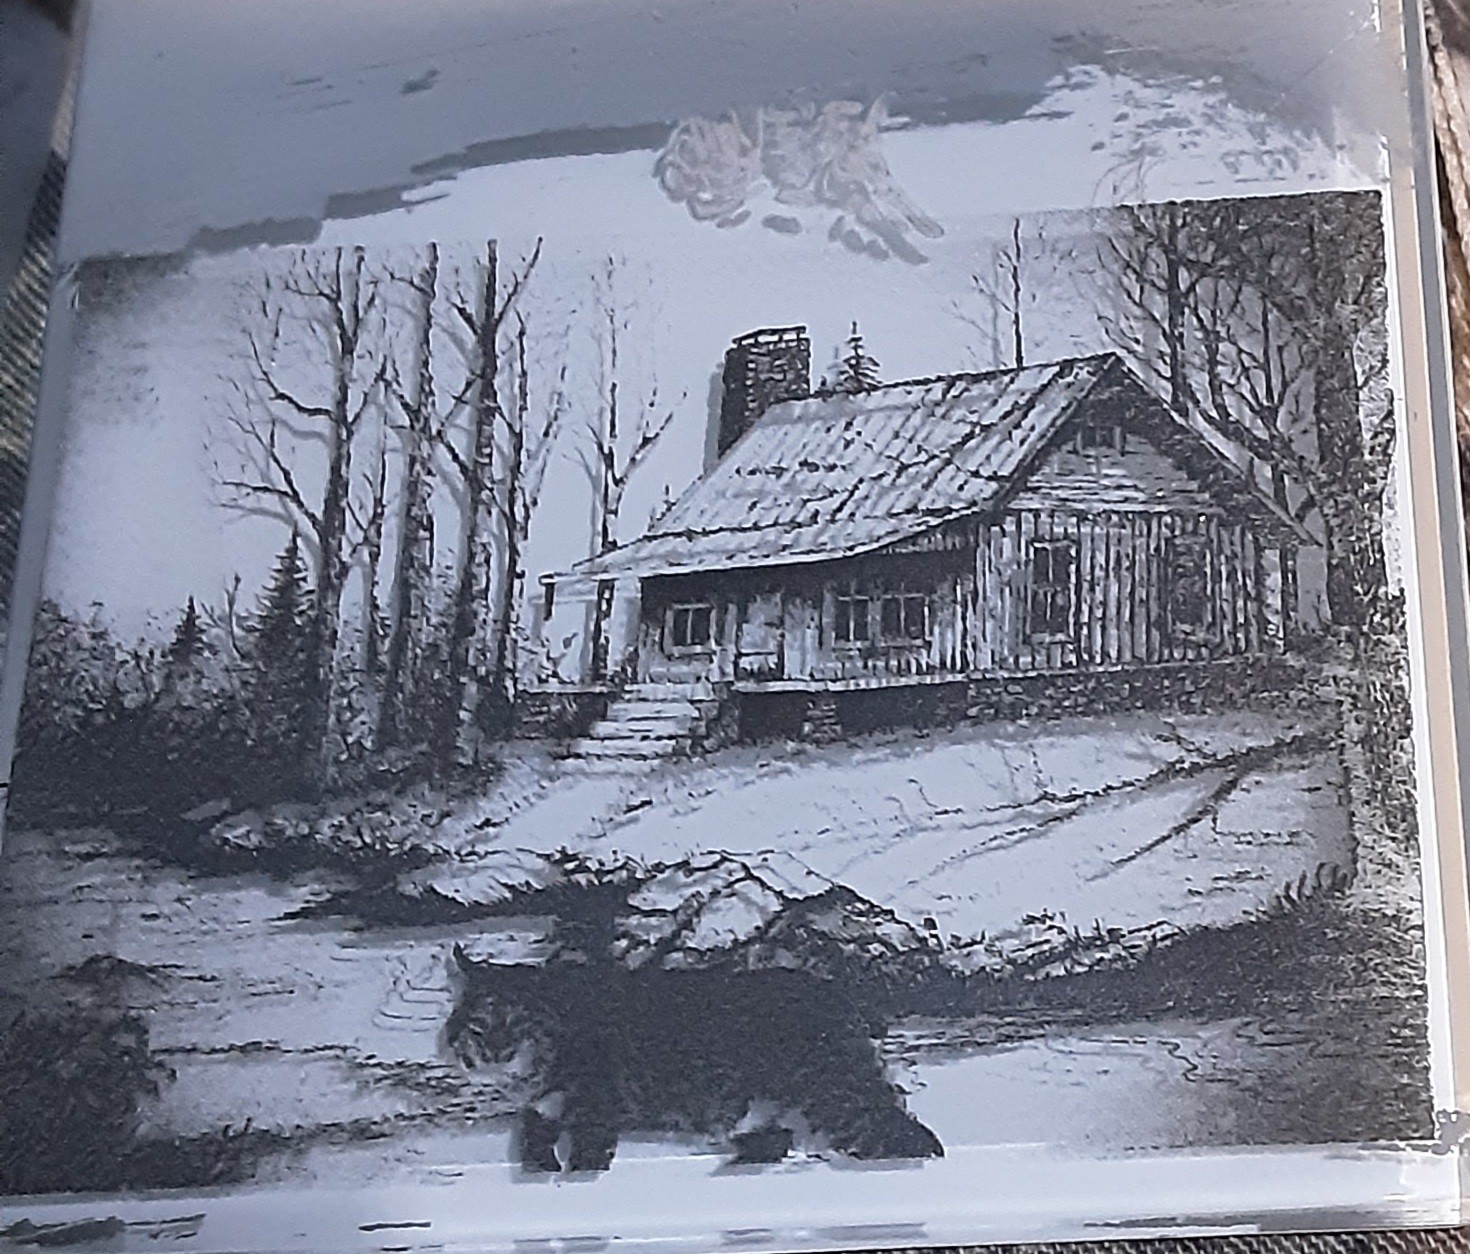
I downloaded two images on my pc. One cabin setting as background another bobcat.
Bobcat I removed the background and cropped it and saved both images on my c drive where WinUAE Amiga emulator programs can find them easily I use a program called TV Paint and introduced the background image as a projected image. Then clicked on front layer added and then loaded the bobcat with background removed to the project as a brush. Noted Bobcat’s background was black. This Amiga TV paint has the best control over erasing image parts by manual means of smooth control like no direct program has. Once all cleaned up with Mr bobcat in the foreground I saved the image back to my hard drive then back to my network server drive so I can access it with lightburn and have fun engraving with it. http://www.laserworks.com

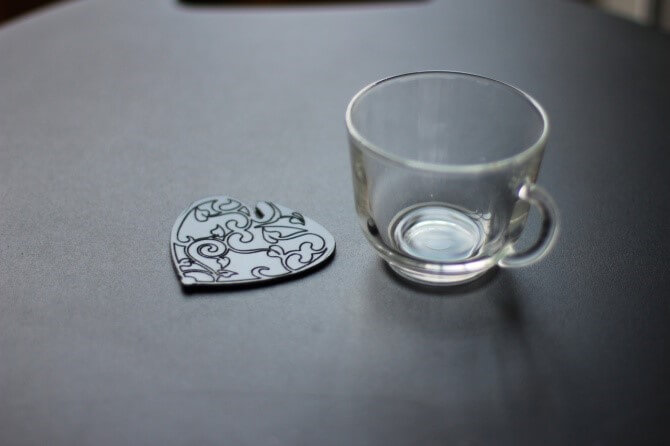
Under the light going on glass.
On pine block. Growth ring got Bob but the background is super.
This image is on ¼” glass with the frosted white bottom you can notice the shadows of the trees showing in the background. In-person it is a super image. Now ready to engrave on a larger scale on the same type of glass.
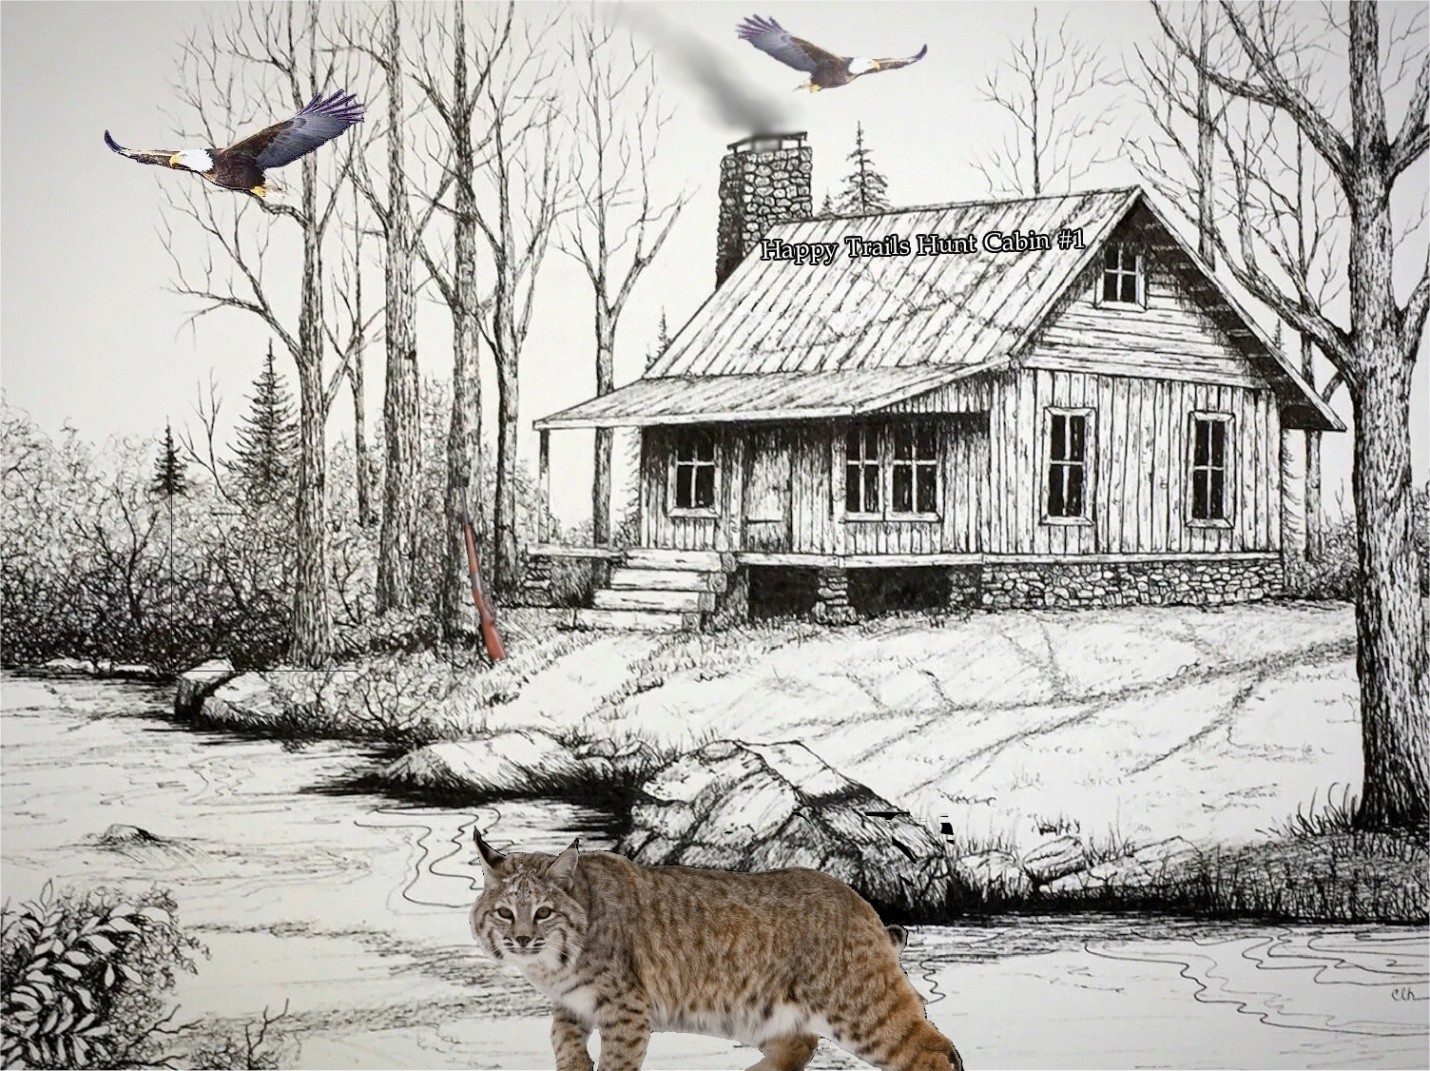
Use your imagines and imagination to make some great seems even greater.
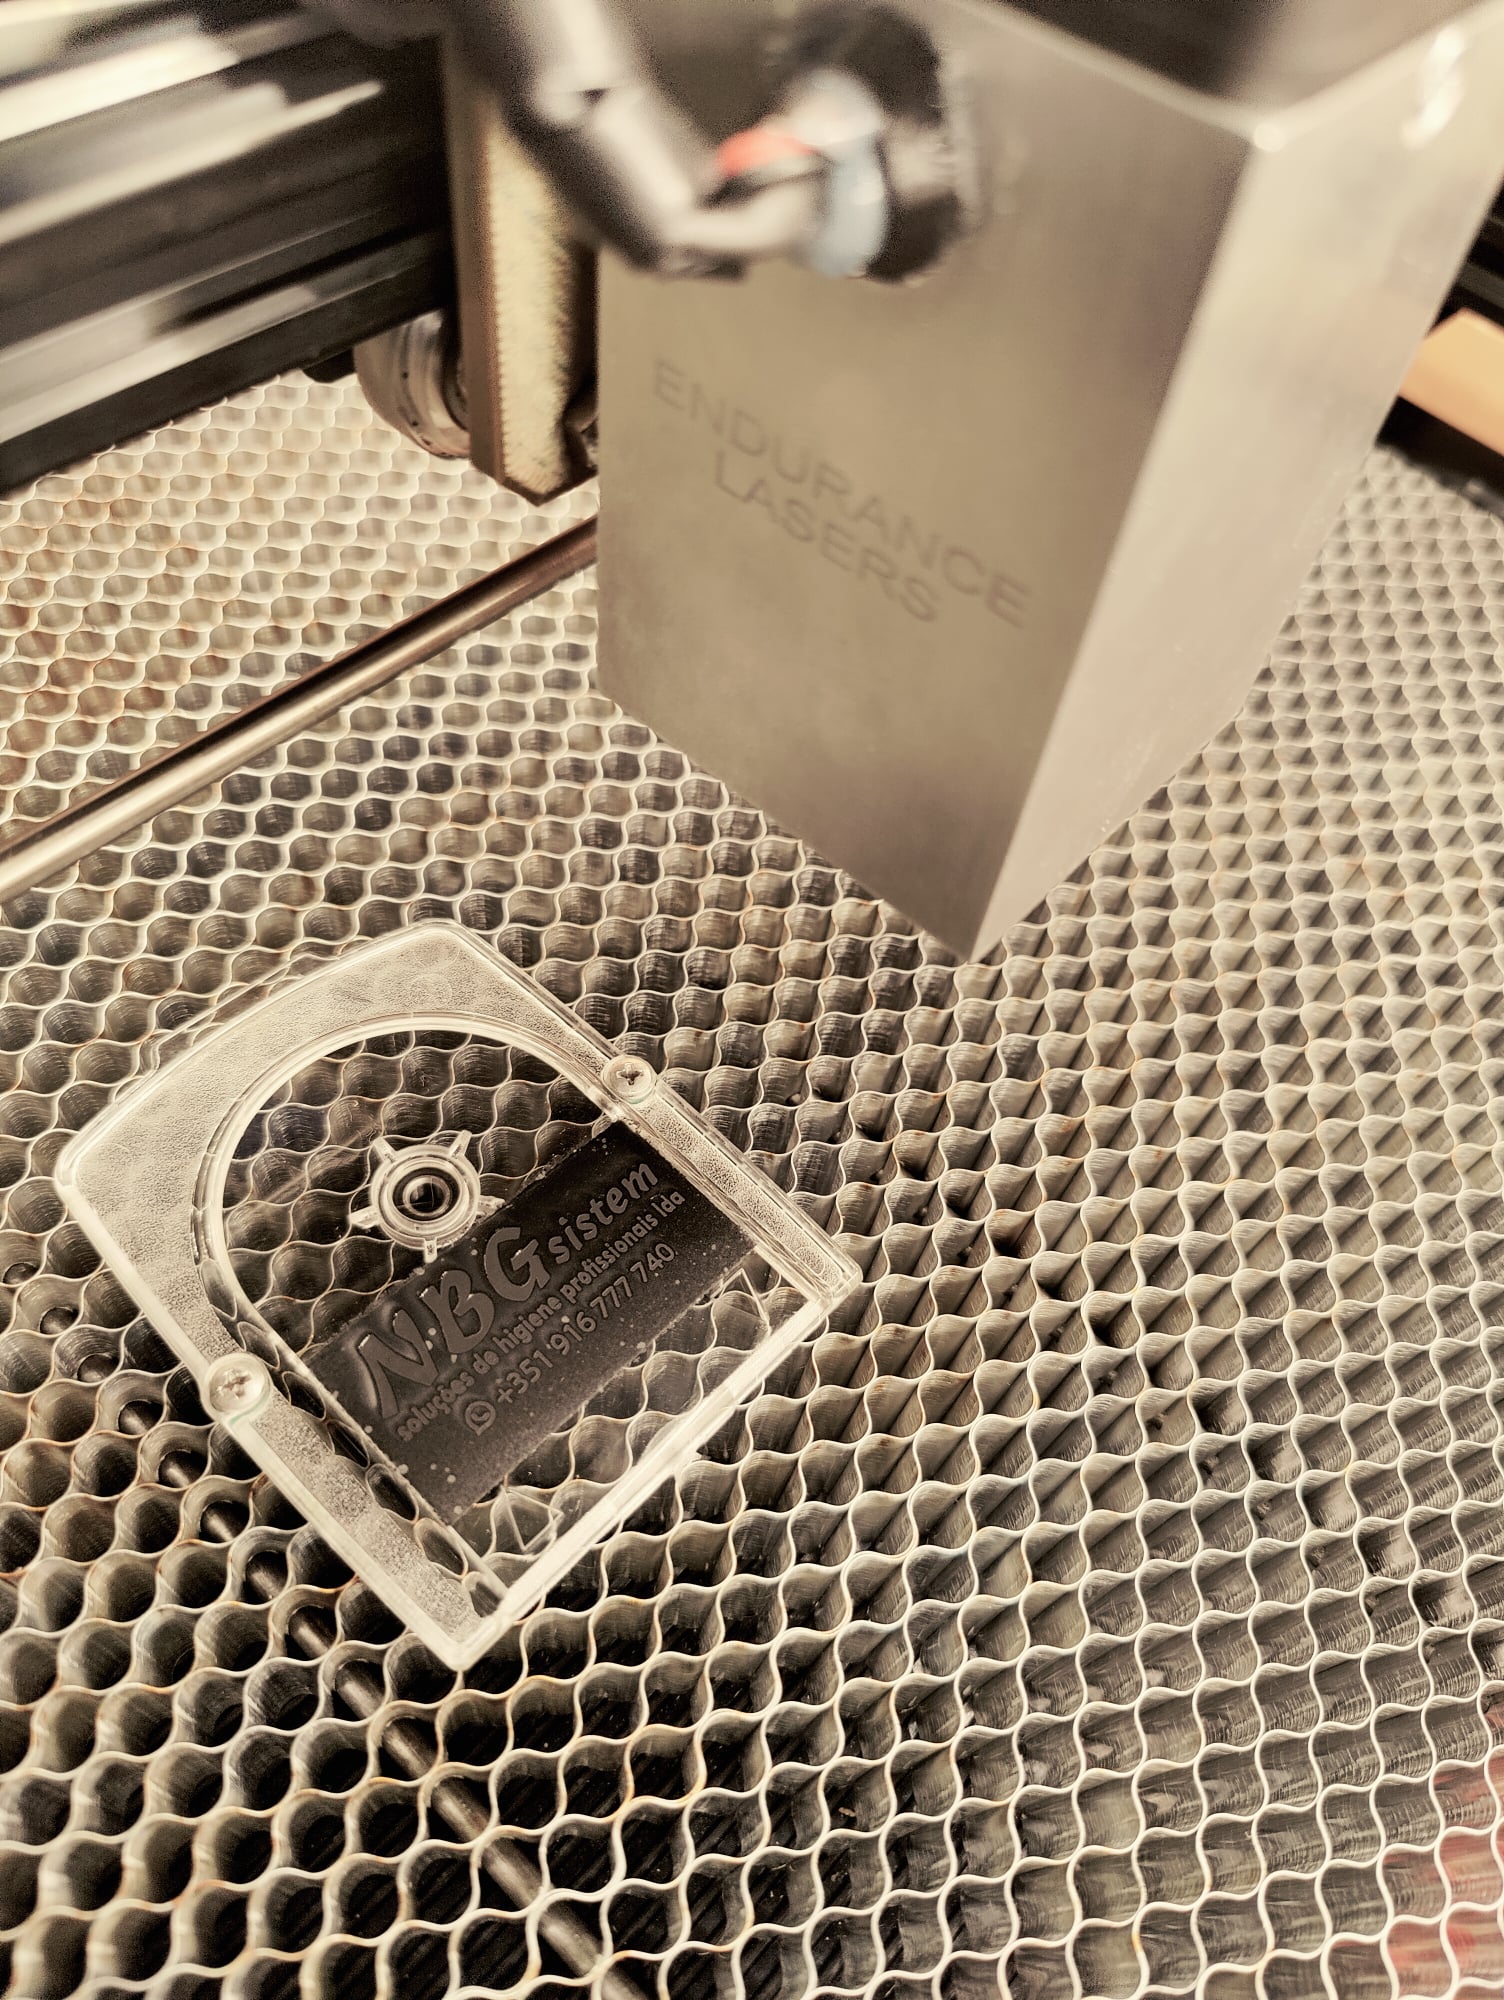
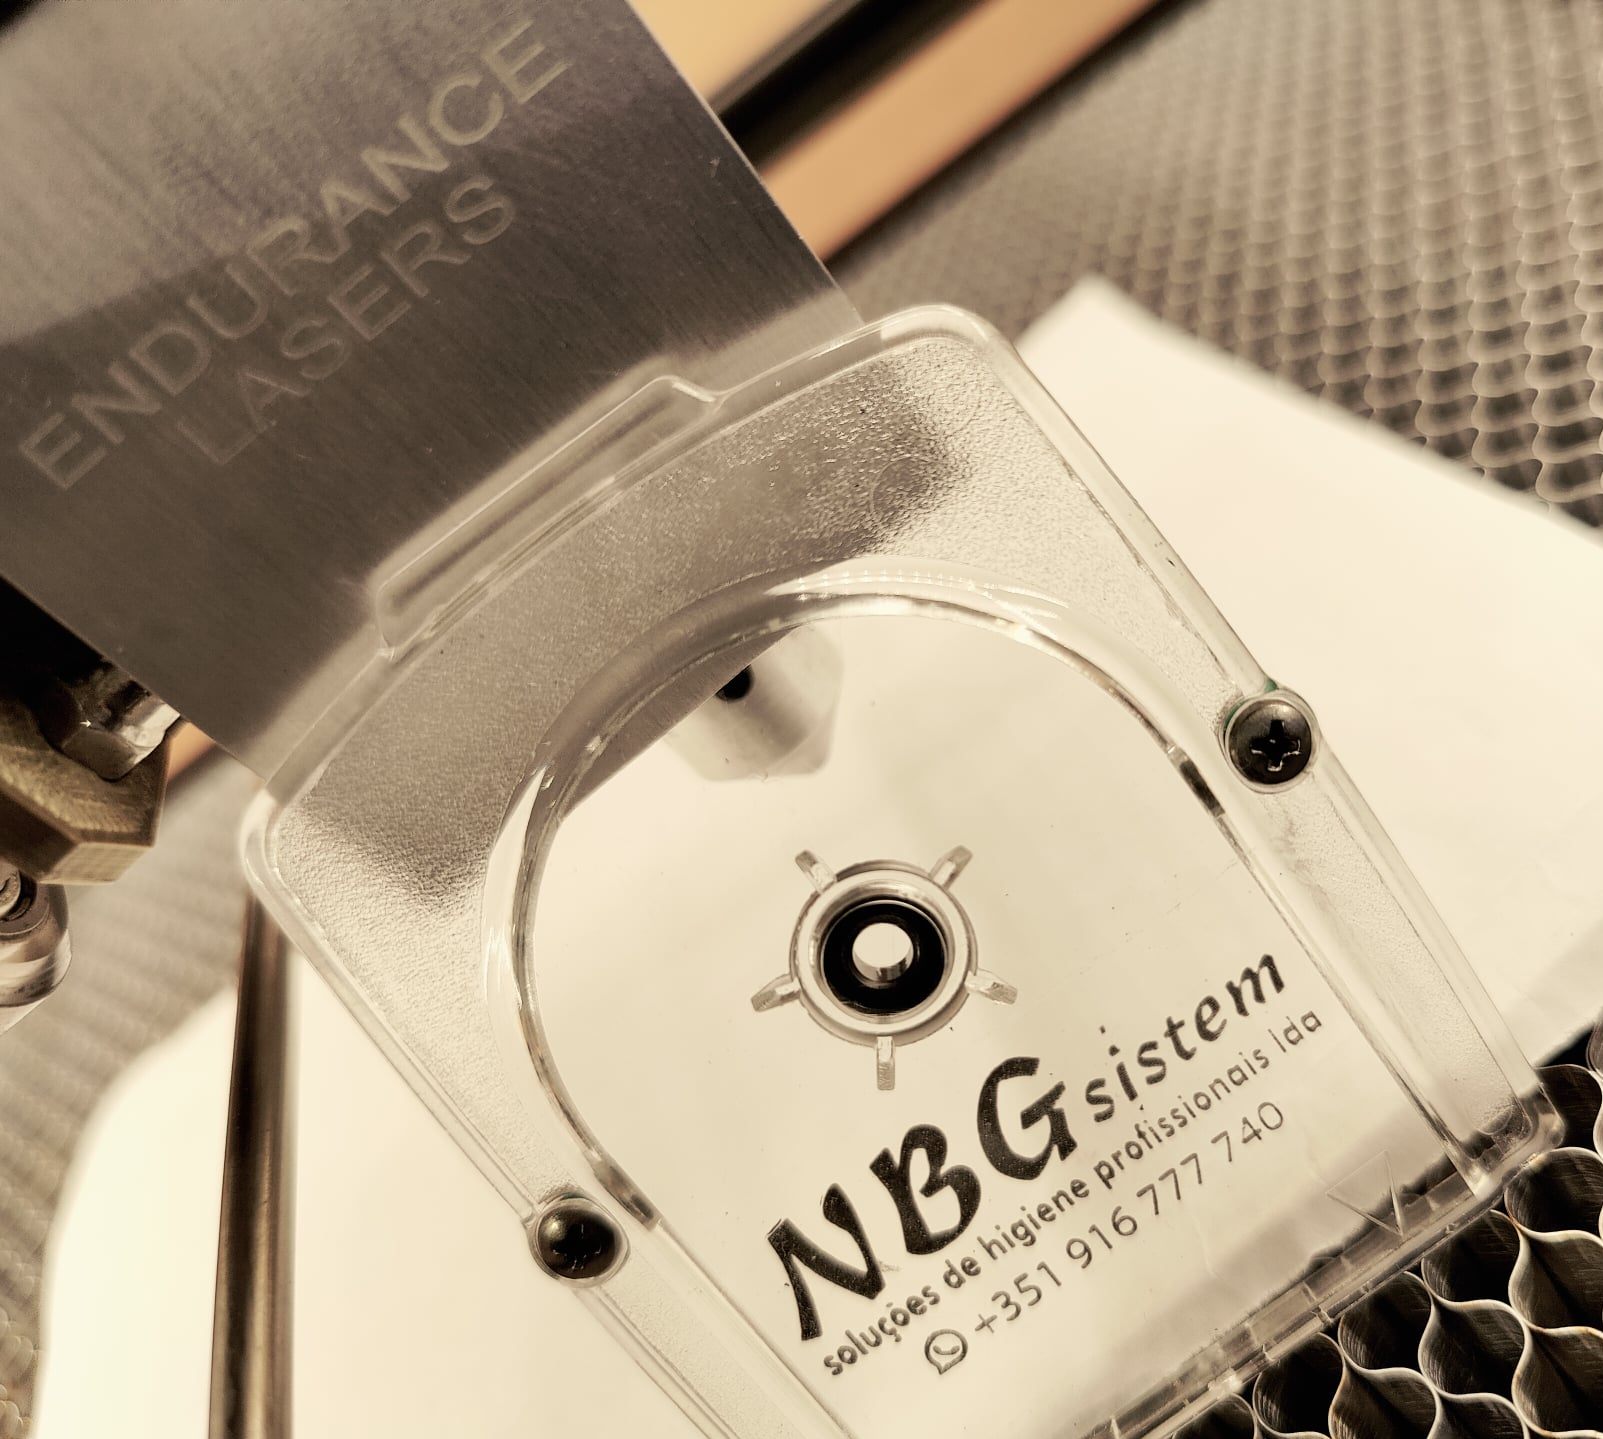
Laser engraving on transparent plastics using 10 watt diode Delux laser module

10 watt SE laser installation on Ortur / CNC 3018 SainSmart and Universal laser engraver – a detailed video guide
What you can engrave and cut with 2-2.1 watt and 3-3.5 watt, 5-5.6 watt, 10 watt diode Endurance lasers
Here I will tell about some peculiarities of laser cutting with semiconductor (diode) lasers.
Some people think that only powerful СО2 and fiber optic lasers are capable of doing it. Actually, this is no so. 2 W semiconductor (diode) lasers can also cut many materials.
Comparison of a different types of lasers and different wavelength
So, let’s start from the very beginning.
What Can the 2.1W Laser Do?
2.1W is not much for a laser. But it is enough to effectively cut paper, cardboard, plywood, dark acrylic up to 1.5 mm thick.
Still, it’s better to use it for engraving than Cardboard.
However, cutting is also possible at a good speed. Cardboard, paper, and acrylic do not become charred at the cutting speed of 200-300 if working in CNCC LaserAxe.
The color and structure of the material are also relevant.
When talking about effective cutting we mean a clean (not blackened) cutting edge.
Once again we need to mention that many Chinese lasers do not have the parameters they claim to have.
Comparison of 2.1W laser made by Endurance and standard Chinese laser

Video available upon request. Just email to [email protected] or text: 12393020053 [whatsapp, viber, telegram, wechat]
The 3.5W Laser for Cutting
The 3.5W laser is better for cutting acrylic, plywood, and wood up to 2-3 mm thick, than its 2.1 W counterpart.
Though, multilayer plywood has some nuances and requires more passes for cutting through.
To cut through 2-3 mm plywood with a 3.5 W laser one needs 20-30 passes and the speed about 50-200 in the CNCC LaserAxe software.
Demo experiment with 3.5W laser
You can make such a nice box with a 3.5 W laser.
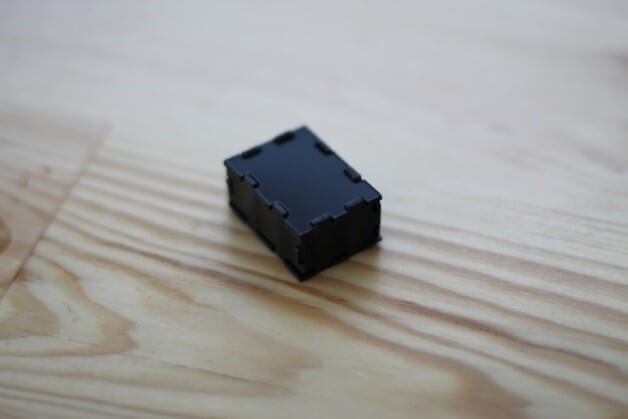
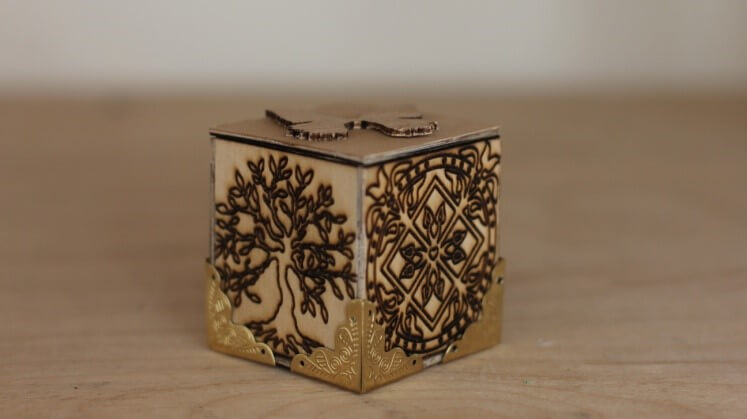
Laser-cut demo with 3.5W installed on a MakeBlock
The 5/5.6W laser with a Short-Focus Lens (G2)
The 5 – 5.6 watt laser is much better for cutting, but we recommend installing on it a short-focus lens G-2.
From the school course, we remember that the laser power decreases in proportion to the distance square.
What is good about the short-focus lens G-2 is that it can substitute a regular one, and you will not have to make any changes. The short focus lens G-2 has a focal length of approximately 4 mm; in fact it is right up to the subject.
The 5.6W cuts well plywood 2, 3, 4, 5 mm thickness.
Parameters of the 5.6 W Endurance laser for cutting

Recommend using only a short-focus lens (G2).
However, you can cut materials if you install a laser on a 3D printer.
Demo video of a laser cutting using 5.6W laser
To be the time in focus it is necessary to move the laser down the Z-axis after each pass according to the depth of the cut.
The 8W (8000 mW) Ultra Powerful Laser for Cutting
The 8W (8000 mW) diode laser with a short-focus lens G-2 is good for cutting 4-5 mm plywood. It is also able to cut 8 mm acrylic with a regular long-focus lens.
8W power is enough to cut plywood 4 mm thick with just one pass:
and black acrylic 8 mm thick with 3 passes:
Demo video of an acrylic laser cutting
Subscribe on our Youtube channel and do not miss our news and guidance.
If you are not able to watch our video – let us know. All video are free for Endurance customers. We have more than 500 video guidance and tutorials.
So, diode lasers can cut plywood, acrylic, and wood up to 5 mm thick.
You can also cut materials thicker than that. For example, we cut plywood 10 mm thick with an 8 W laser. But in that case, the speed and quality substantially decreased. The edges were not quite ideal and were blackened here and there.
You can adjust 3 laser parameters:
- power,
- speed,
- a number of passes.
The greater the speed – the higher the quality of the edges, and the more accurate the cutting. Sometimes many passes at high speed do not result in cutting if the material is too thick.
Then you have to choose between the quality and the speed.
In most cases, it is necessary to select the optimal parameters experimentally.
Important
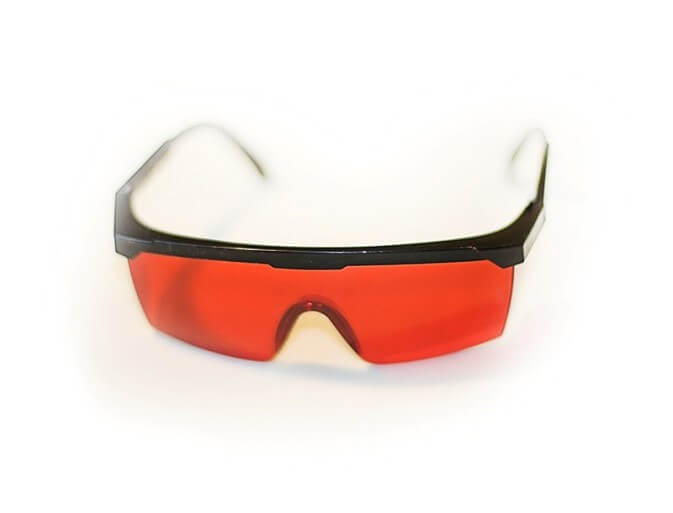
The most important thing is to adjust the laser focus.
You can adjust the focal length using the lens when setting a faint glow in the program and looking at the dot through the safety goggles. We recommend focusing on a black metal surface. In this case, it is easy to note when the dot turns out to be the smallest. But please mind that you MUST wear safety goggles when looking at the working laser.
In the end we can assert with confidence that:
- 3.5 W lasers are suitable for cutting 1-2 mm plywood and acrylic;
- 5.6 W lasers are suitable for cutting plywood and acrylic 2-3 mm thick;
- 8 W lasers are suitable for cutting plywood and acrylic 3-5 mm thick.
Explore more abilities of 10 watt laser
Explore more abilities of 10 watt plus laser
Explore more abilities of 10 watt DPSS
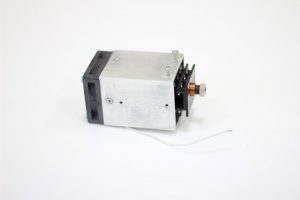
An Endurance Brand New DPSS Laser Module For Metal Marking & Metal Cutting!
High-quality standard
Multi-level testing system.
Industrial components.
Ultra reliable
The guaranteed duration of the continuous operation ~48-72 hours.
True continuous power output
Our products have the rated power output as advertised – unlike Chinese analogues.
TTL mode
Can be turned on and off with 3.5-24V.
Variable power output.
Plug and play
Universal and compatible mount.
Compatible with most 3D printers and CNC machines.
Friendly return policy
Do not like the laser?
Simply return within 30 days and get a full refund.
Real-time advice
We assist and give advice by Phone / Email / Facebook messenger / Telegram / Whatsapp / Viber.
Professional support
We help to install and tune the laser. We offer qualified after-sales support.
Everything you need
We ship everything you need in one parcel to get started.
Immediate delivery
We ship all units within 4-24 hours. DHL express delivery allows you to get the package in 3-5 days.
Lifetime warranty
All our lasers are tested and could work up to 10000 hours.
Upgrade option
Do you have an old model? Upgrade your unit with more powerful one.
