
All you need to know about how to make a flexible plywood thing using a laser – parameters, settings – everything to get started!
Flexible Plywood – DIY
I had seen many pictures online before, of people using a laser to make ‘flexible’ plywood, but never tired it myself. So, in this adventure, that’s exactly what I’m doing. It actually turned out to be not all that complicated, mainly requiring many parallel cuts in the wood that are offset to each other. What comes out is quite remarkable. It isn’t just a little bit flexible but can be bent completely 180 degrees in a quite tight radius. This opens up a whole new world of possibilities, with everything from bracelets, to full on clothing.
How to do it – a full guide
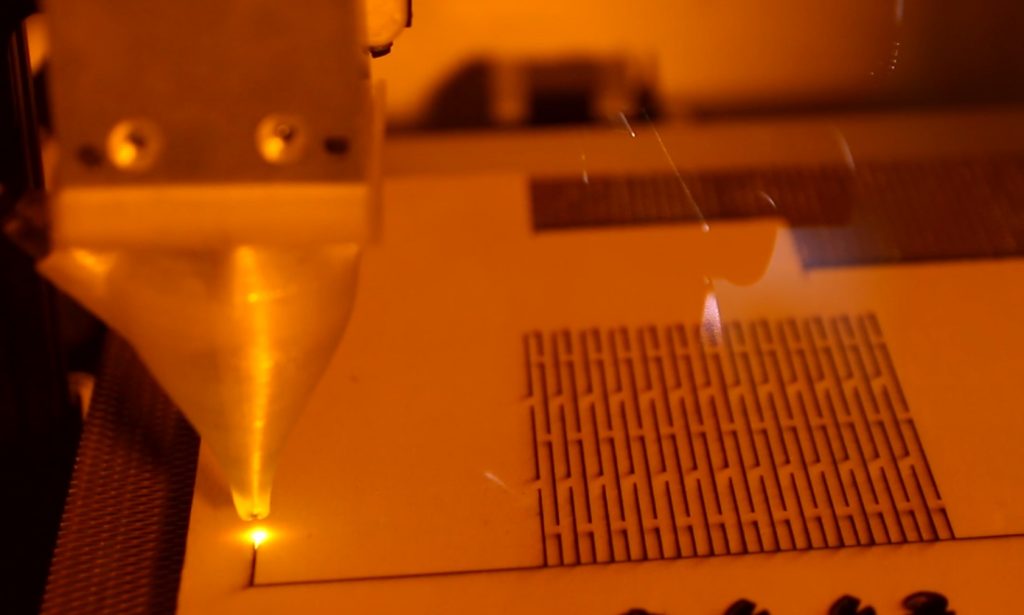
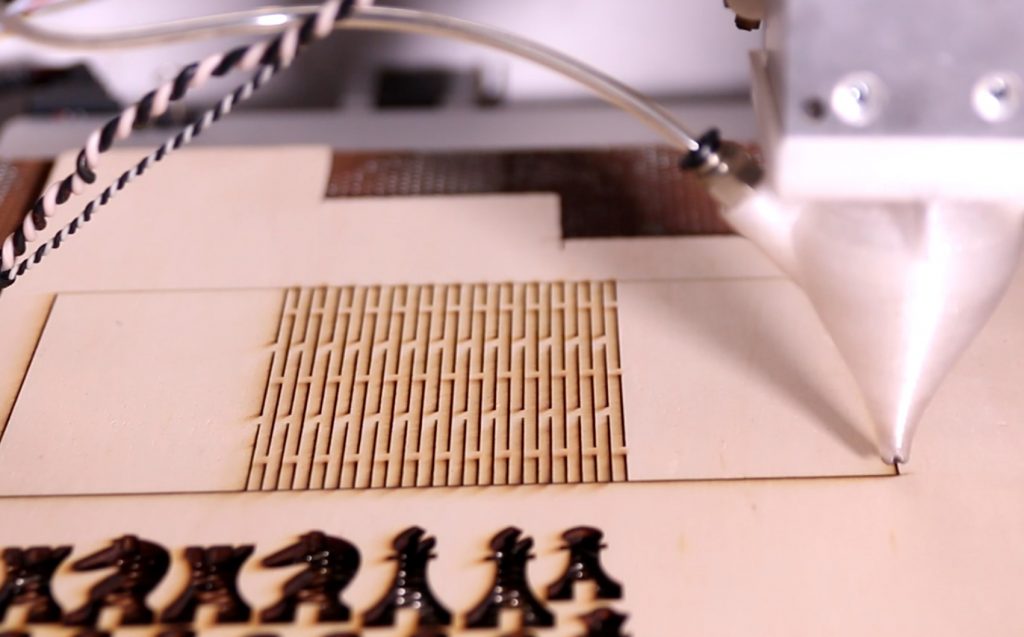
I used illustrator to design my piece, but any other vector editing tool would work as well. What you want to do after you made the outline of your design, is to find the areas that you want to make flexible. With 4mm plywood, I would recommend at least 3cm for every 90 degrees you want to bend the wood. In thinner wood, of course you need less, and in thicker wood more. Next you want to add a bunch of lines parallel to each other, with a small gap every 3cm or so. The spacing between the lines should be about the thickness of your plywood or a bit less. Then make sure the gaps between the lines are offset, so you get a pattern that looks a bit like the image.

The laser cutting process
To cut the pieces I am using my standard settings for my 10W laser. These are 170mm/min with two passes. I also turn on the air assist, and step down 1mm between the passes. For me this gives the cleanest results.
More ideas?! Explore
Of course, you aren’t just limited to achieving the flexibility with straight lines. This fundamental technique of making a hinge by having long thin parts can be applied to many more shapes. I’ve seen waves, flowers, triangles, and many more. You can also play around with the length of the lines, trying to find the balance between flexibility and strength. Overall this is a very interesting technique, which you can use to give your projects a special spin. It is quite impressive when you see if for the first time and can actually hold it in your hand.
My setup: I am using a 10W Endurance Laser, which is mounted to my CR-10 using a quick release. I am also using an enclosure I built with an exhaust outside to control the fumes. Depending on the project I also use my air assist, which is hooked up to the air compressor.