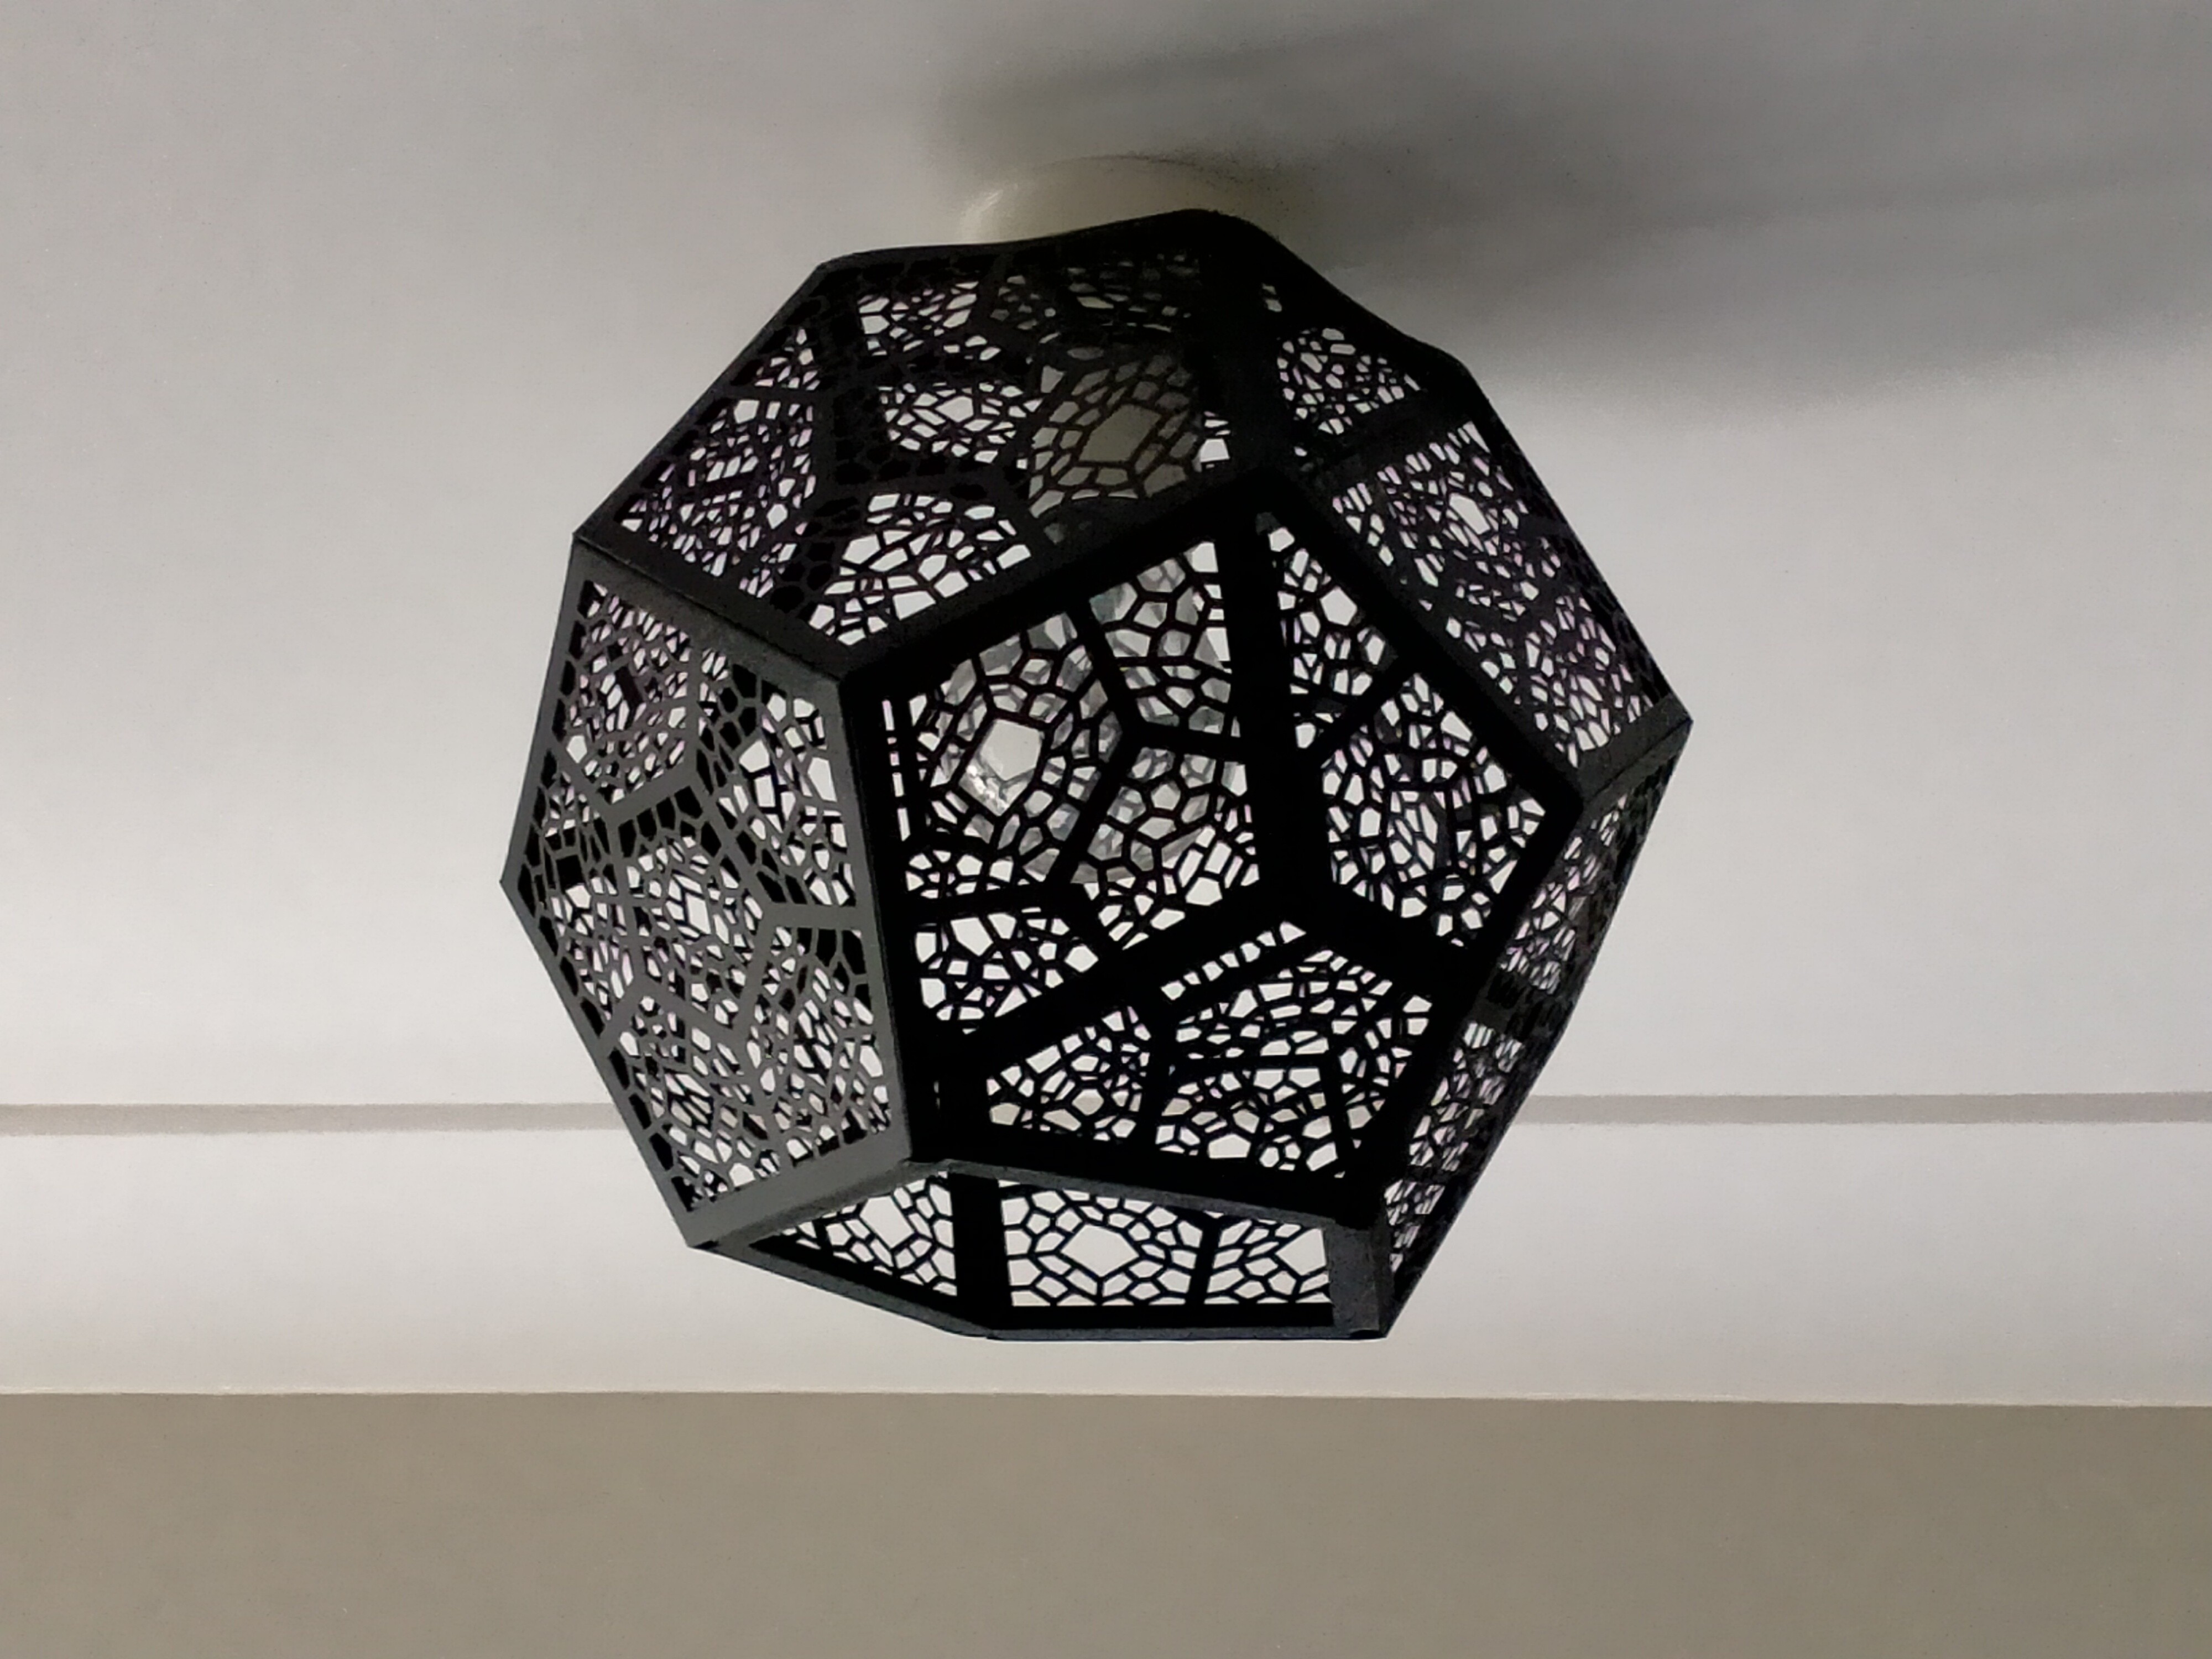
While browsing Thingiverse, I stumbled upon the project for this lamp. When I saw the first picture of it, I just knew that I needed to build it, it looks just so stunning. Luckily the plan calls for 3mm plywood, which is no problem at all to cut with my 10W Endurance Laser. When looking through the files that were provided and calculating how much wood I would have to order, I realized how big this project actually is. In total there are almost 150 parts that need to be cut, with the 12 main pieces being quite complex.
Organizing the project
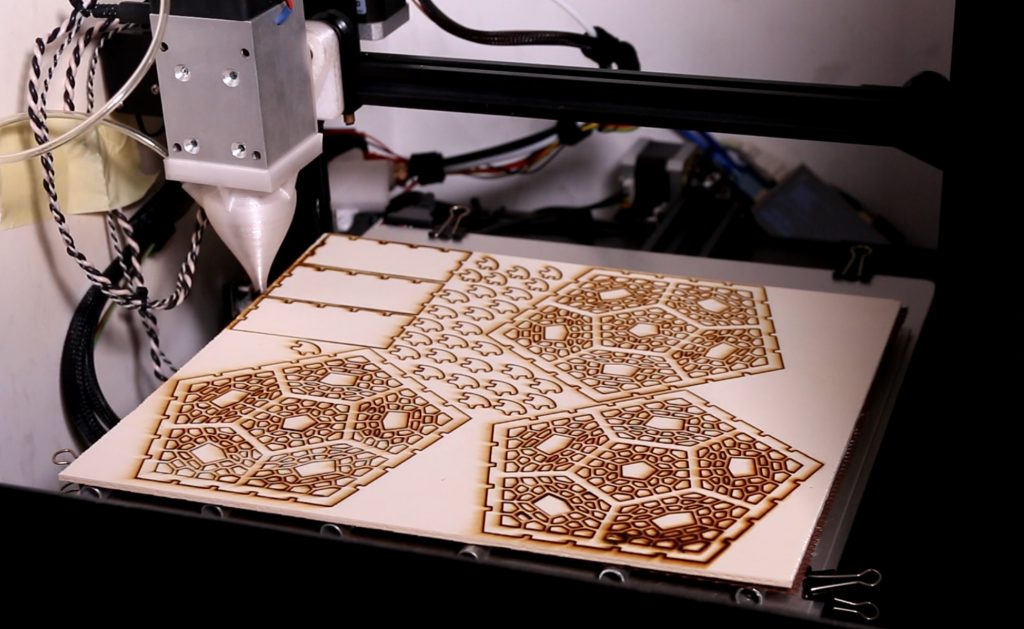
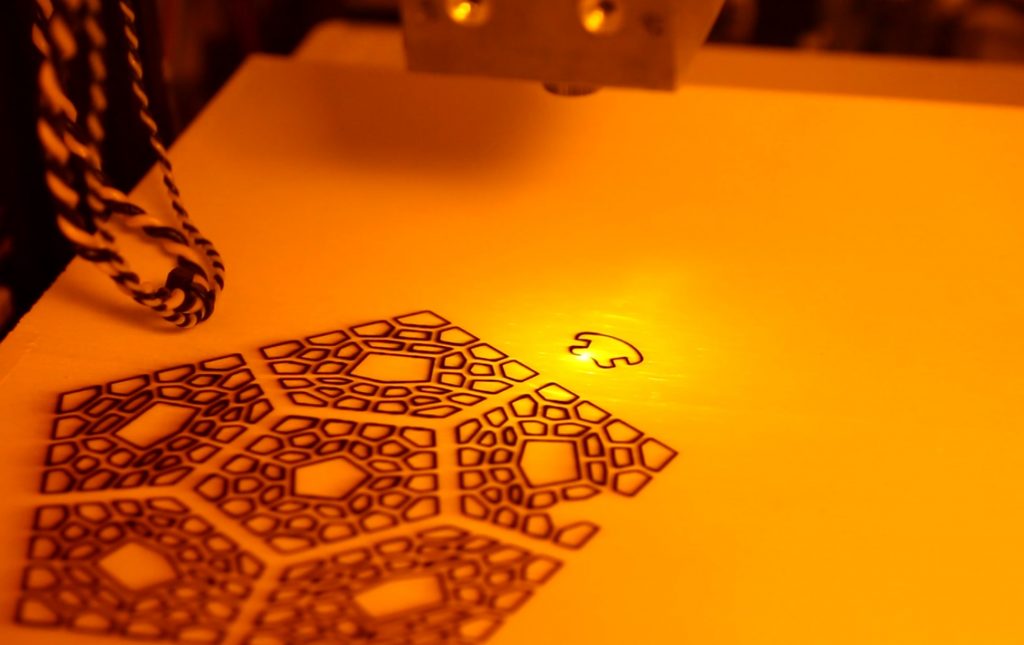
To tackle the project as efficiently as possible, I divided it up into 4 sheets of 25x30cm which is the maximum that would fit on my laser. It would be much faster if you have a laser that can cut everything from one sheet, but this isn’t too bad either. For the settings I settled on 120mm/min with two passes. I did some testing with slightly faster settings but had issues with it not going all the way through, so I went back to this. Since I have a Z axis, I’m also moving down 1mm in between passes, but that’s not strictly necessary.
Warped boards
In total it ended up being around 15h of lasering for the pieces I needed. It took me quite a bit longer though, as I was fighting some battles with warped boards, that caused the laser to be out of focus for part of the board. On these boards the cut didn’t go all the way through in some places, so instead of spending hours cutting out everything with a knife, I just started over. It worked quite well to put the boards down, so they are concave and then taping the edges to the worktable. This held the boards down straight and allowed me to successfully cut them.
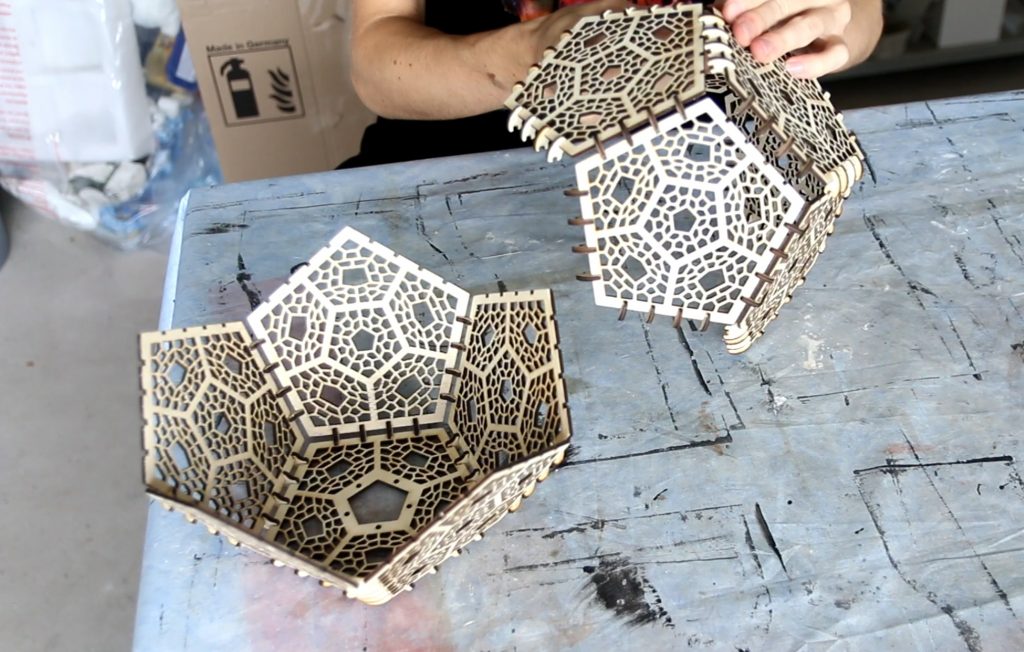
The assembly
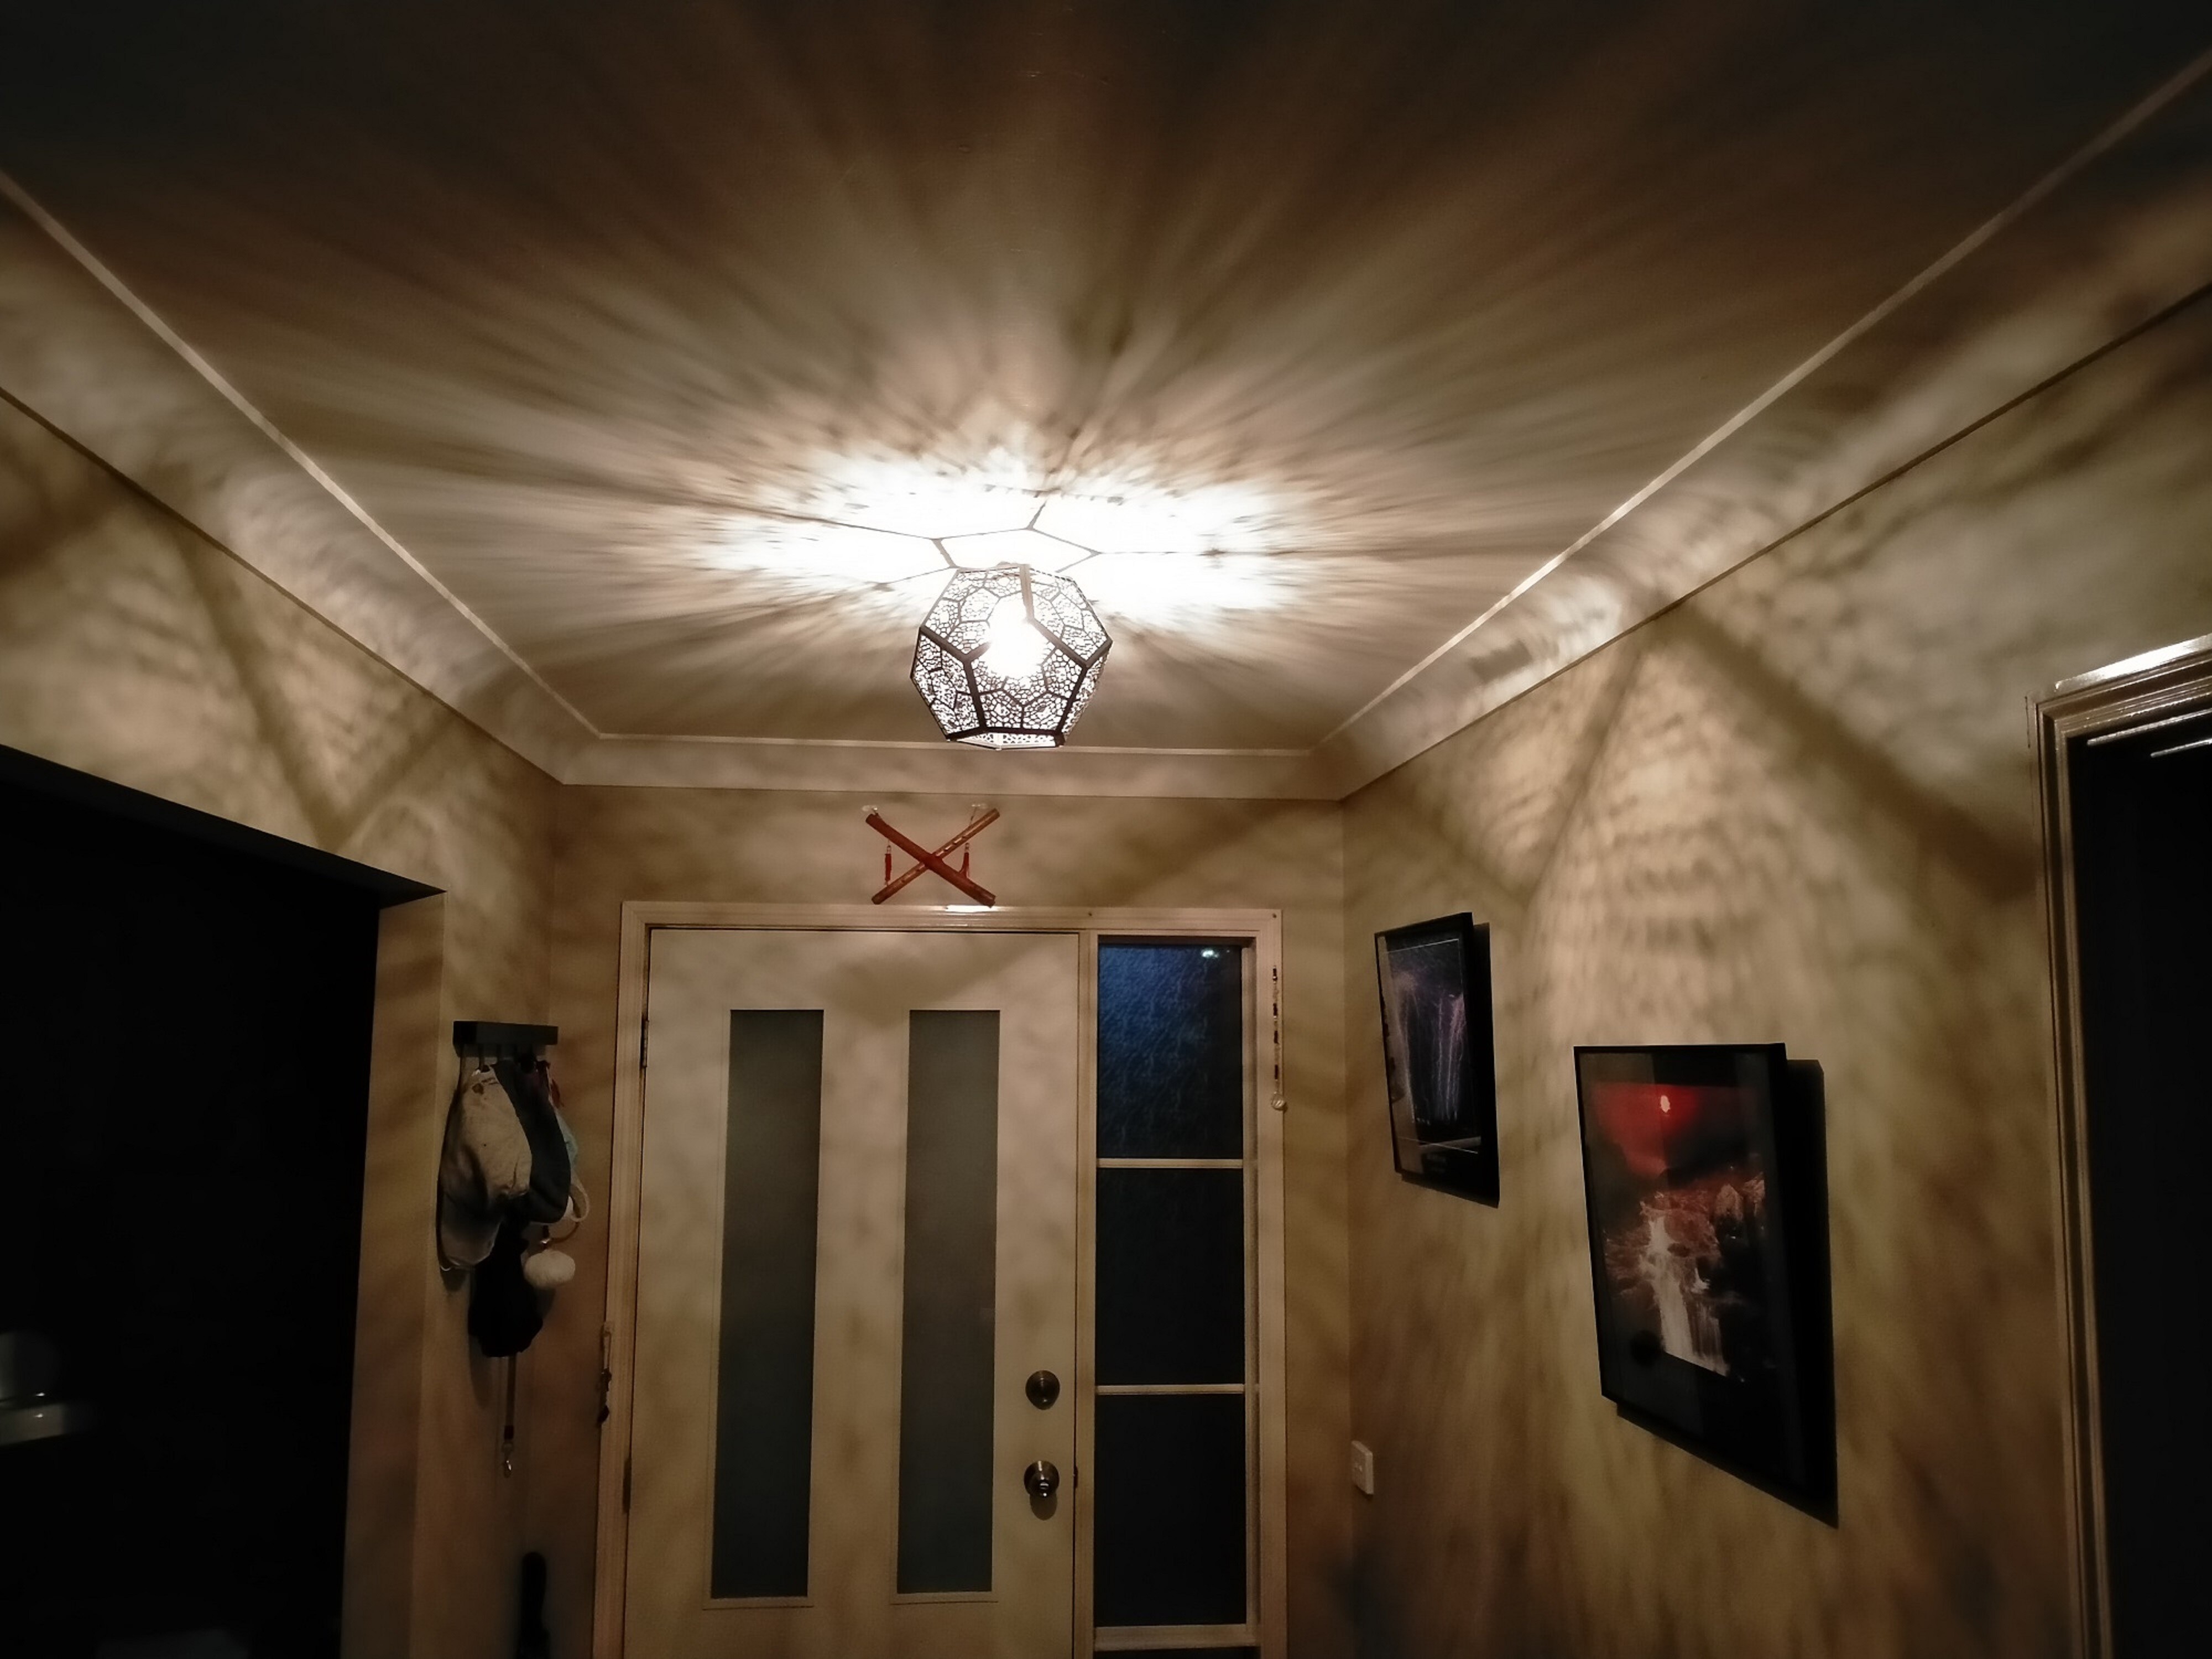
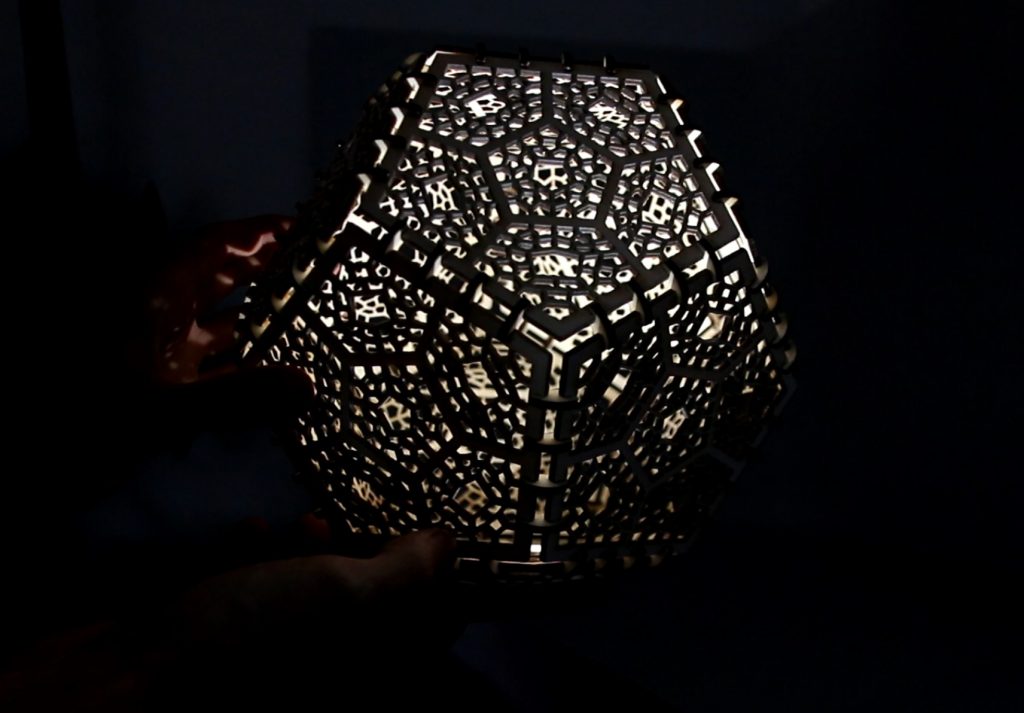
After all the pieces were cut out, I went on to assembling them. To start out I glued the connector pieces to one side. While doing that I had to pay close attention to where the pieces had to go, and where I would have to leave empty to be able to connect the other pieces to. After all the 12 main pieces had the connection pieces attached, I started putting them together. It turned out that the friction between the pieces was enough to hold the lamp together securely, which is handy, as it allows me to take it apart any time I need to. As the last step you can add you light source to the lamp. Because the shadow it casts is one of the main attractions of the lamp, it is a good idea to choose a light source that is as small as possible, so the shadow stays sharp. With that done, the lamp is complete.