Another post about how to make a metal etching using diode lasers
Everything you need to know about laser marking (etching) using an Endurance 20 watt (20000 mW) 445 nm double-beam laser attachment.
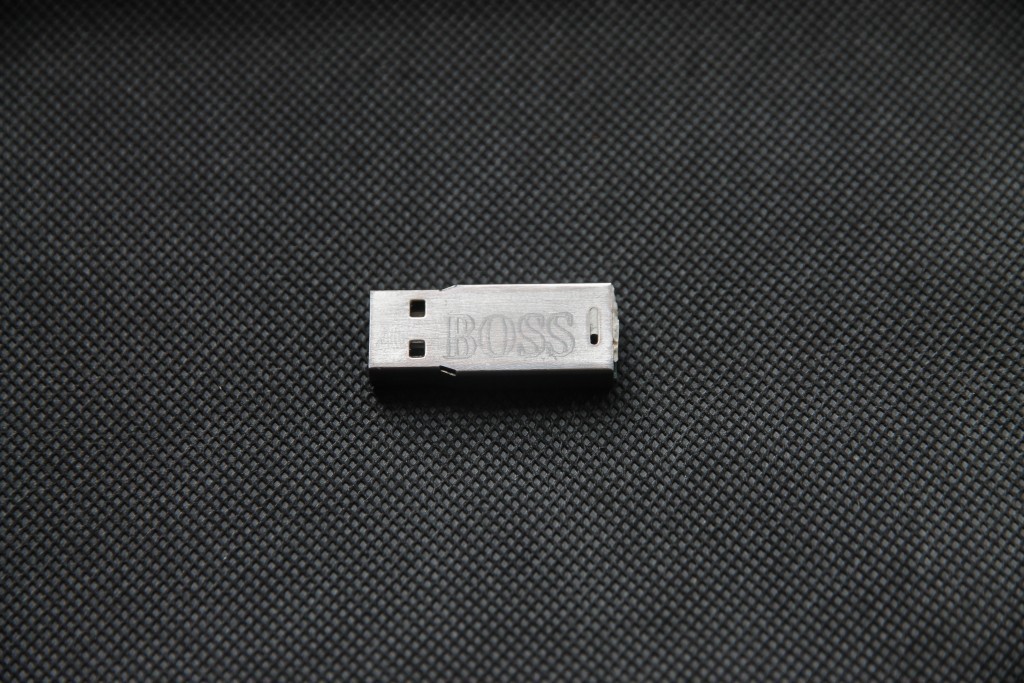
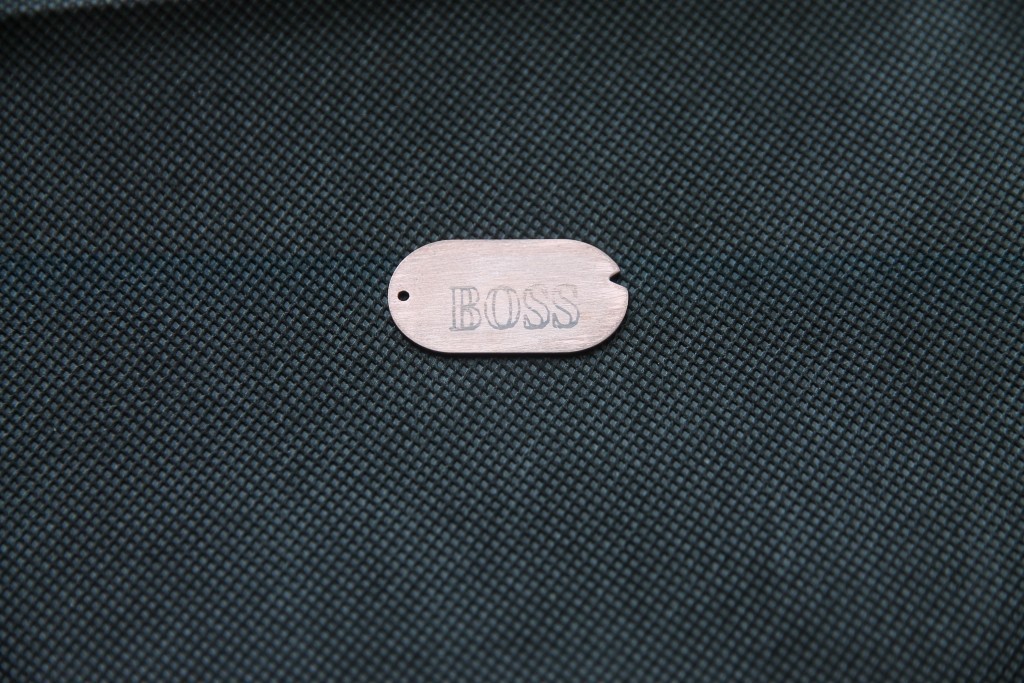
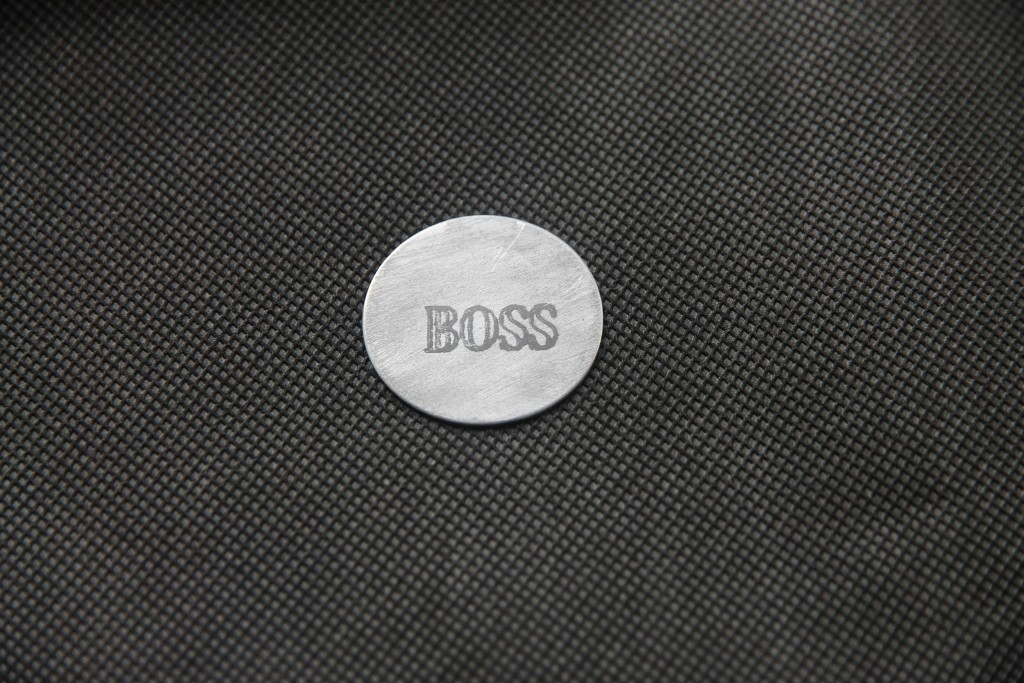
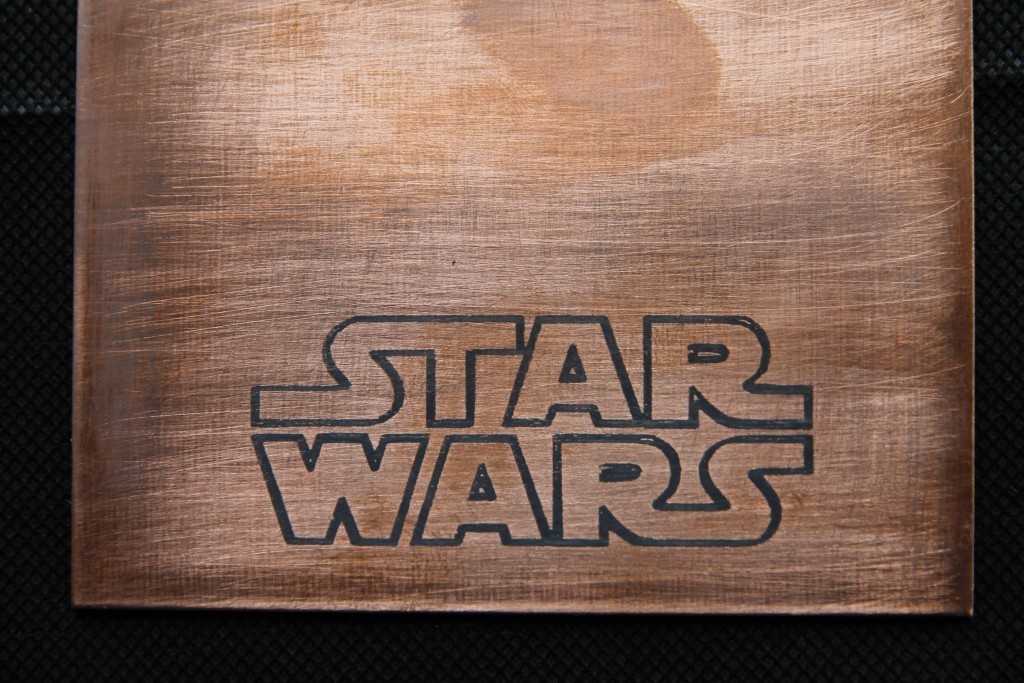
First of all I want announce that engraving on metals is possible with a 20 watt continuous visible 445 nm laser attachment.
The second positive thing is that the process is quite simple.
Just cover the surface with engraving paste (chemical) and you are all set. Engrave and enjoy!
How to etch on different metallic surfaces?
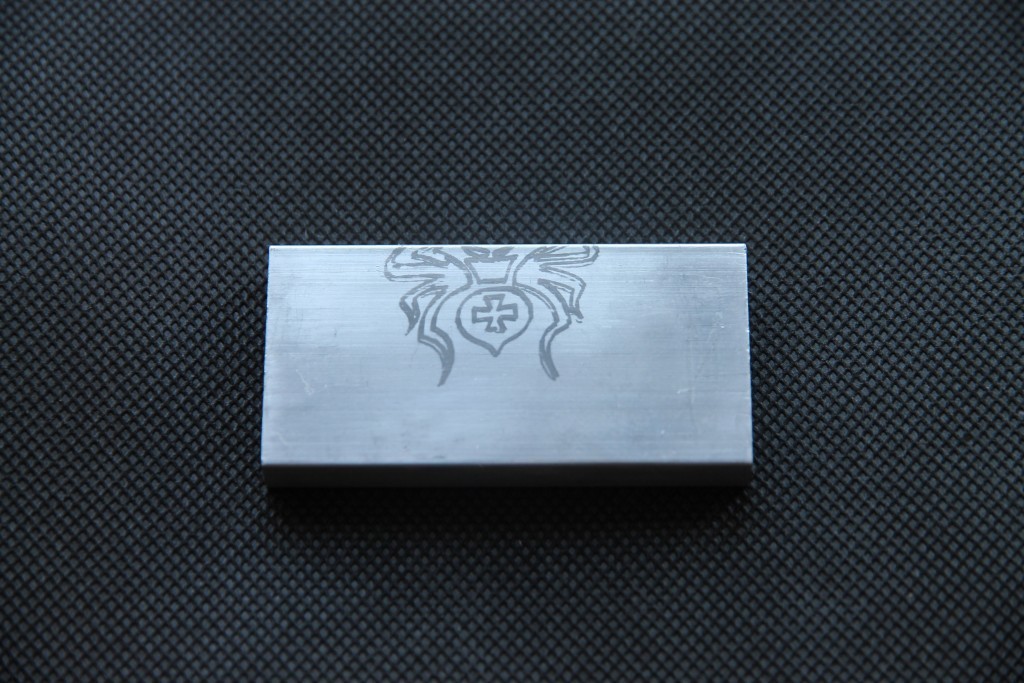
Laser engravings add value and a distinctive individual look to many items used every day. Metallic surfaces are durable and resistant to wear and tear, UV light, and even some chemicals.
1. Preparing the Design
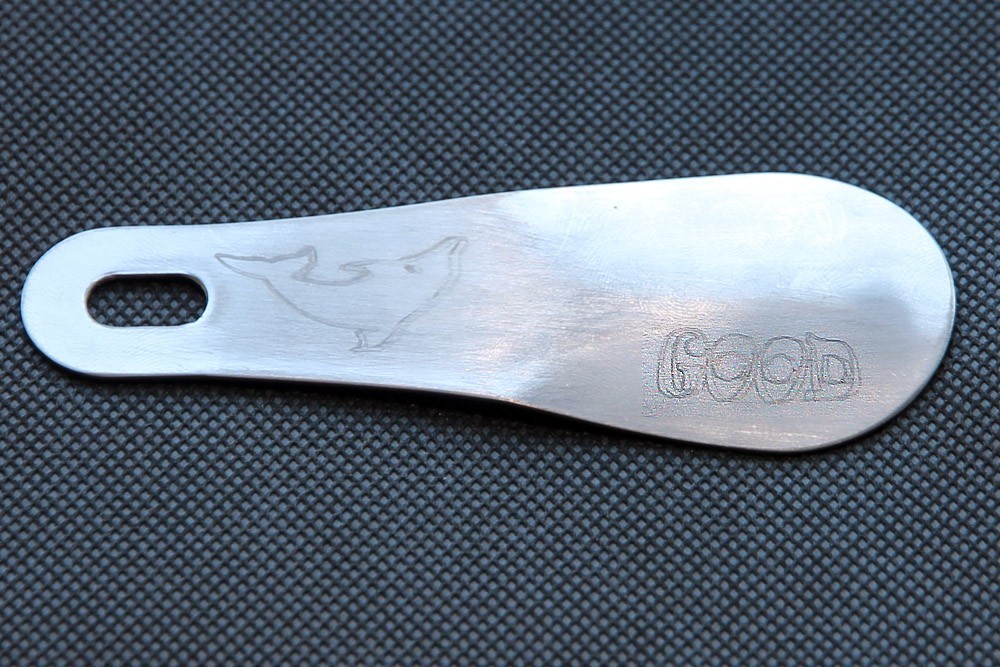
Select your design on the program, and scale to the appropriate size for the item you will engrave. Select the correct orientation and direction of text or image.
Using Lightburn for Laser Cutting and Laser engraving – settings and parameters
Manual for T2Laser software – laser engraving cutting software
Larger designs take longer for metallic surfaces. Write-ups and thin-lined designs do not take much time to fill in the engraving and they allow for multiple passes in a short amount of time. For photo engraving, removing the background from images will reduce the time to complete.
Every metallic surface has varying DPI parameters to mark effectively. One pass is enough to see an image, however, you can add more passes and higher DPI to create more engraved depth and contrast.
2. Adjusting the settings
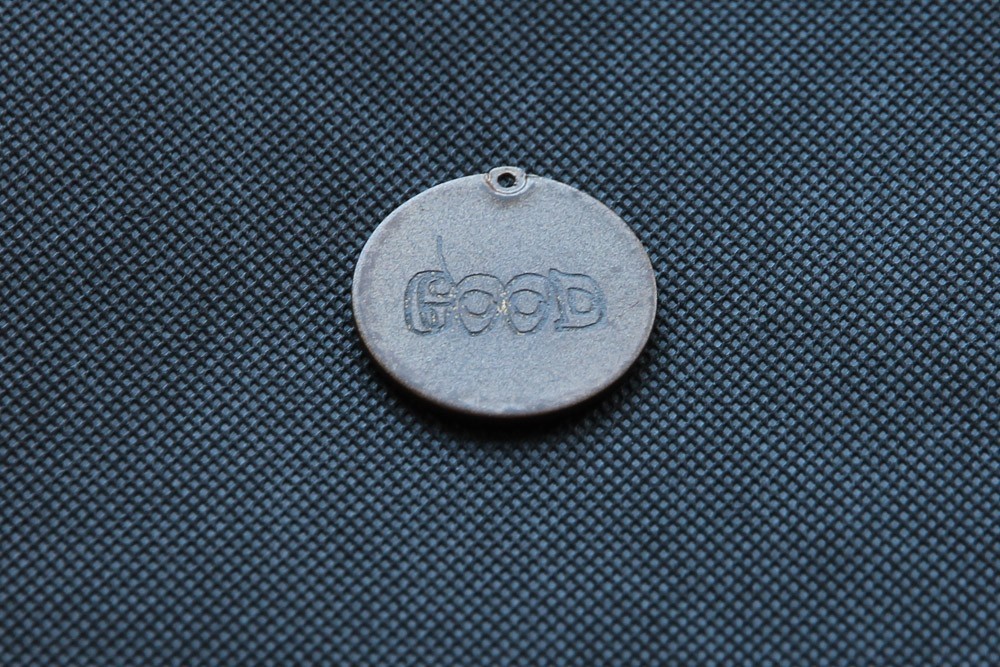
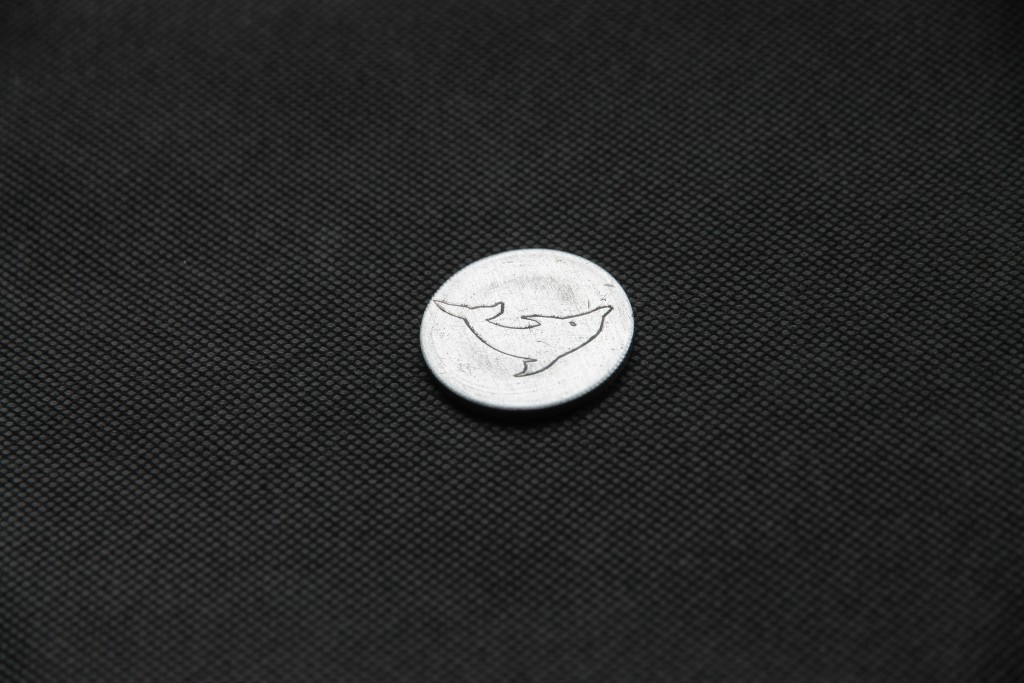
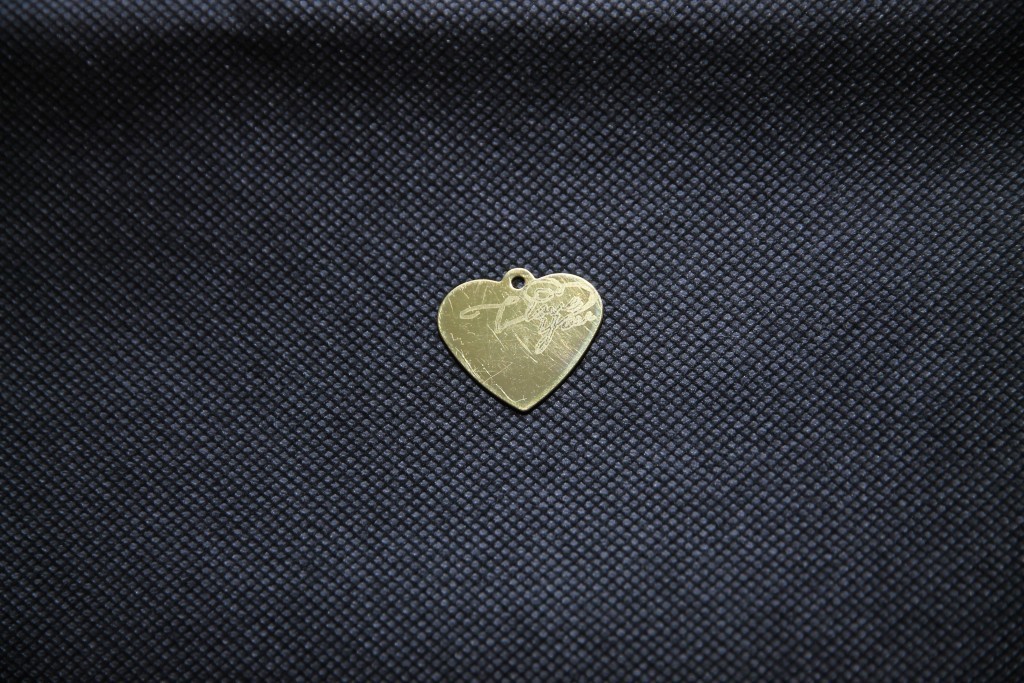
Now with a 20 watt laser you may mark on any metallic surfaces: stainless steel, aluminum, brass and copper.
For laser etching, we use special engraving paste (analog of Cermark LMM-6000 engraving chemical).


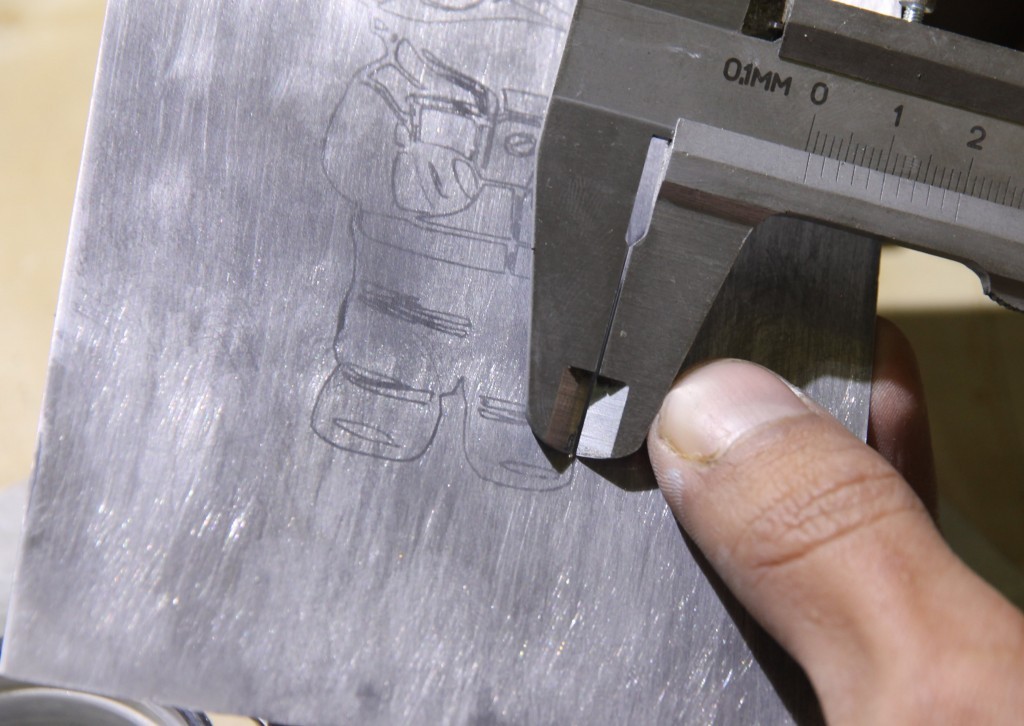

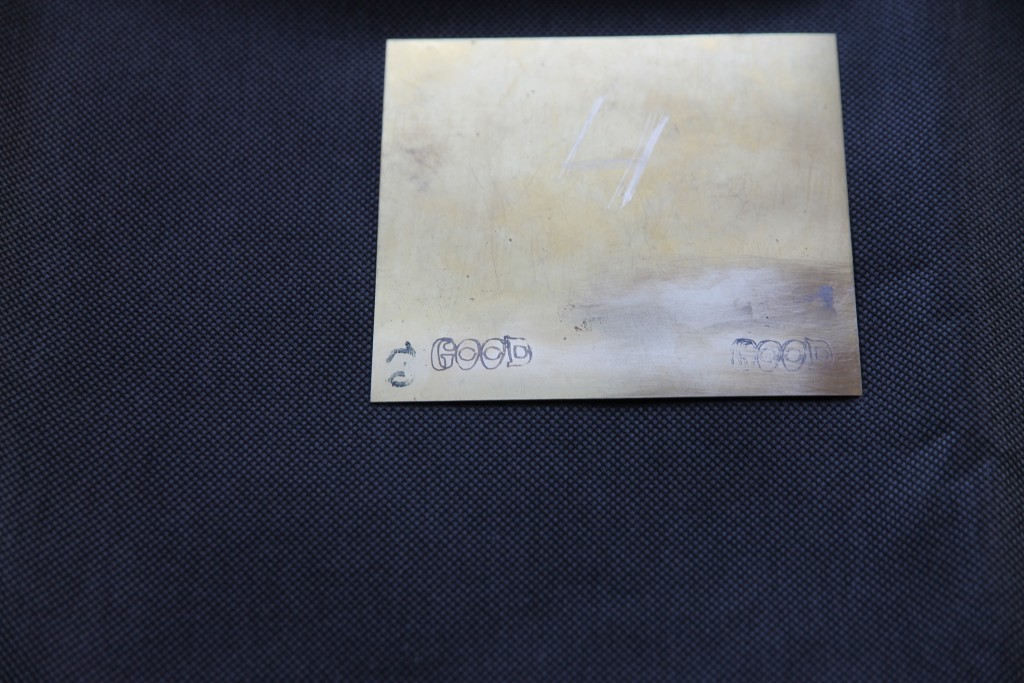

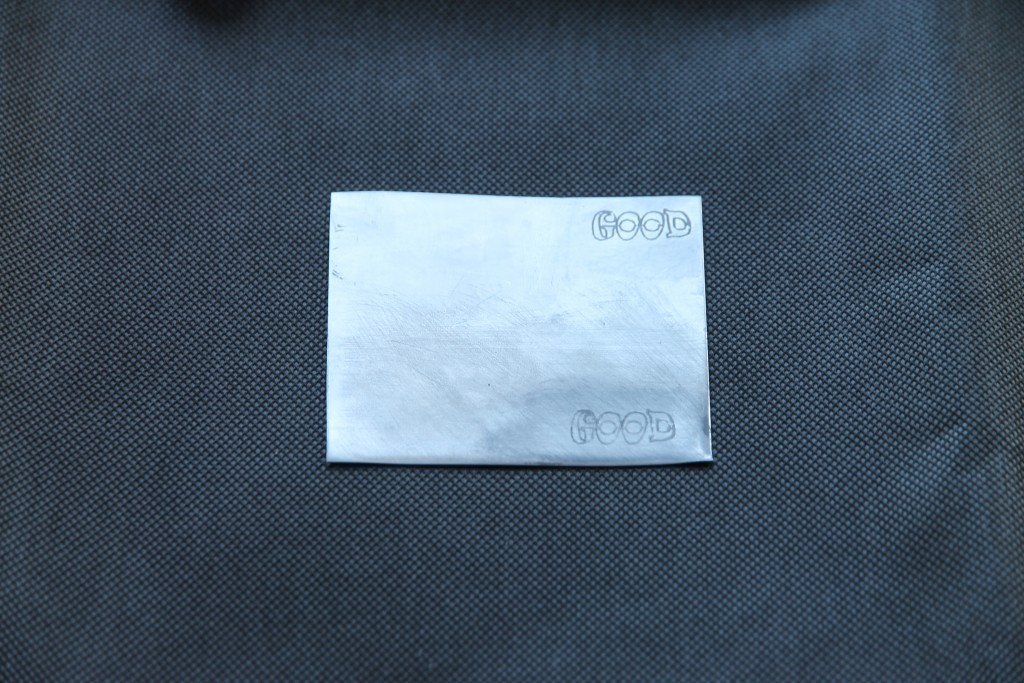
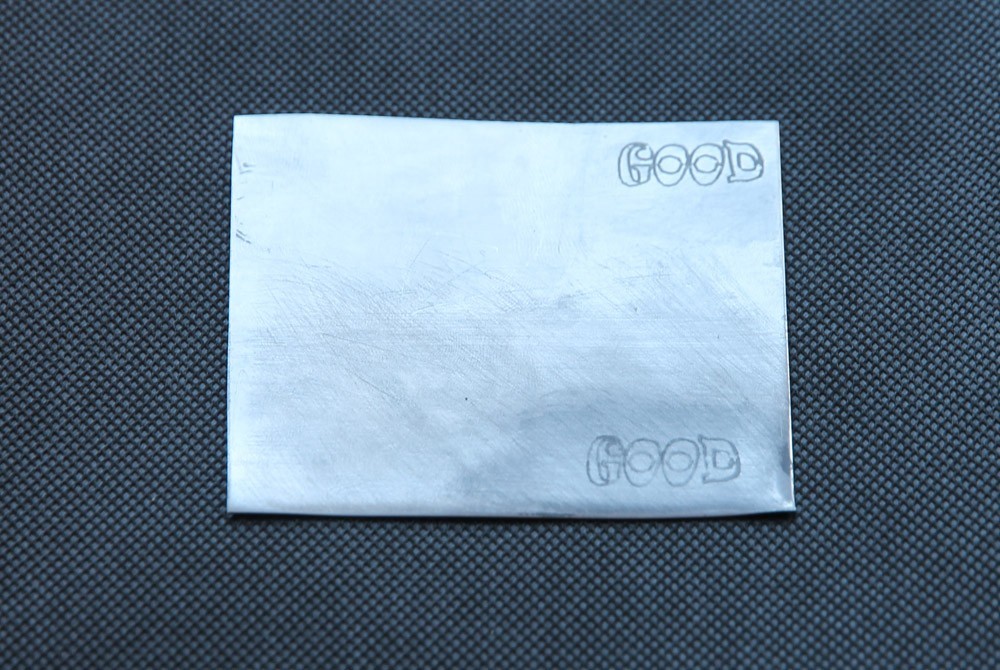

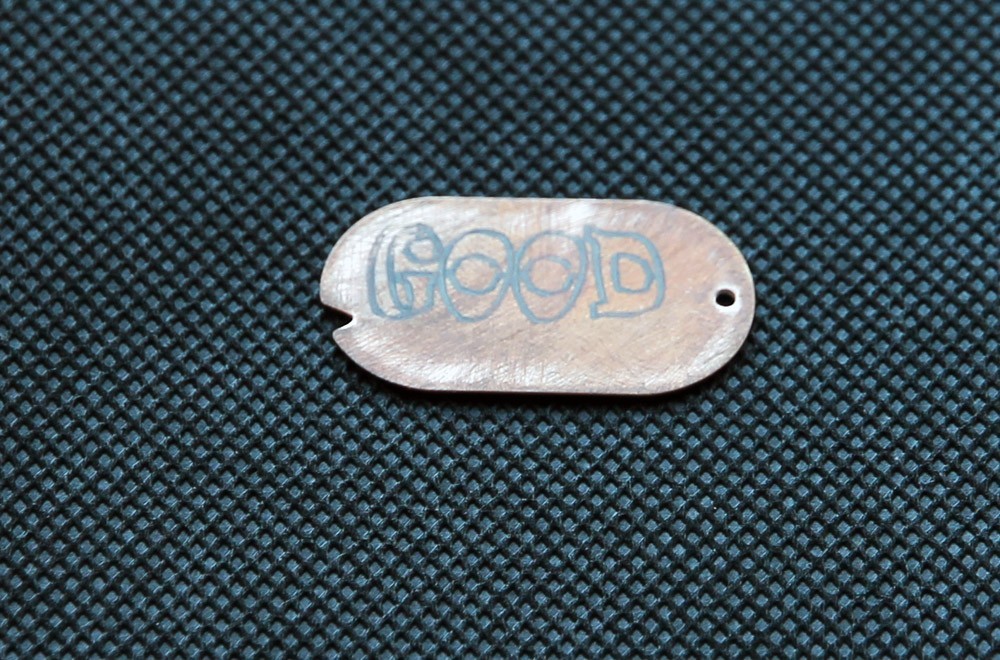
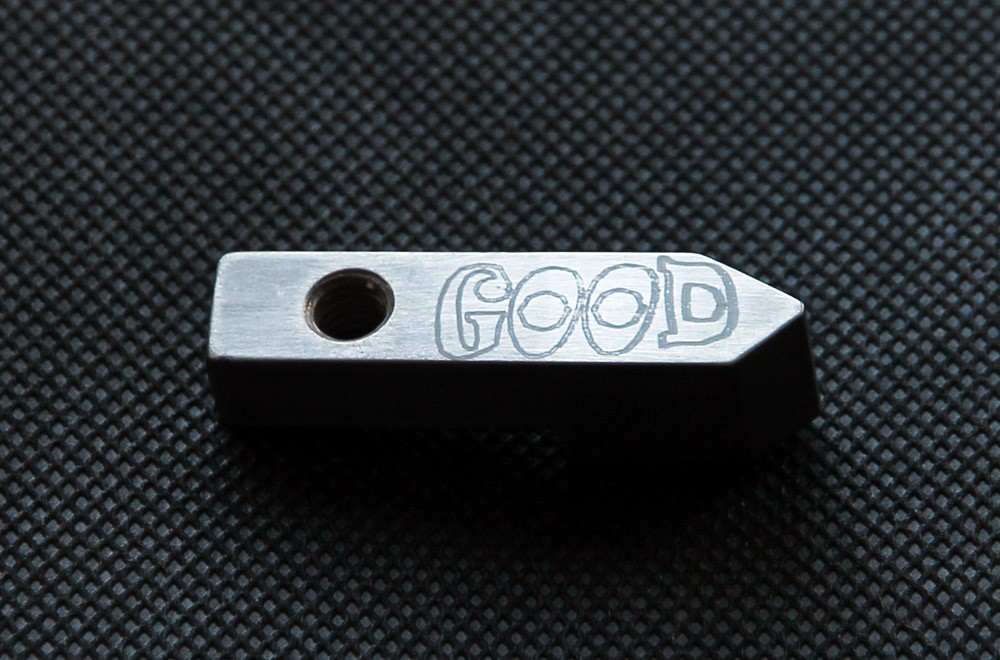
Calibrating and testing are essential for every project. A test piece can be a small cheap sheet of stainless steel.
A power scale chart is widely used as a reference for various laser engraving surfaces. Since there is no specific power and speed for all diodes, scaling everything is a good idea for working with different materials.
| Material | Amount of repeats | Speed in g-code | Special conditions |
| Stainless steel | 3 | 5 | – |
| Aluminum | 5 | 5 | polished and sanded |
| Brass | 3 | 10 | polished |
| Copper | 3 | 10 | polished |
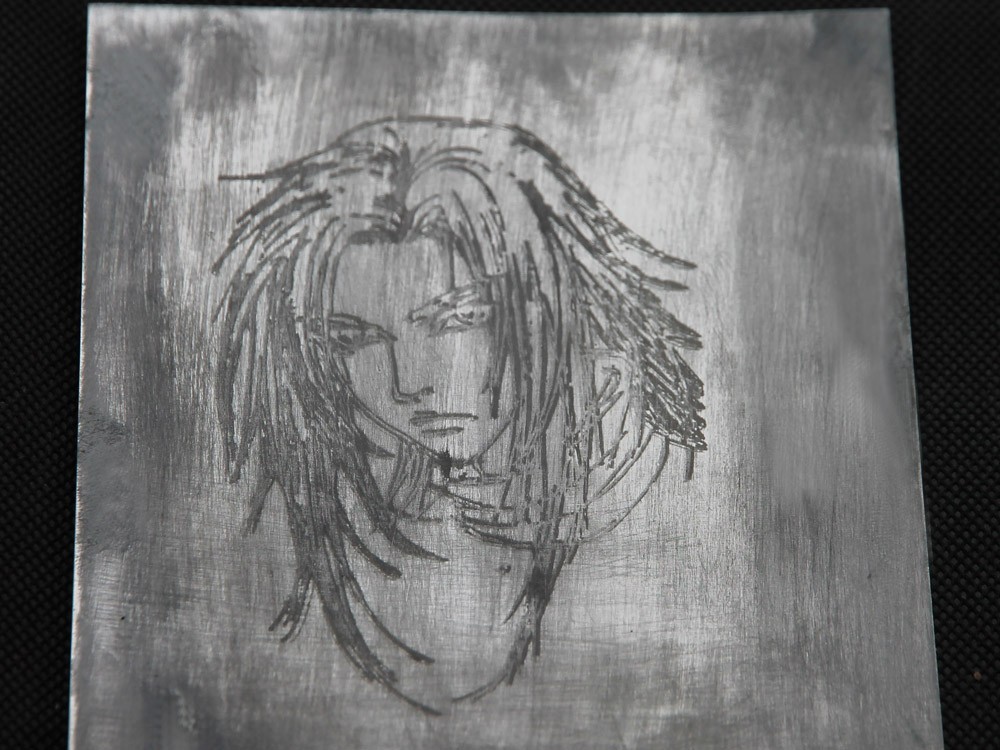
The detail appears with settings set to high DPI, more than one repetition of passes, moderate-high power, and slower speed. If the power output is too high, uneven contrasts will appear and an image can be ruined.
This video shows a power scale made on brass, steel, stainless steel, and copper
Was made using a 20 watt double beam laser
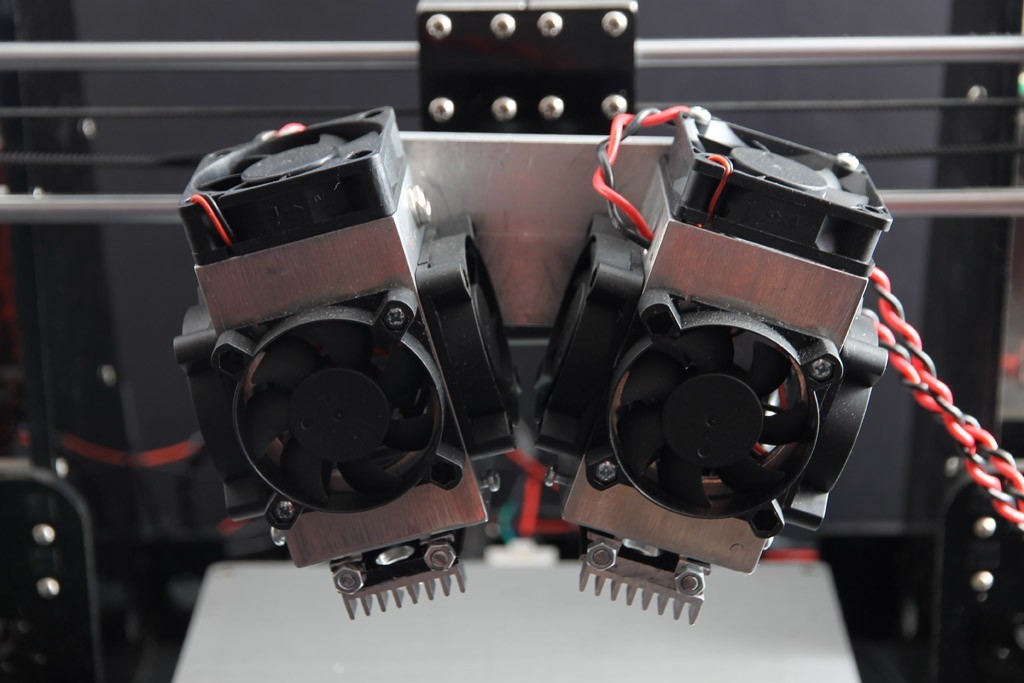

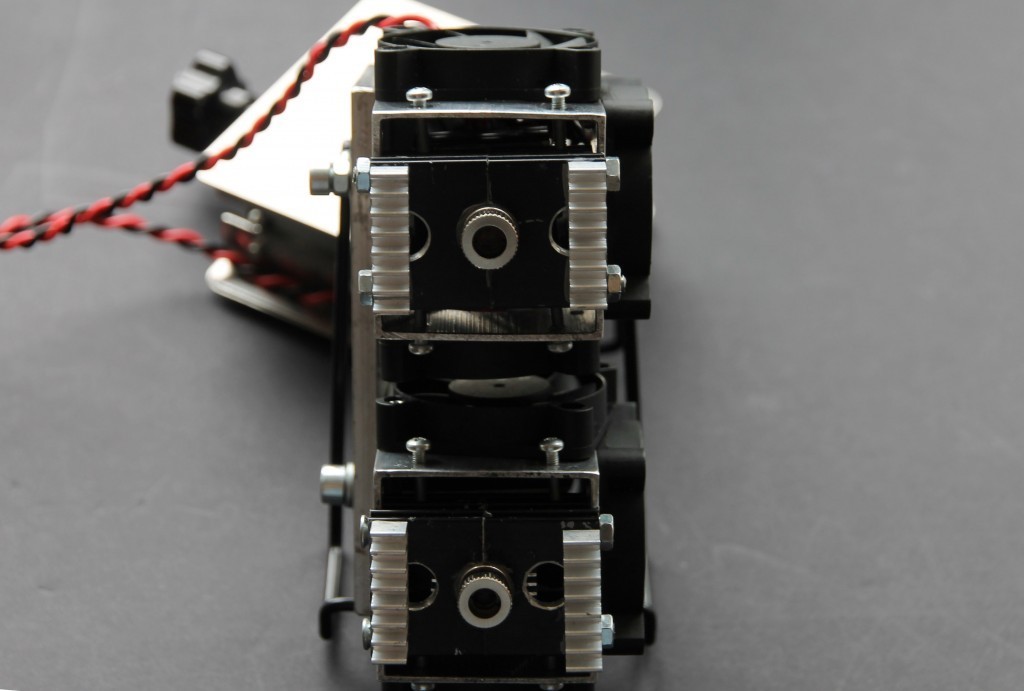
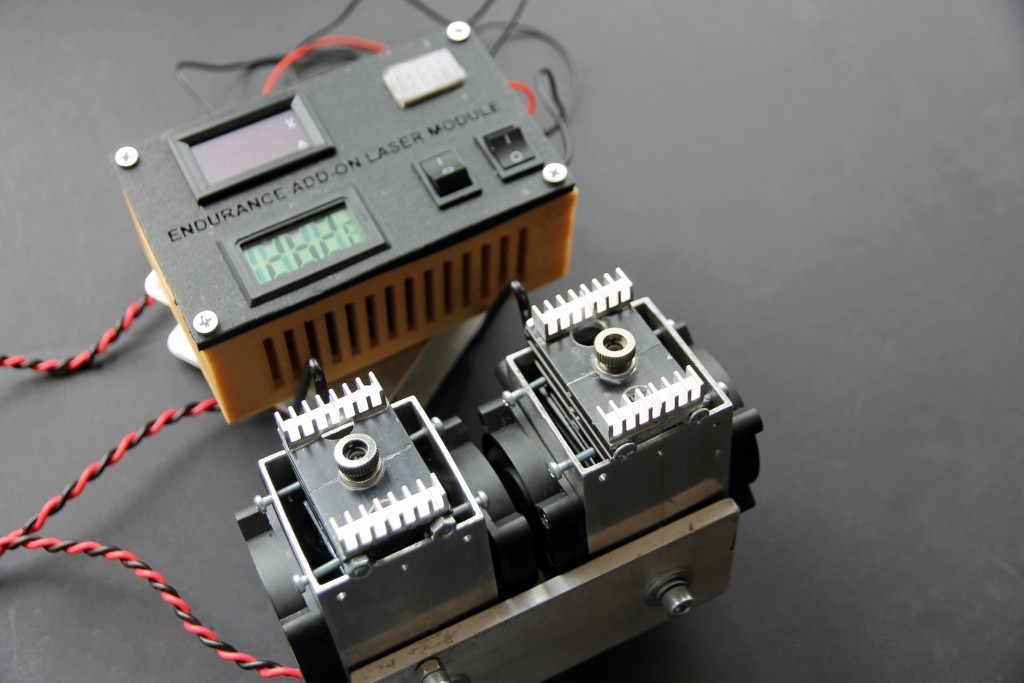
Learn more about a 20 watt double beam laser.
3. Cleaning and applying the spray
Clean the surface of the metal with a cloth and rubbing alcohol until dry and smooth. Lightly polish the surface with dry sandpaper and cover it with a paste or spray that is suitable for engraving.
Recommended engraving pastes and chemicals for laser etching (marking)
Apply a light coat of the spray compound evenly on top of the metal, then let it dry right before running your project. The layer of chemicals should not be too thick, otherwise, the laser will require more power to etch the metal. Thinner application dries faster and it’s easier to wipe after the engraving is finished. Safely use it in a well-ventilated area or within an enclosure.
- Cermark LMM-6000
- Pure alcohol
- Graphite
- PVA glue
- Aluminox Solutions,
- LMM-6018
- Litoscript metal black
- Grout white for marble
We plan to make more experiments with different chemicals, such as Lube with Molybdenum-disulfide (MoS2) and others.
4. Adjusting the Focus
The focus of the laser should be set within the focal range of the lens to create the smallest beam spot. The laser should make a beam that’s concentrated to just a few microns.
5. Marking
After setting a thin even layer of spray or paste, marking can start.
As mentioned above metallic laser etching can last long with sanding, chemical application, pass repetitions, slower etching speeds, and moderate-higher power.
A light etch may not withstand stress and wear and tear. The more passes, the deeper and darker the engraving will appear, even when power is not at 100%
Refer to the power scale chart experiment with different speed parameters to get the best results.
6. Finishing
Once the engraving is complete, use rubbing alcohol and a cloth to clean the surface dry and remove residue. A sponge or brush should also be used to clean up any remaining remnants from the surface.
You may apply a sealant for protection. This is a good option for oxidized metals.
Photoengraving on stainless steel
How to make a color metal engraving on stainless steel – all you need to know.
Engraving on metal – all you need to know about laser metal etching / marking / engraving
Comments are welcome!
If you have any questions – please ask us in our LiveChat.