
Getting started with Endurance lasers and Eleksmaker DIY frame (a universal laser engraver)
Here I will show you with two different videos of how I fitted an endurance laser to my Eleksmaker frame and what tools you will need for this.
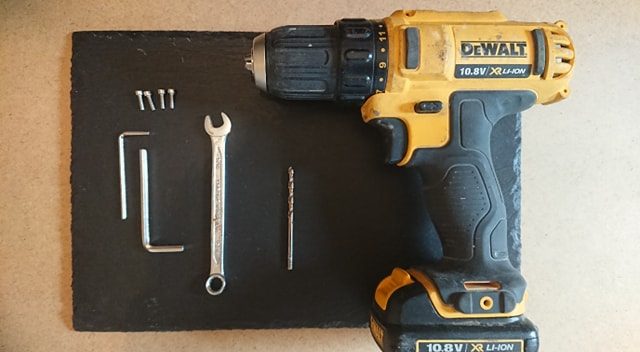
1. Allen keys
2. Drill
3. Drill bits
4. Spanner
5. Bolts.
There are 2 different ways that I did this which I made videos for which will show below this.
If you don’t want to drill the laser plate you can go with one video and if you want to better fix the laser then the other video will be the one for you. This is working on what skills you have of drilling and what tool’s you have to hand. I would say making a copy of your laser backplate before you do any drilling is a must. Which can be easily done by drawing around it on to card, wood, paper. So if anything was to go wrong doing this you have a copy of the plate which can be made up.
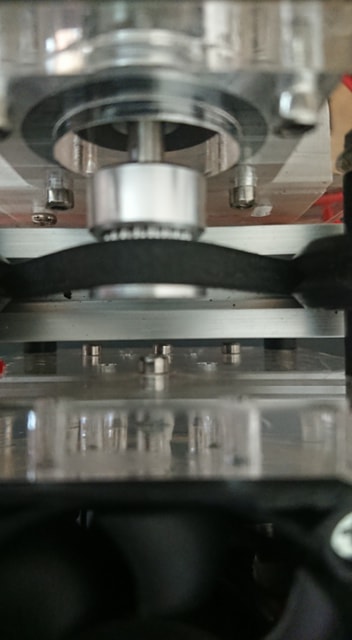
Here are pictures of fitting one.
 <img ” src=”/wp-content/uploads/2019/08/69402885_1603227849808826_64041995357650944_n.jpg” alt=””/>
As you can see from the above pictures how this has been fitted and will look when it is all back on the unit.
Parts and tools you will need to drill and fit the laser.
About Eleksmaker (universal laser engraver) mana board. How to wire the laser properly and check pins
A real customer review : Adding the laser on Eleksmaker frame