
Image Engraving Compared
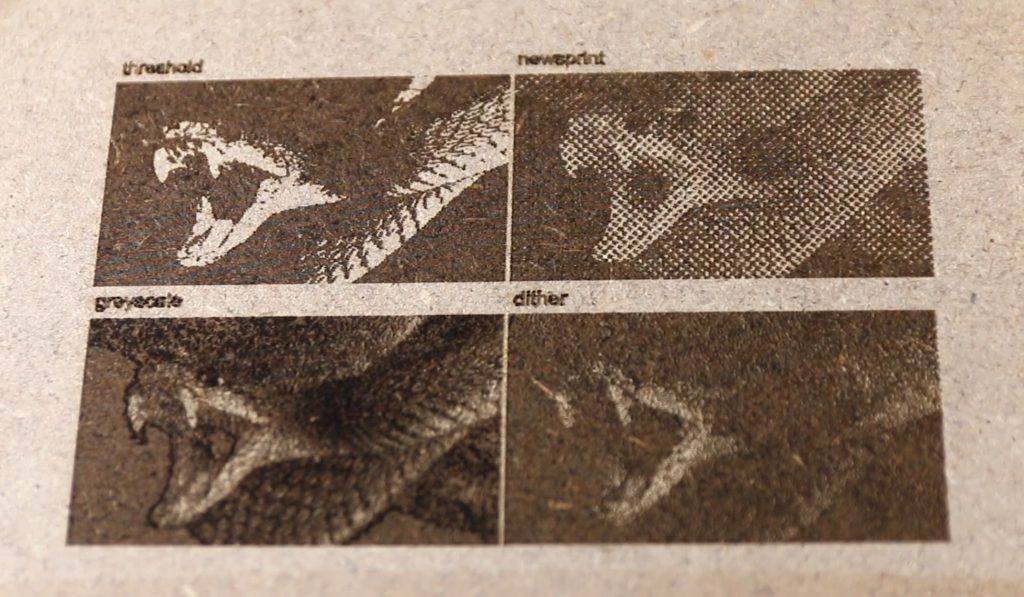
If you ever looked through the settings for engraving images, you probably noticed that there are many different strategies to choose from. Some are more known like greyscale, or threshold. There are many more though, that deserve our attention, like newsprint, or dither. I went out and compared the most popular four, so here is what I found.
Detail is King – Greyscale
If you are looking for the most detailed and realistic images, then greyscale is your best bet. It modulates the power of the laser depending on how dark a certain area should be. This gives you great control to engrave even more subtle things. The big problem though is, that you need to dial it in perfectly. In the software, you are setting a range of power, for example from 0 to 20%, which then results in 20% power for black parts and 0 for white ones. The difficulty is that if something is a medium grey, in this case, the software would send 10% power. If 10% power is almost as dark as 20% though, your whole image is too dark in the end. So, you need to play around with the settings a bit to get it perfect. You will also want to keep in mind, that greyscale will be quite slow, as there are many more G-code lines that the printer has to go through, often only moving a millimeter or so until the power needs to be adjusted again.
Far away Goodness – Newsprint
One that I hadn’t worked with a lot before is newsprint. I was quite surprised with the result though, as it is quite fast to engrave due to larger spots. From close up it also looks not good at all, you can see just many spots, but no real image. As soon as you get slightly further away though, the image pops and looks really detailed. Because it just engraves black or nothing, it also doesn’t need a lot of setups. That’s why I can recommend this settings highly, as long as your design is not viewed from too close.
Simplicity is Beauty – Threshold
Sometimes it doesn’t matter, that all the small details show up, but instead that the overall picture is clearly visible. Threshold just decides for every part of the image if it is closer to black, or to white and then engraves that. For things like logos or text, that is exactly what you want. With images, it is a bit hit or miss though, as some images still look good and recognizable, while others just fall flat on their face. Looking at the preview is a good idea in that case.
Greyscale Alternative – Dither
Dither tries to give you all the detail greyscale does, just without modulating the power. Instead, it makes many small points, with more points in the darker areas and less in the lighter ones. The concept works really well, and on some surfaces, it also looks good. For me, it often just looks too dark, or without any real detail though. Sadly, the preview isn’t too representative on that though, so you just have to experiment.
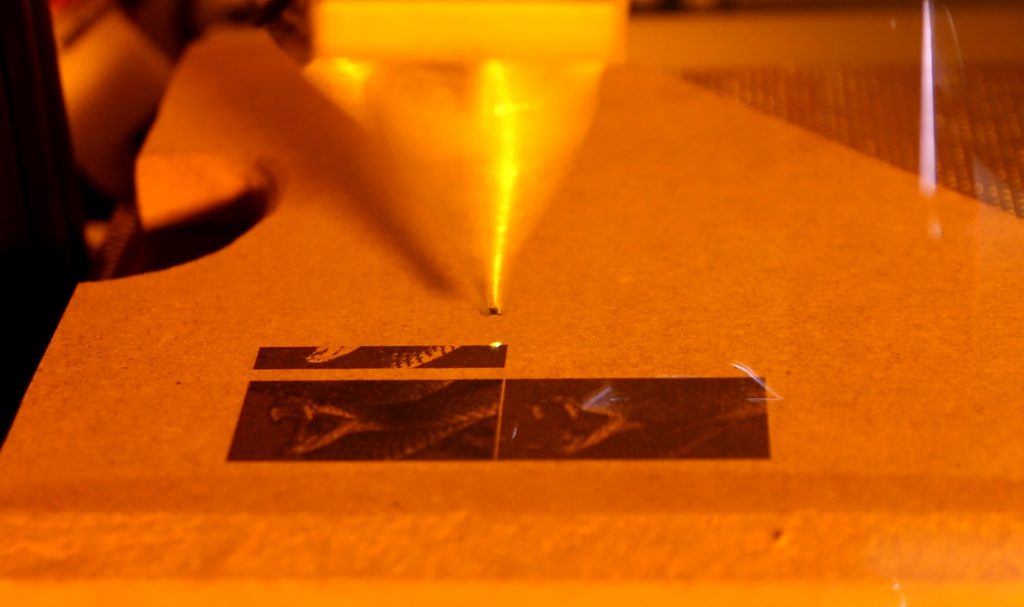
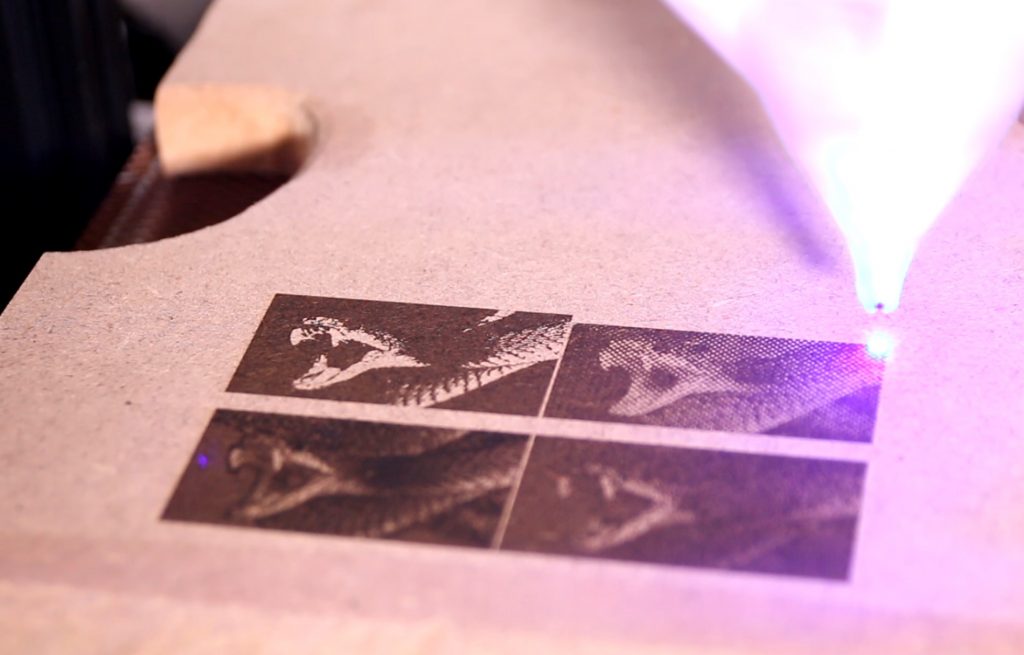
Let’s see it in action
My setup: I am using a 10W Endurance Laser, which is mounted to my CR-10 using a quick release. I am also using an enclosure I built with an exhaust outside to control the fumes. Depending on the project I also use my air assist, which is hooked up to the air compressor.
All you need to know about photo laser engraving: testing your board and your firmware